When a vehicle graphics team needs tighter control
Most vehicle graphics jobs look simple until the team has to keep three things aligned at once: the design, the print output and the installer’s reality on the vehicle. A full wrap on a bakkie in Randburg is not the same as a courier fleet job in Pretoria or a branded panel run for a Durban fleet yard where humidity can affect drying and handling. Teams usually come to us when artwork is being redrawn too often, print and cut sizes do not match, or every job needs a different person to figure out the layout from scratch.
Typical clients include sign shops, print service providers and in-house branding teams handling vehicle liveries, reflective safety decals, magnetic signs and short-term campaign graphics. The pain points are usually practical: slow nesting, messy bleed settings, bad tiling on long panels, colour drift between jobs and too much waste on vinyl and laminate. If the team is producing work for multiple branches or mobile installers, one poor setup can cost a full day. It is not just about making artwork look good, it is about getting repeatable output that fits the vehicle and the fitting bay.
Typical equipment and file flow for wrap and decal jobs
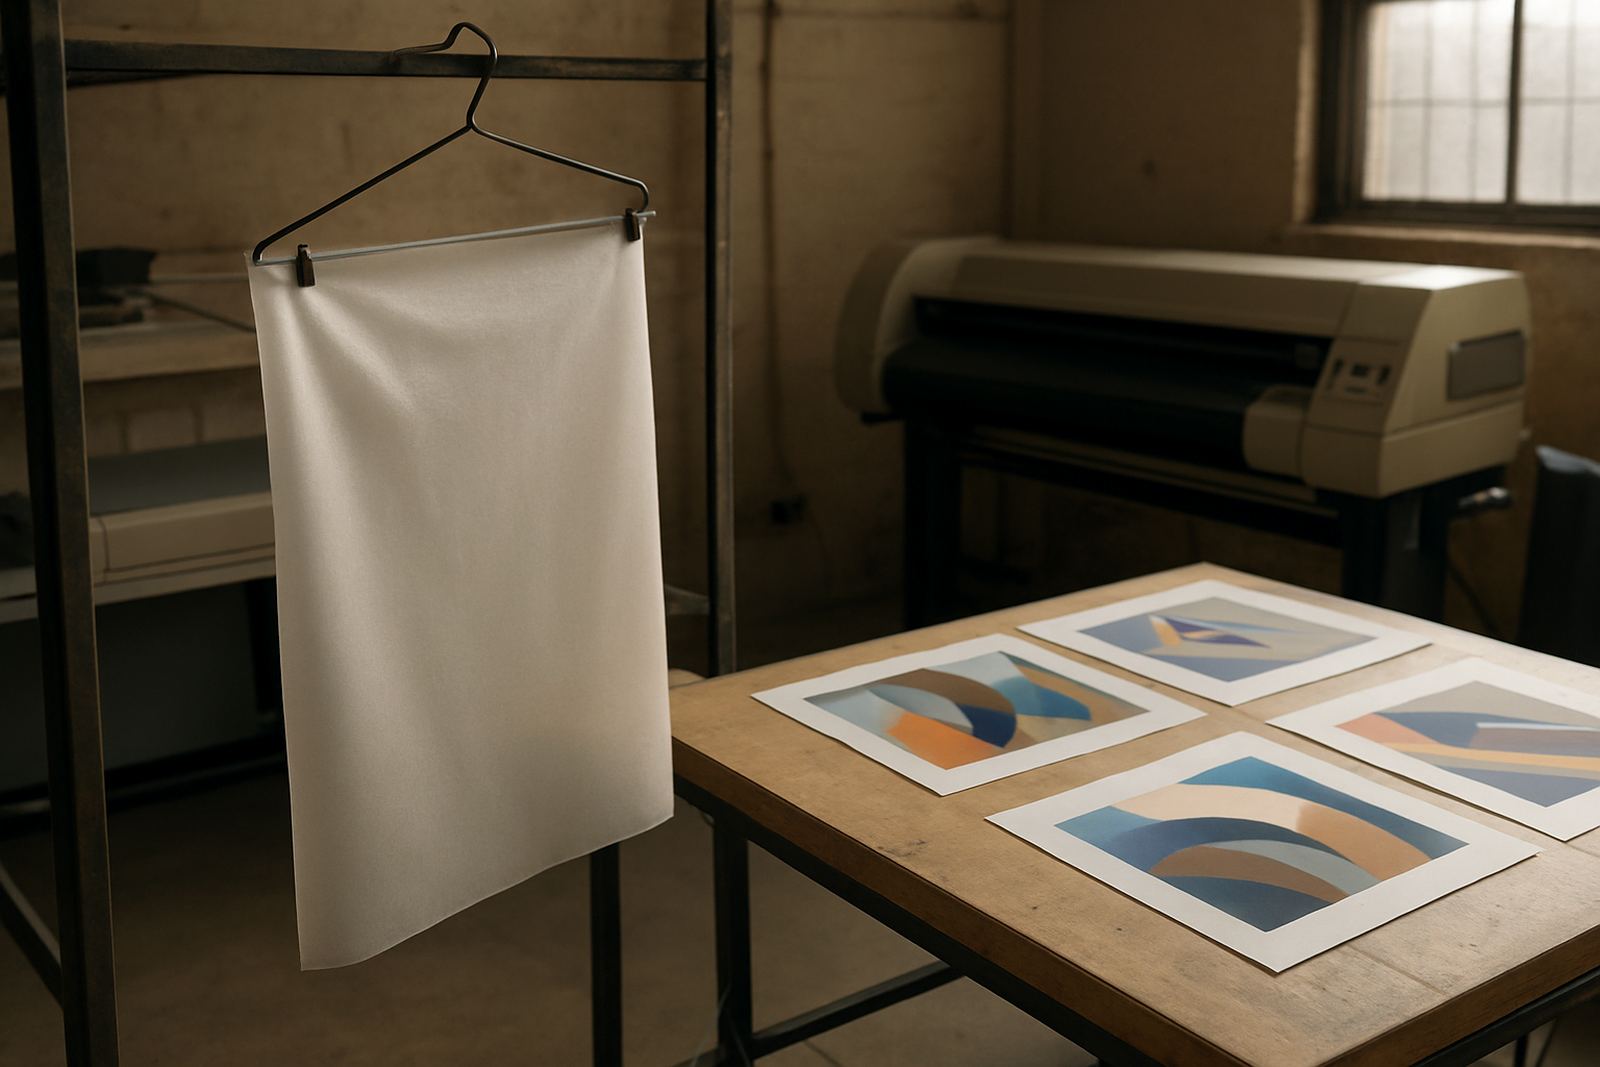
A vehicle graphics setup usually includes a design workstation, a wide-format printer, a cutter for contour jobs and a RIP workflow that can handle colour, tiling and nested output. Some teams use a flatbed for rigid branding pieces as well, but the main work is often print, laminate, cut and fit. In many South African shops the challenge is not the machine count, it is making sure each device receives the correct file with the correct marks and margins.
- Artwork computer with design and layout tools for vehicle templates
- Wide-format printer for wrap panels, branding strips and decals
- Vinyl cutter for contour cutting and lettering
- Laminator for print protection on wraps and fleet graphics
- Colour management tools for repeatable output across jobs
- Stable network or workstation setup for queue handling and output control
For shops in coastal areas like Cape Town or Gqeberha, the workflow also needs to account for stored media and finished panels in damp conditions. In hotter inland spaces such as Midrand or Centurion, heat and dust affect handling and the team needs clean cut paths and sensible queue settings so a job does not sit open longer than necessary.
Planning the panel output before the first print runs
Good vehicle graphics planning starts with the vehicle measurements and ends with the installer having fewer surprises. That means building templates for common vehicles, setting safe margins around handles and trims, and deciding where the joins should fall before the print starts. A wrap panel that looks fine on screen can still fail on the vehicle if the operator has not allowed for stretch, overlaps and blade tolerance.
We usually advise teams to standardise their panel naming and file structure. For example, a fleet of delivery vans can use one naming format for left side, right side, rear doors and bonnet work, so the print room does not waste time searching for the right file. It also helps to keep one version of the vehicle template for each model and wheelbase. This matters in Johannesburg and Pretoria where delivery fleets often mix older and newer vehicles in the same branding roll-out.
- Measure each vehicle class and save reusable templates
- Set bleed and overlap rules for every wrap panel
- Build cut lines separately from print artwork for cleaner output
- Use a naming system that the whole team can follow
- Keep installer notes in the job folder for trims, sensors and handles
Colour matching for branded fleets and repeat jobs
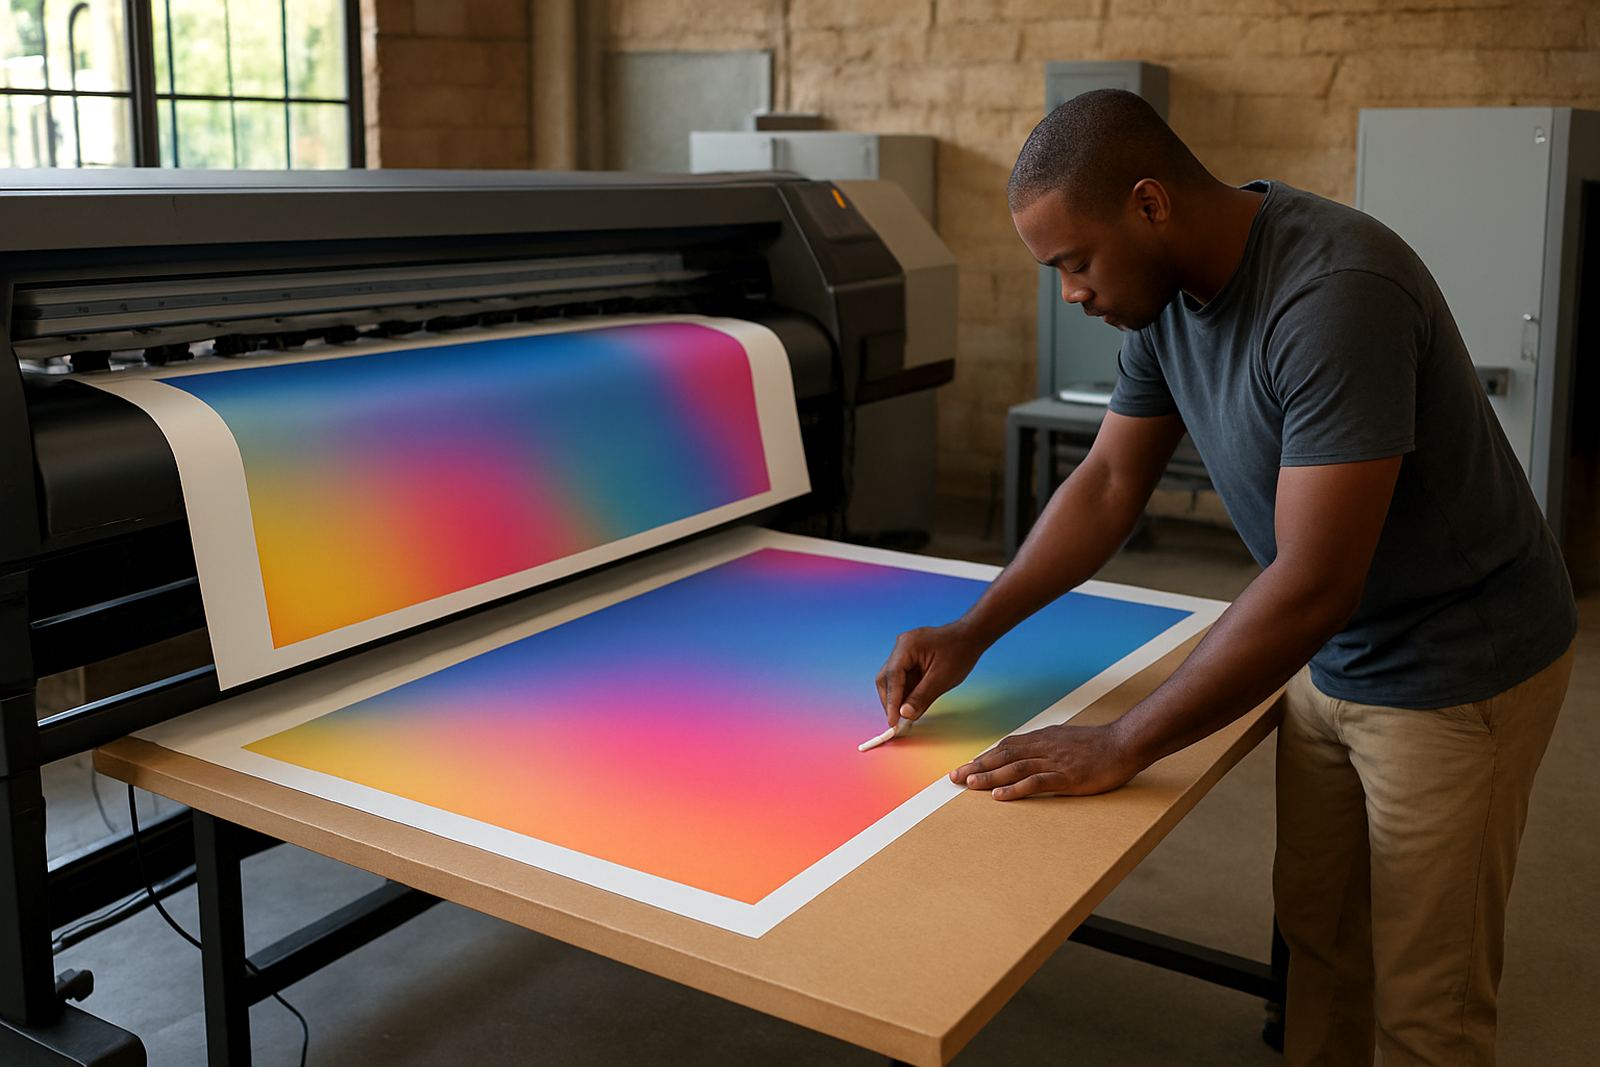
Vehicle branding is often judged by how well the colour matches the client’s brand on the road. A bright orange on one bakkie and a dull version on the next can cause complaints even if the artwork is technically correct. That is why colour workflow matters so much for vehicle graphics teams. The team needs consistent RIP settings, printer profiles and a known process for getting repeats to match the first run.
We help teams set up colour management for solid brand colours, gradients and photo panels used on wraps. If the shop is outputting jobs for different locations, such as Durban Support or Cape Town Training, the colour process should be the same in each place. It reduces rework, saves media and makes it easier for a new operator to step in when the main designer is out. A good workflow also helps when jobs are printed in batches over several days, which is common for fleet roll-outs and municipal or contractor branding projects.
Common mistakes that waste time and vinyl
Most vehicle graphics errors are avoidable, but they happen often because the team is under pressure. The most common issue is sending a job to print without checking the scale against the vehicle dimensions. Another is putting text too close to a seam or body line, then having to shift the whole design after printing. Some teams also forget that a laminated panel cuts differently to an unlaminated one, so the contour cut lands off the edge.
We also see problems when shops let every operator set their own queue preferences. One person nests tightly, another leaves too much waste and a third changes cut marks without telling the rest of the team. For shops in Randburg or Johannesburg Support, this can turn a busy Monday into a reprint day. The fix is usually a proper workflow setup, some staff training and clear settings for common media, with notes for special jobs like reflective decals or perforated rear window graphics.
- Printing before confirming vehicle measurements
- Using one template for too many vehicle models
- Ignoring seam positions and handle clearances
- Changing RIP settings between operators
- Skipping test cuts on tricky vinyl or laminate combinations
What a vehicle graphics software setup can cost
Budget varies by shop size and by how much of the workflow needs to be brought under control. A small sign shop that only needs cutter setup help and a basic RIP licence may spend from about R8 000 to R25 000. A growing wrap team that needs colour management, queue setup and staff training can be looking at R25 000 to R65 000 depending on the number of stations and machines involved.
For larger print service providers with multiple cutters, more than one printer and several users, software, licence activation, onsite training and annual support planning can move into the R65 000 to R140 000 range or more. That does not mean every team should buy everything at once. Often the better route is to start with the bottlenecks first, then add upgrades once the output is stable and the team is handling live work without constant intervention. In many cases the savings in vinyl, ink and reprints cover a good part of the setup cost over time.
Training and support for teams across South Africa
FlexiSIGN Studio supports vehicle graphics teams from Randburg to Midrand, Centurion, Pretoria, Johannesburg, Durban, Cape Town and Gqeberha. Some clients need remote support for queue issues or licence activation, while others want onsite training for a new production line or a fresh intake of staff. We also help with upgrade planning when a shop is adding a second cutter or moving from small jobs into full fleet work.
For busy sign shops, the best outcome is a setup that keeps the printer running, the cutter in step and the installers working from files they can trust. That is what our team focuses on: practical training, tidy workflow setup and support that fits the way South African vehicle graphics teams really work on the floor.
- Software installation and licence activation
- Onsite training and Randburg class training
- Workflow setup for wraps, decals and branding strips
- RIP queue optimising and cutter setup help
- Annual support plan for busy production teams