What the Sandton team needed from the start
The client was an internal marketing and design team in Sandton handling retail point of sale, office signage, vehicle graphics and short-run print work for several branches. Their designers were experienced with artwork, but the handover into production was causing delays. Files were coming through in mixed formats, spot colours were not always named consistently, and the RIP stage was taking longer than it should when jobs needed to go to vinyl cutters and large-format print devices.
The brief was simple enough on paper: get the team to produce cleaner print-ready files, reduce manual corrections, and make sure colour output stayed predictable across different media. They also wanted a process that new staff could learn quickly, because the team had a steady flow of seasonal hires and interns. In Sandton, where turnaround is often tight and approvals can land late in the day, there was no room for trial and error on production files.
- Team size: 6 users in design and production support
- File types: PDF, EPS, AI and bitmap artwork from multiple suppliers
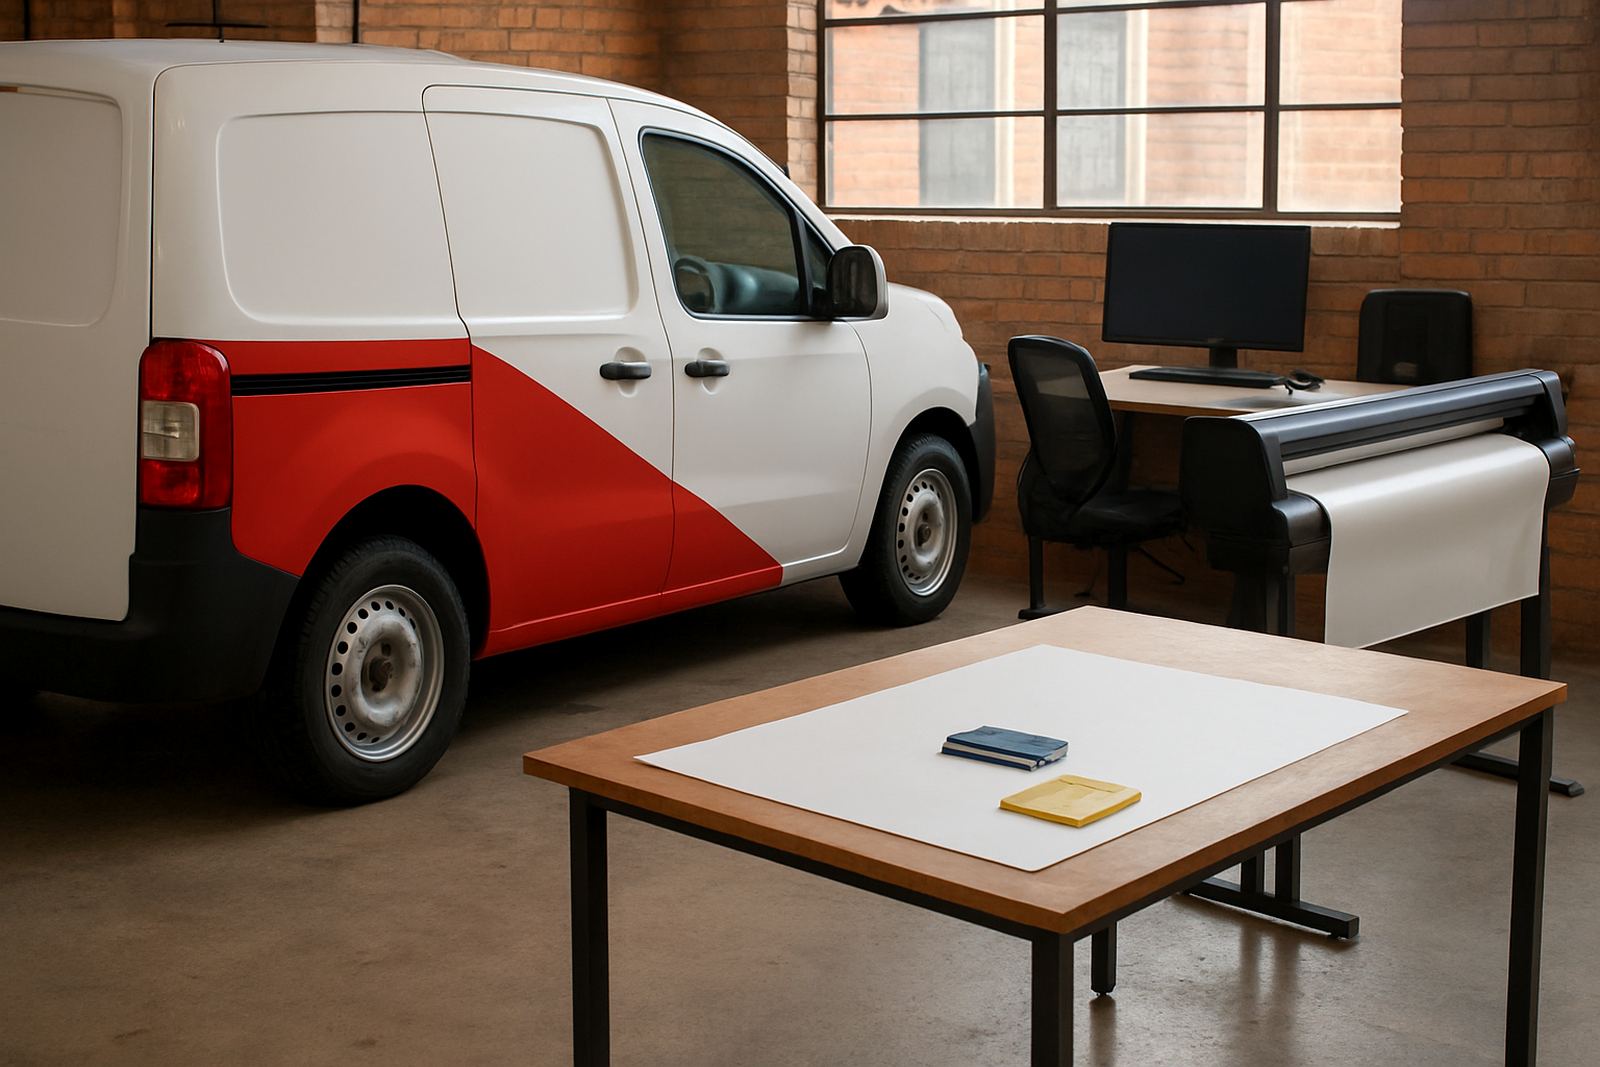
- Output: vinyl cutting, decals, boards and large-format print
- Main issue: inconsistent print-ready setup and colour naming
The setup we supplied and why it suited the workflow
We supplied the software package in a way that fit the team’s day-to-day work, rather than forcing them into a heavy setup they would not use. The installation covered design preparation, RIP queue control, cutter output setup and colour management tools. We also planned for licence activation, user access and a simple support path so the team could get help without waiting days for a reply.
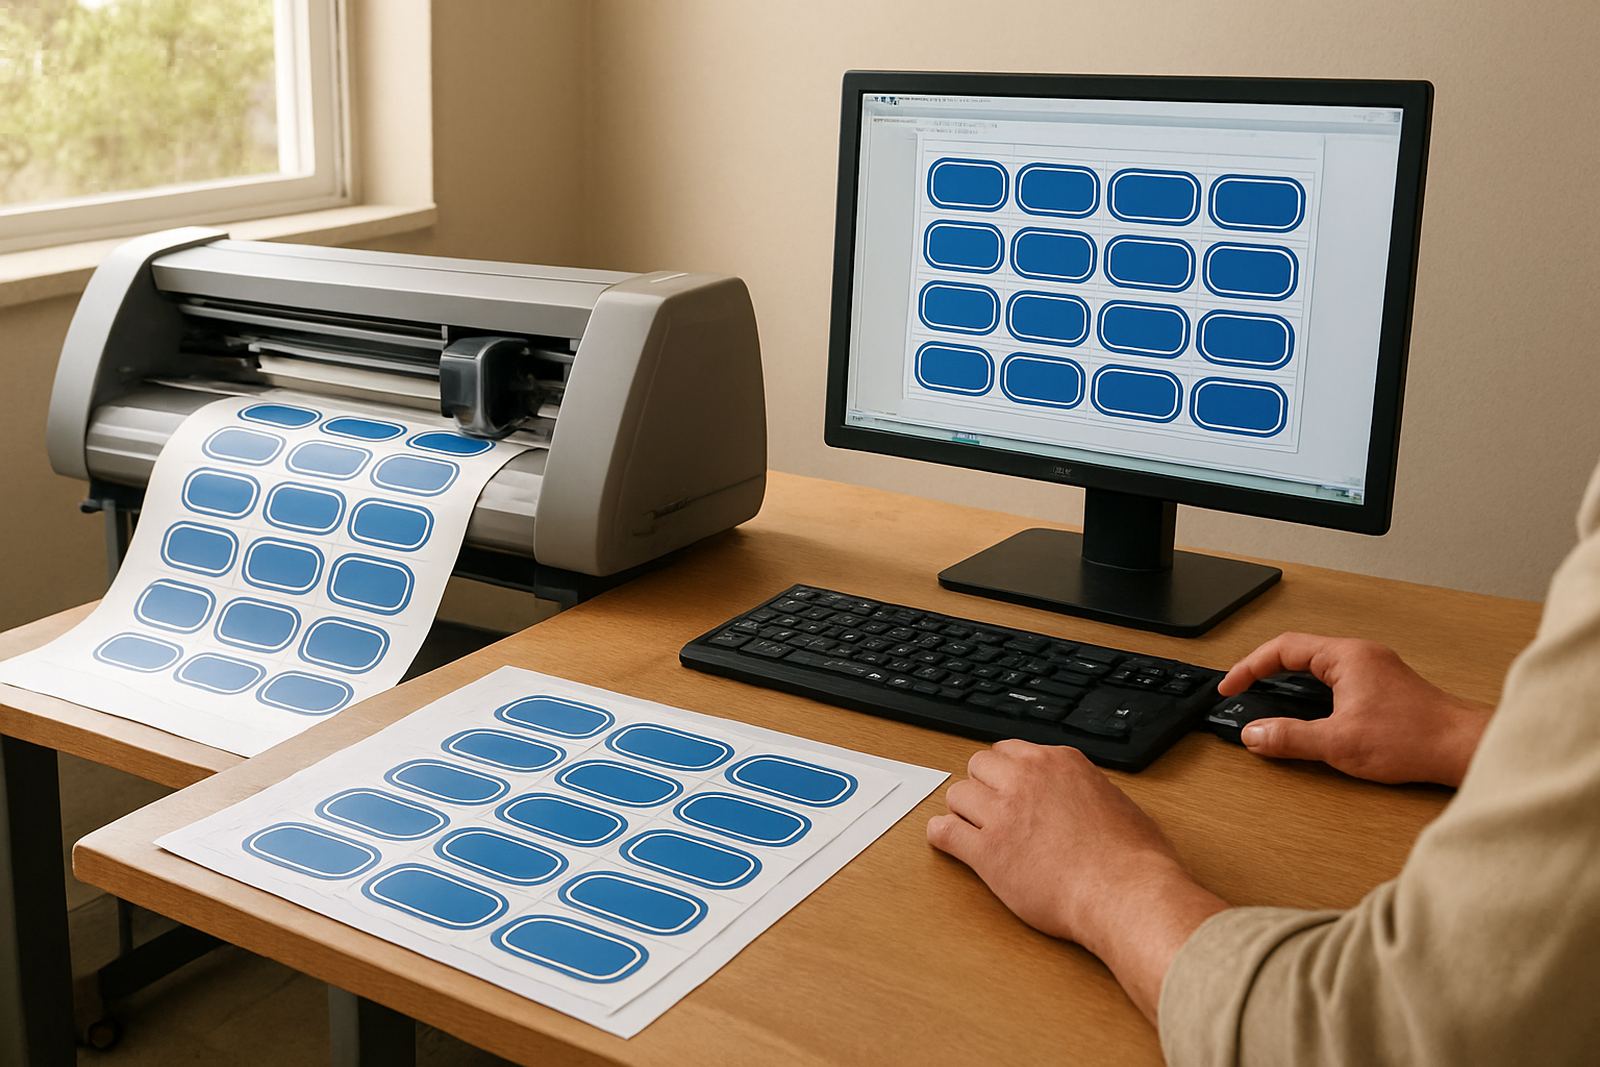
The software was installed on the main production machine and linked to the output devices used by the department. We set up common presets for cut lines, overprint handling, spot colour mapping and queue priorities. That meant the same artwork could be prepared once and then sent to the right output path without repeated fixes. Because the office is in Gauteng and the team works with air-conditioned interiors, we also checked monitor calibration habits and advised on repeatable viewing conditions so artwork decisions were not changing from one workstation to another.
- Software install and licence activation on the production PC
- Preset workflow for print, cut and reprint jobs
- Queue settings to keep urgent jobs moving first
- Basic colour workflow for consistent output across media
We kept the workflow practical. No complicated theory the team would not use, just the settings needed to keep files clean and output predictable.
Training that matched real production pressure
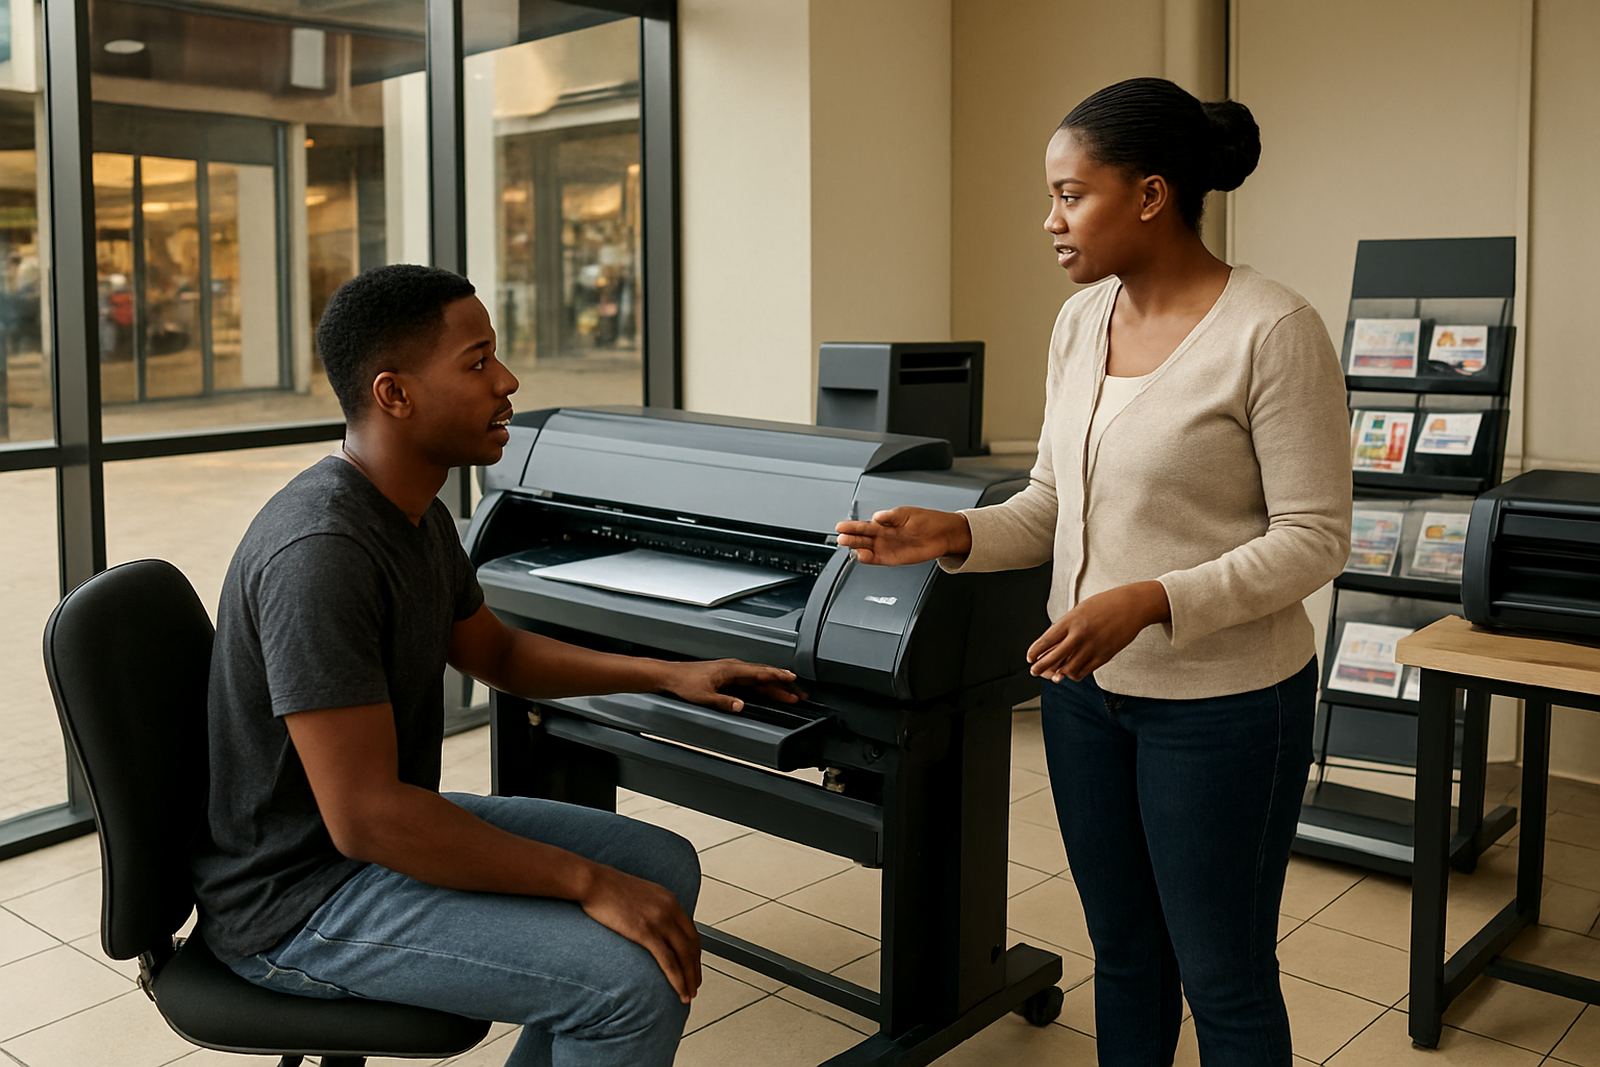
The training ran over two weeks, with sessions split between the Sandton office and remote follow-up support. The first stage focused on file preparation, naming conventions and artwork checks before RIP. The second stage covered cutter setup help, production queues and the common mistakes that slow down a sign shop or in-house studio. We also included new staff induction notes so the team had something usable when a new designer joined mid-month.
Because the client sometimes pushes work to outside suppliers as well, we showed them how to prepare files that travel well between internal production and external print partners. That included bleed, transparency handling, stroke widths, linked images and the clean use of vector paths. The team wanted less back-and-forth and fewer re-export requests, and that is exactly where the training helped most.
- Week 1: software install, licence activation and core file setup
- Week 2: RIP queue control, cutter output and live job checks
- Remote follow-up: corrections, questions and refresher guidance
- Training notes kept simple for future staff onboarding
Constraints we had to work around in Sandton
The main constraint was time. The team could not shut down production for a full day, so we worked in stages and kept the installation window tight. Another challenge was mixed artwork from different branches and agencies, some of it built for web use rather than print. That meant we had to standardise the output process without slowing down designers who already had deadlines lined up for the week.
There was also the usual practical pressure that comes with Gauteng production work: load-shedding risk, shared equipment and the need to keep jobs moving even when schedules change. We planned the activation and setup around the client’s available working hours and kept the remote support path ready in case they needed help after hours. Nothing fancy, just a process that held together when the office was busy.
The team also needed a method that would still work when files arrived from different people with different habits. So we set a standard for file naming, spot colour handling and output checks before release to print.
What changed after the first month
By the end of the first month, the team was sending cleaner files to production and spending less time correcting artwork after it had already been approved. The RIP queue was easier to manage, cutters were receiving more reliable output, and colour matching across repeated jobs became more consistent. For an internal team, that kind of change saves both time and awkward reprints.
They also reported fewer delays when handing work over to branches and suppliers. Instead of explaining every job from scratch, the team had a repeatable workflow for common sign formats, board sizes and cut vinyl work. That meant more time on layout and less time fixing avoidable errors.
- Fewer reworks on print-ready artwork
- Better consistency on repeat jobs
- Faster handover between design and production
- New staff could follow the same setup from day one
The biggest result was not just speed, it was certainty. The team knew what to check before release, and production knew what to expect when the file arrived.
What we would roll out again for a similar studio team
We would take the same approach again for another Sandton design team or a branch studio in Pretoria, Midrand or Johannesburg. Start with the output devices first, then build the workflow around the real jobs the team produces each week. That keeps the setup practical and avoids buying settings nobody uses. We would also repeat the same training structure, because short sessions tied to live jobs usually work better than long classroom theory.
For a similar project, we would recommend a staged roll-out with clear file standards, simple queue rules and regular support during the first few weeks. If a team is working across vinyl cutting, large-format print and sign preparation, the software should help them stay organised rather than add another layer of admin. That was the outcome here, and it is the reason the project settled down so quickly.
If your internal team in Sandton is preparing print files for signs, decals or display work, the same model can be applied without disrupting your current production schedule.
Key facts
| Client type | Internal design team in Sandton |
|---|---|
| Project duration | 3 weeks from installation to follow-up |
| Core focus | Print-ready file preparation and RIP workflow |
| Users trained | 6 staff members |
| Outputs supported | Vinyl cutters, decals, boards and large-format print |
| Support model | Remote support plus onsite and class training options |