Why nesting matters on small-margin sticker jobs
On sticker and decal work, the real profit is often made in the layout stage, not only at the cutting table. If you are running short sign runs, label sheets or mixed decal sets, every unused gap becomes paid-for waste. That waste adds up quickly when you are cutting self-adhesive vinyl, reflective material, or print-and-cut media by the metre. In many South African shops, especially where overheads include municipal power charges and load-shedding downtime, media savings can make a noticeable difference to monthly margins.
Nesting is simply the process of fitting artwork shapes together as tightly as practical, while still leaving enough space for clean cutting, weeding and handling. It is not about crowding every shape until the job becomes difficult to finish. It is about planning the sheet so the cutter uses as little material as possible, with less scrap and fewer reprints if a blade drifts or a contour line is off.
Start with the finished size, not the artwork file
One common mistake is laying out jobs from the file size, instead of the actual cut size. A sticker sheet may start as a square artwork block in the design software, but the final cut line may only need a fraction of that area. If you leave generous white space around every item, the nesting result will always be poor.
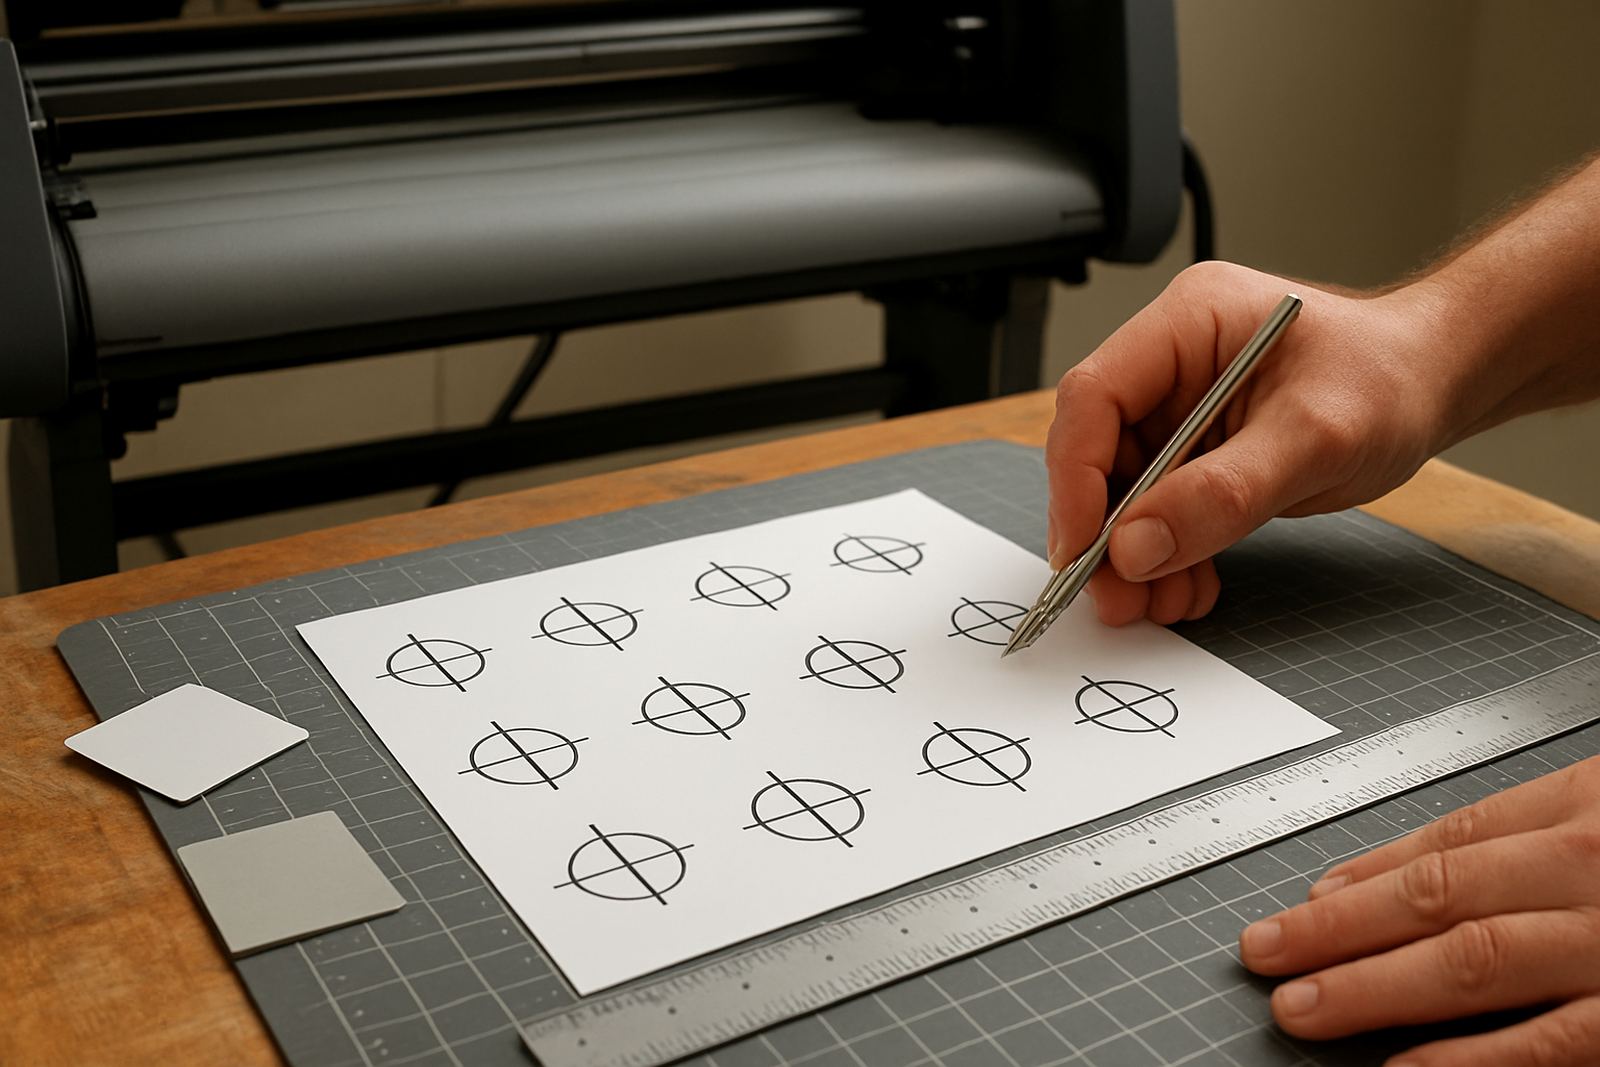
Before sending anything to print or cut, confirm the true dimensions of each item, including bleed where needed. Then arrange the shapes by final outline. In mixed jobs, rotate smaller labels into the spaces created by larger curves and corners. This is where good RIP and design setup helps, because accurate contour paths and clean registration marks reduce the chance of extra material being consumed after a failed run. If a job needs re-cutting, that wasted strip may be the difference between profit and a very thin margin.
- Trim artwork to the actual cut line before nesting.
- Group repeat items by size so the layout is easier to balance.
- Allow only the spacing your cutter and weeding method really need.
Use shape variation to fill the awkward gaps
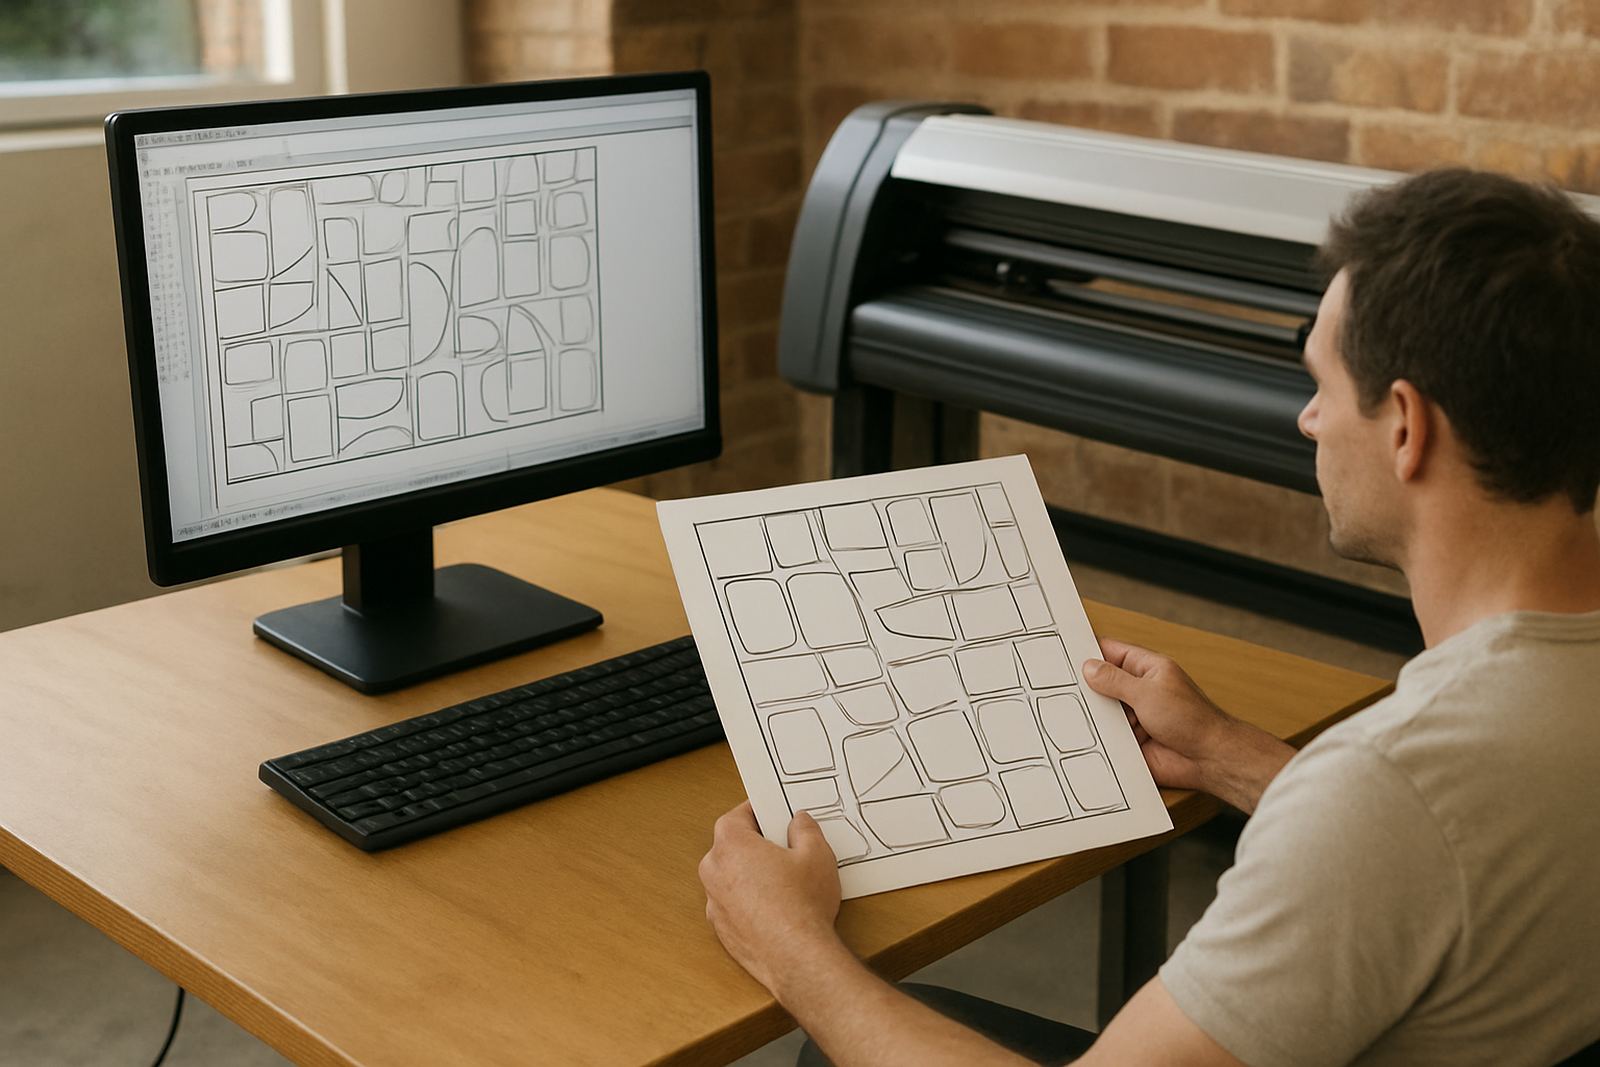
Not every layout needs to be a perfect grid. In fact, grids often waste more media than mixed placement. The best nesting happens when you use the natural shapes of the artwork to fit around one another. A curved logo can sit beside a square label. A narrow decal can tuck into the open side of a larger graphic. Small text strips can live inside the voids left by rounded corners.
This takes a bit more thought, but the gain is real. Shops in Randburg, Midrand and Pretoria that handle school labels, vehicle decals and promo stickers often see a clear drop in scrap when they stop treating every job as a separate island. It also helps to rotate items in 90 degree steps where the material and cutter allow it. Just make sure any grain direction, print direction or laminate requirement is still respected. On some reflective films and specialised media, the wrong rotation can affect finish or handling.
- Mix large and small shapes instead of repeating the same block spacing.
- Rotate items where the material specification allows it.
- Keep cut paths tidy so the weeding stage stays manageable.
Match nesting strategy to the machine and material
Good nesting is not only about visual arrangement. It must also suit the cutter, printer and media type in use. A shop with a benchtop cutter handling short runs will use a different approach from a print provider running wider rolls and longer queues. If your blade tracking is not consistent, overly tight nesting can create problems during contour cutting. If your print queue is too full, nested jobs may become harder to sort and track.
That is why workflow setup matters. The right spacing, queue order and contour cut settings can save more media than any quick manual trick. For example, a vinyl cutter with small tracking drift may need a slightly wider margin between nested rows. A well set RIP queue can place related jobs together, reduce operator errors, and keep the same media type grouped for fewer roll changes. This is especially useful when running late shifts after a power interruption or when a job needs to be completed before a municipal deadline for site installation.
A Randburg example: how a small change lifted yield
A practical example comes from a Randburg sign shop that was producing a batch of 300 small retail decals for a seasonal promotion. The first layout had each sticker spaced generously for comfort, which meant the job needed far more vinyl than expected. After reviewing the shape library and reworking the nesting order, the shop managed to fit the same quantity onto a shorter roll length. The change was simple, but the result was stronger material yield and less leftover scrap for the bin.
What made the difference was not fancy equipment. It was disciplined layout planning, careful size checks and a better understanding of where blank space was being created. The team also corrected their weed path order so the smaller pieces stayed grouped with the larger ones, which reduced handling time. The job still looked clean and professional, but it used less media and took less time to finish.
Build nesting into your daily production routine
Nesting works best when it becomes part of the standard job process, not an afterthought. Train staff to check cut size, spacing and media width before a file is sent to production. Keep a simple naming system for repeated label runs so jobs can be reused without rebuilding the layout each time. Where new staff are involved, show them how to judge when a tighter layout is safe and when extra space is needed for weeding or finishing.
For shops serving Johannesburg, Durban, Cape Town and Gqeberha, this discipline can protect margins in different ways. Coastal humidity may affect handling and storage, while inland workshops may deal with heat, dust or power interruptions. Either way, media is money. A well planned nest lets you use more of every roll, keep rework lower and quote sticker jobs with more confidence.
- Create a standard nesting check before every print and cut run.
- Review offcut patterns weekly to spot repeated waste.
- Update spacing rules when changing material, blade or cutter setup.