Why print cut alignment matters on real jobs
For decal shops, label printers and sign makers, a small alignment error can turn a neat job into a rework. The cut may drift on the second pass, miss the printed edge by a few millimetres, or clip too close and lift the laminate. On short runs that is annoying, on long runs it becomes costly.
South African production rooms deal with a lot of moving parts. Vinyl expands in the heat, humid weather in coastal areas can change media behaviour, and load-shedding can interrupt a queue halfway through. If the workflow is not checked before the job starts, the cutter is often blamed when the real issue sits in the artwork, registration marks or media handling.
Good alignment checks are not just for large shops. A small sign shop in Randburg or a busy print room in Pretoria can use the same practical checks to keep batches consistent and reduce waste.
Start with the artwork and cut path
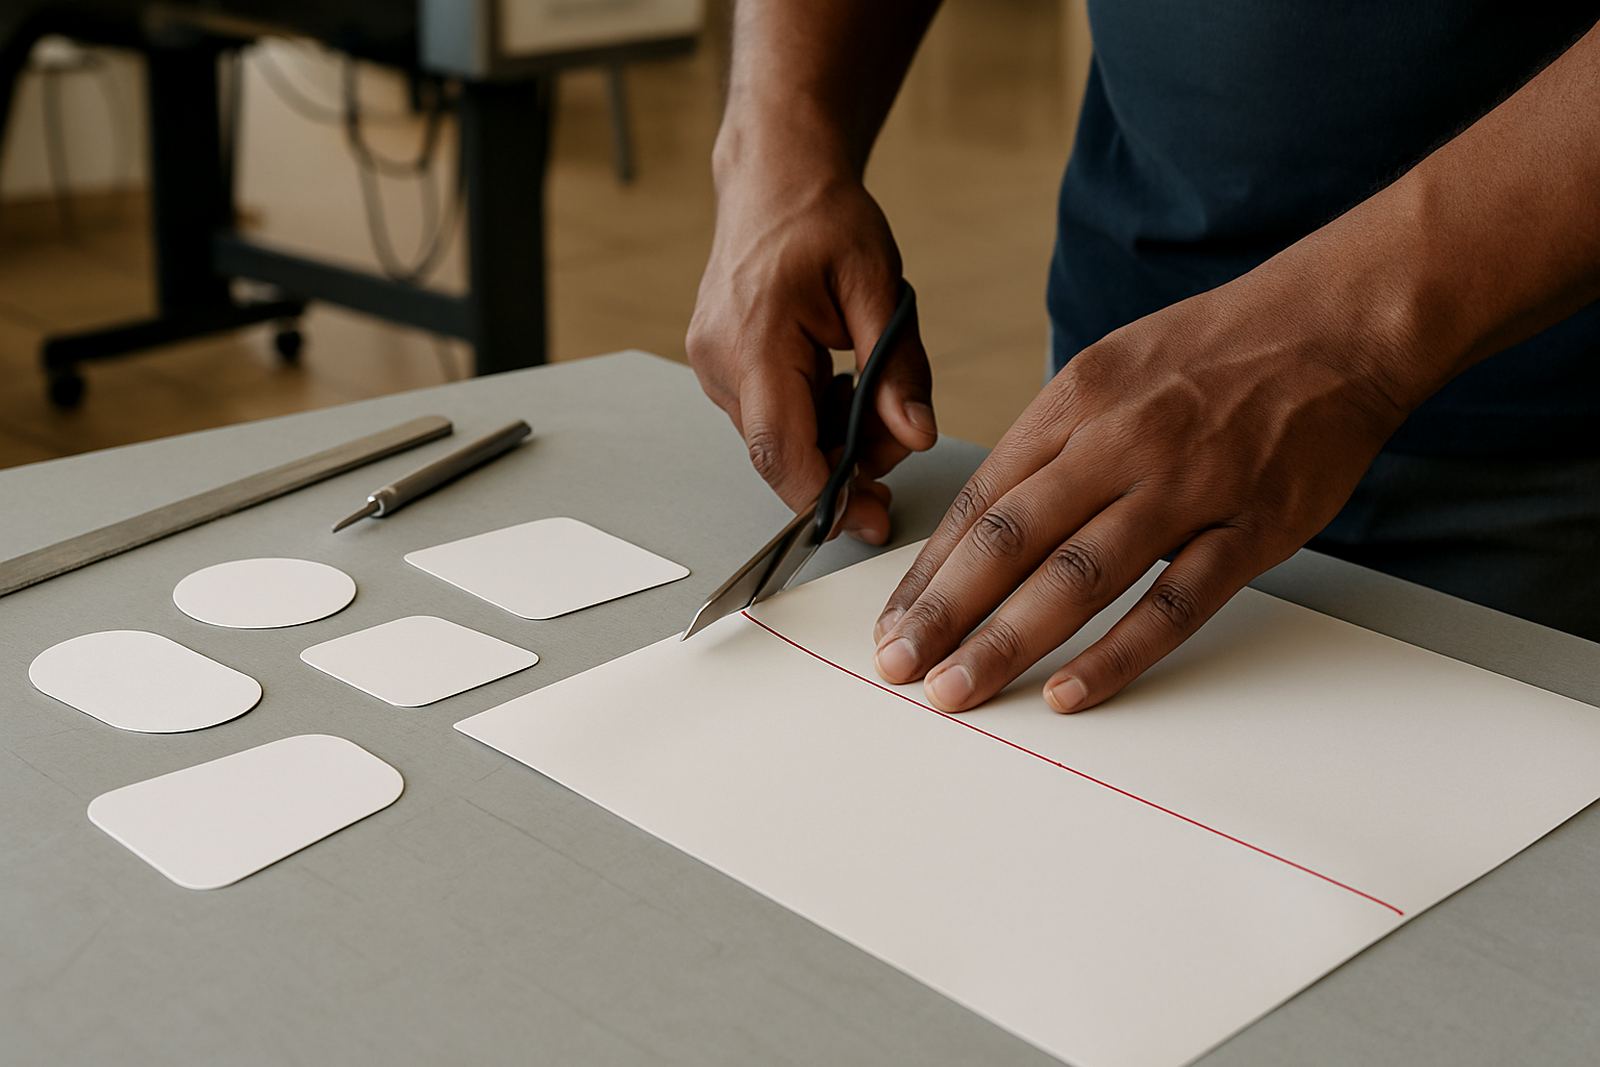
The first check is inside the design file. Make sure the cut path is clean, closed and set to the right spot in relation to the printed artwork. Overlapping points, double lines and stray nodes can confuse the RIP and create uneven cutting, especially on contours with tight corners.
Keep the cut line simple where possible. Fine detail may look good on screen, but if the blade has to chase tiny spikes and narrow corners, the final edge often looks rough. For labels and decals with small text, give the cutter room to move and avoid placing the cut line too close to ink heavy areas.
- Use one clear cut path per job, not multiple layered paths.
- Check that the contour is fully closed before sending to print.
- Leave a practical amount of bleed around the artwork.
- Avoid ultra fine points that may lift during cutting.
If the job will be printed on a laminated sheet, factor in the extra thickness. A thicker surface can change blade pressure and make a clean corner more difficult. That is why a test cut on the same media can save a lot of time later.
Registration marks need space and consistency
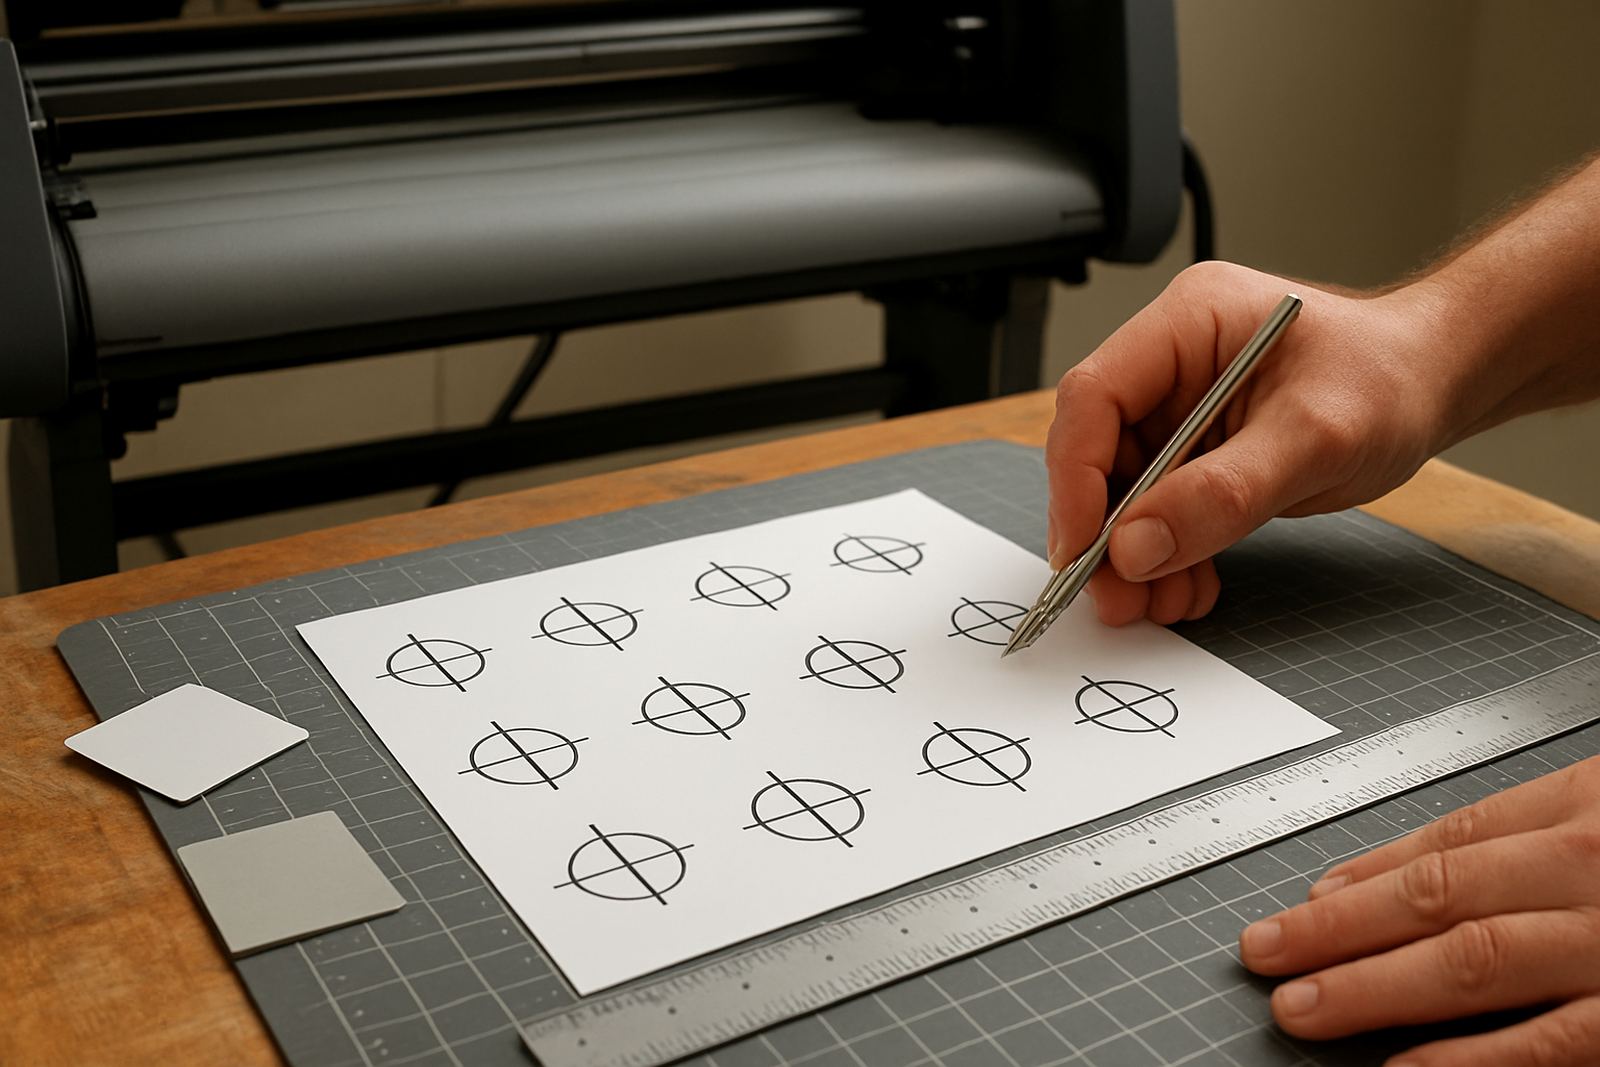
Most print and cut systems depend on registration marks, so these marks need enough space around them to be read properly. If the marks are too close to the edge, too close to each other, or hidden by ink overspray, the cutter can misread the sheet and shift the cut line.
Keep the mark position consistent from job to job. A cutter that expects marks in one position and finds them somewhere else may read the sheet wrong, even if the artwork itself is correct. That is why it helps to use one setup method for the whole team instead of letting each operator change the layout.
- Leave clean white space around all registration marks.
- Do not print marks over dark backgrounds or heavy gradients.
- Keep the sheet square before loading it into the cutter.
- Use the same mark style for the same workflow where possible.
On wide sheets, especially when running multiple labels across a board, check that the outer marks are still readable after trimming. A little care here prevents the cutter from hunting for marks and wasting material.
Check feed, pinch rollers and media handling
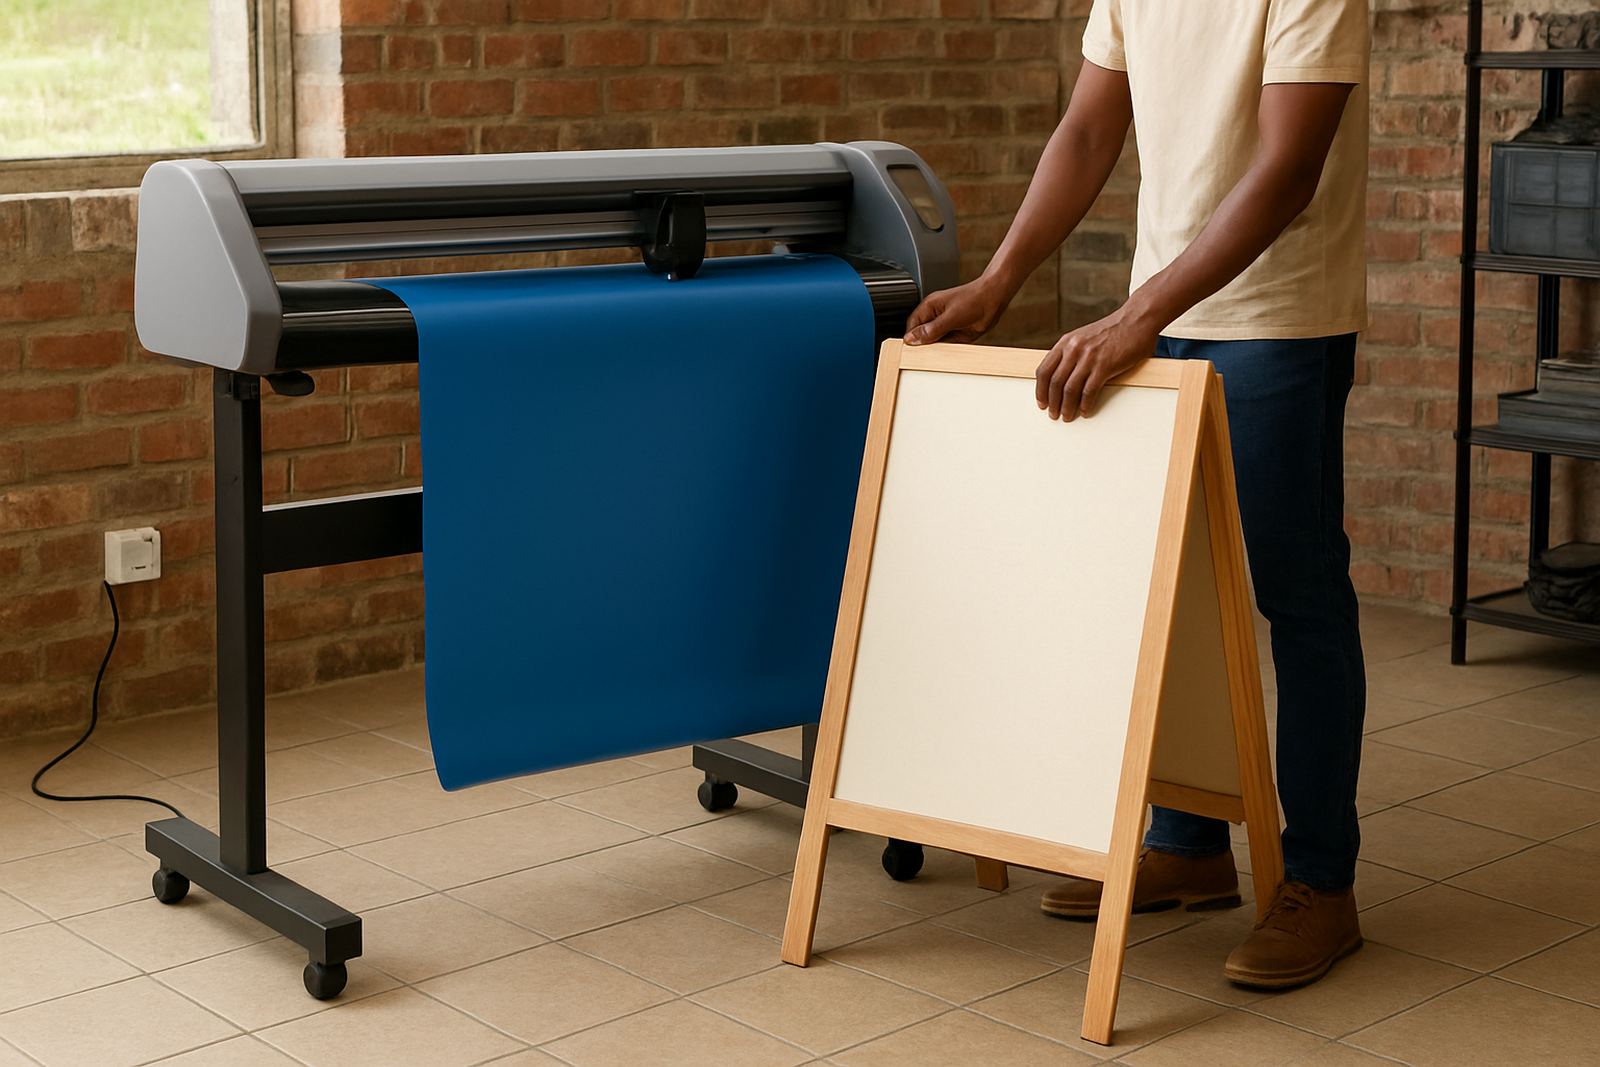
Many alignment problems start with feed movement rather than the artwork. If the media slips, skews or lifts during feeding, the print and cut relation changes. That is common on dusty floors, with worn rollers, or when the roll has been stored in a warm room and starts to curl.
Before a production run, inspect the cutter path and loading points. The media must sit straight, with even pressure on both sides. If one side is tighter than the other, the sheet can walk sideways over a long job. On vehicle decals and label runs, even a small drift becomes obvious by the last panel.
For shops near the coast, humidity can soften some materials and make them behave differently from the day before. In dry inland areas, static can cause sheets to jump or stick. Either way, a quick handling check before the run is worth more than correcting a full batch later.
Use test cuts and short queue checks before full runs
Before you release a full batch, run a small test sheet or a single sample from the same media. This shows whether the cutter reads the marks correctly, whether the blade depth is right, and whether the printed edge and cut path line up where they should.
Do not rely only on a visual screen preview. The screen can look perfect while the actual machine struggles with pressure, feed or offset settings. A test cut lets you catch the problem early, before 200 labels are already printed.
- Run one sample after every major media change.
- Check first, middle and last items on longer jobs.
- Watch for blade drag on sharp corners.
- Confirm that the cut stays true after a pause or power interruption.
If a job stops during load-shedding, repeat the alignment check when power comes back. The media may have shifted while the machine was idle, and that small shift can be enough to throw off the full queue.
Cutter setup, blade offset and operator habits
Once the artwork and media are sorted, the cutter itself needs the right setup. Blade offset, pressure and speed all influence alignment. Too much pressure can pull the media, while too little can leave corners incomplete and force manual trimming. Speed also matters because a fast job on small decals can exaggerate any existing error.
Operator habits count too. Loading the sheet crooked, skipping a media edge check, or changing settings between jobs without noting them can create repeat faults. In a busy shop it helps to keep one person responsible for the final print cut check before release. That keeps the workflow steady even when the queue is full.
At FlexiSIGN Studio we often see the same issue across different towns and shop sizes: the machine is fine, but the setup routine is inconsistent. Once the team follows one process for line checks, mark checks and blade checks, the cutter becomes far more predictable.
A Randburg example from a busy label run
A small print and sign shop in Randburg was running a batch of contour cut labels for a packaging client. The first ten pieces looked fine, but the last few started cutting slightly off the printed edge. The team assumed the cutter needed repair, yet the real issue was a combination of loose roll tension and a mark position that was too close to the edge of the sheet.
After adjusting the media load, increasing the white space around the registration marks and rechecking the blade settings, the full run came out cleanly. The shop cut less waste, stopped hand trimming, and completed the order before the afternoon courier collected it.
That kind of fix is common across Johannesburg, Pretoria, Durban, Cape Town and Gqeberha. It is usually not one big fault. It is three small ones working together, and once they are checked in order the output improves quickly.