What a cut line actually does in sign work
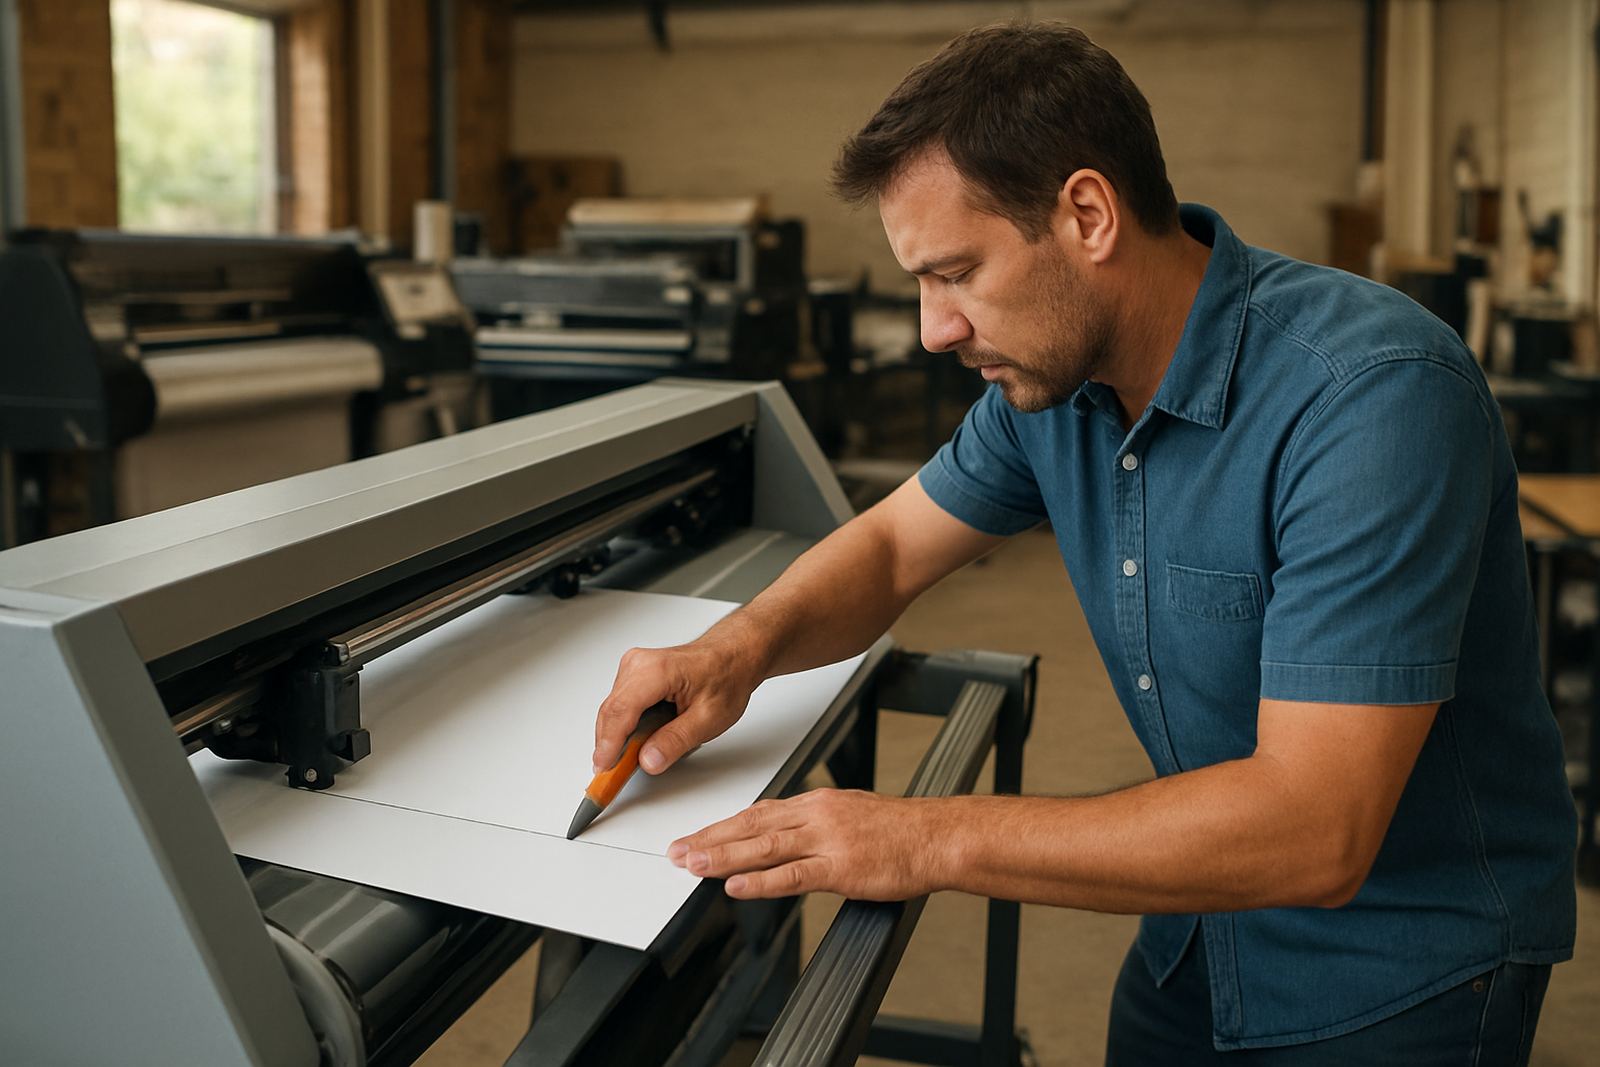
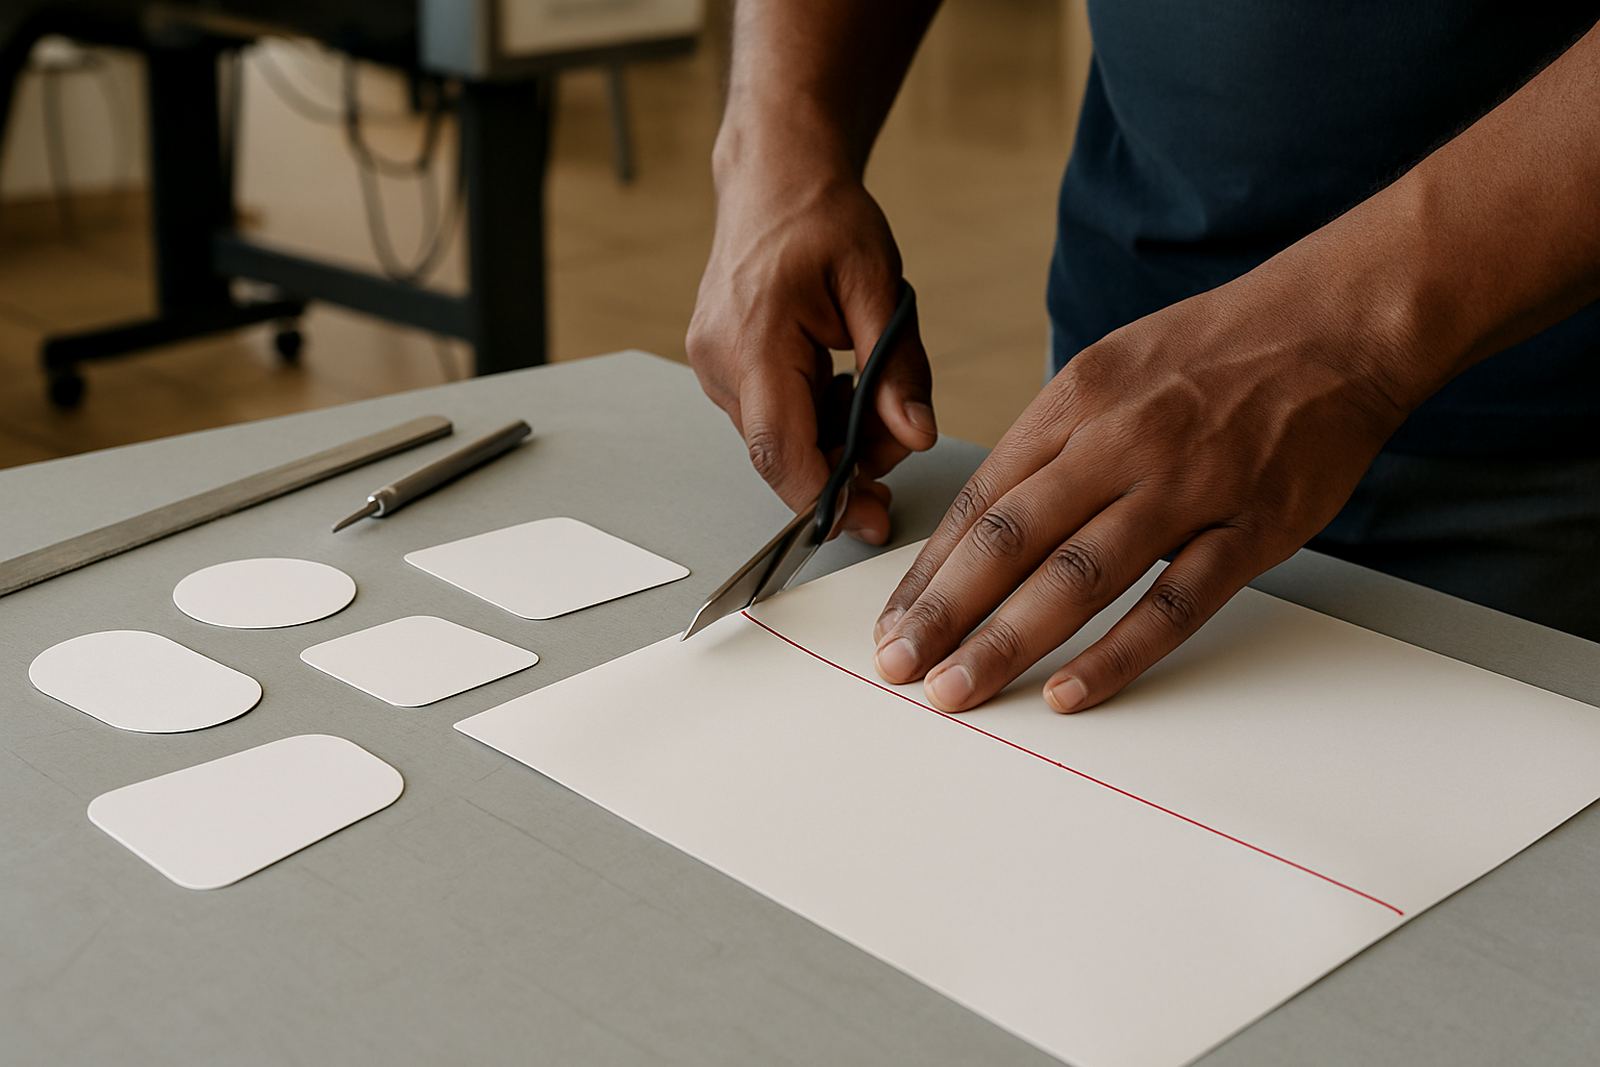
A cut line is a vector path that tells a vinyl cutter where to cut around lettering, logos or a shape. In simple terms, it is the guide line between a printed job and a finished label, decal or contour-cut sign. If the line is messy, doubled or open, the cutter will struggle and the job often ends up on the scrap pile.
For South African sign shops, this matters on everything from small shop stickers to larger promotional runs. When a customer in Randburg wants fifty decals for a fleet vehicle or a print house in Durban needs contour-cut short runs, the cut line must be accurate enough to follow in one pass. That starts in the artwork, before the file ever reaches the RIP.
Build cut-ready paths in clean vector artwork
Good cut lines come from proper vector paths, not traced screenshots or rough artwork. Use a single path where possible, keep nodes to a sensible number and make sure the shape is closed. Too many nodes create tiny bumps and the blade can pause or change direction in ways that show on the final edge.
It also helps to think about the final material. Cast vinyl, calendared vinyl and self-adhesive labels each behave a bit differently. On thinner films, small path errors show quickly. On thicker media, the cutter may drag if corners are too tight. Keep curves smooth and avoid sharp points unless the artwork really needs them.
- Convert text to outlines before sending the file for cutting
- Remove hidden objects, extra shapes and duplicate paths
- Check that all cut lines are on one dedicated colour or layer
- Use a clear stroke setting, not a filled shape pretending to be a line
How contour cuts stay accurate after printing
Contour cutting is where print and cut work together. The print is laid down first, then the cutter follows the registered outline. If the print shifts during drying or the media feeds slightly off, the final cut can miss the edge. That is why registration marks, decent media handling and correct RIP settings all matter.
In our local conditions, humidity and heat can change how vinyl behaves. In Cape Town, coastal moisture can affect drying time and liner movement. In Johannesburg, dry conditions can make some films feel more brittle on cold mornings. A careful workflow allows for these differences and gives the cutter a better chance of landing on the mark the first time.
- Leave enough space between the artwork and the cut mark area
- Allow for material movement after printing and before cutting
- Test the first sheet on a new media type before running the full batch
- Keep a consistent feed path so the cutter reads marks cleanly
Set blade depth and pressure for the job, not by guesswork
A perfect cut line can still fail if the cutter setup is wrong. Blade depth, pressure and speed need to suit the film and backing paper. Too much blade depth scores the liner, causes overcut corners and shortens blade life. Too little depth leaves bridges that tear when the customer weeds the vinyl. A small adjustment can make a big difference.
When we train teams, we show them to begin with a proper test cut rather than jumping straight into production. On a sign shop floor in Pretoria or Midrand, that habit saves time especially when the team is juggling stickers, etched-look vinyl and a rush job for municipal notice boards. A fast machine is useful but a clean cut matters more.
Common cut line mistakes that waste material
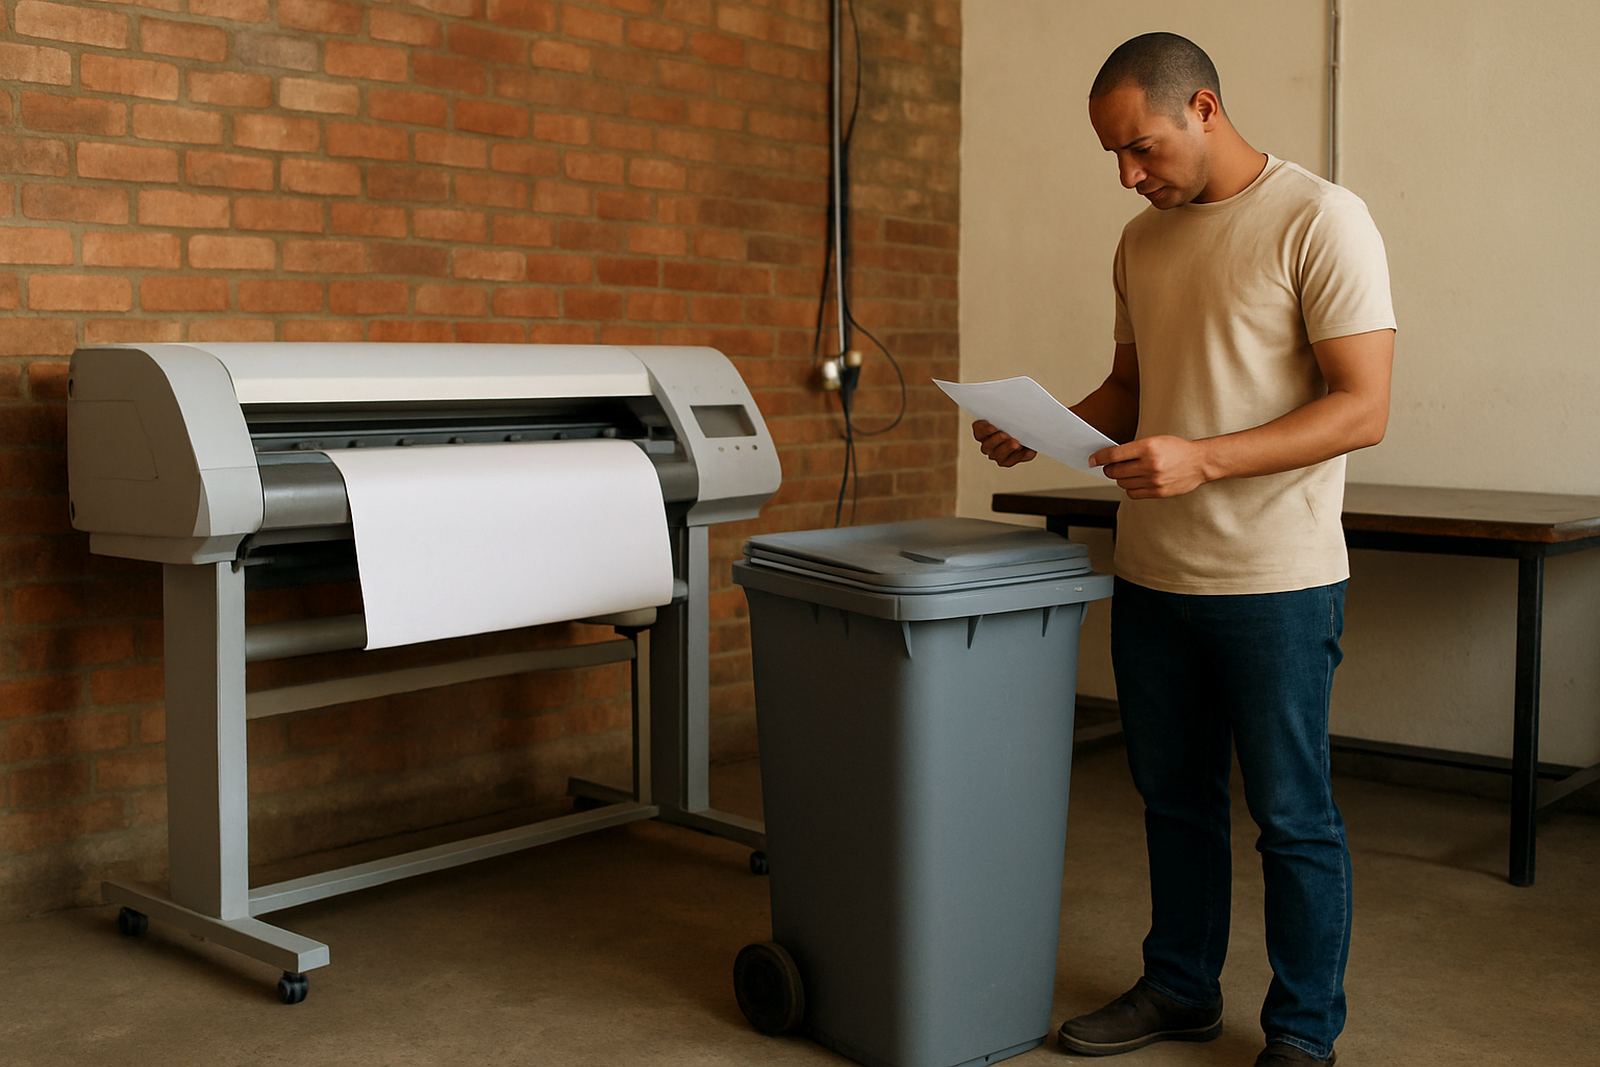
Most bad cut jobs come from the same set of errors. The artwork may look fine on screen, but the cutter reads every path literally. If there are duplicate lines, open paths or overlapping shapes, the blade can cut twice in one area or miss a section altogether. That means more weeding, more hand trimming and often a frustrated operator.
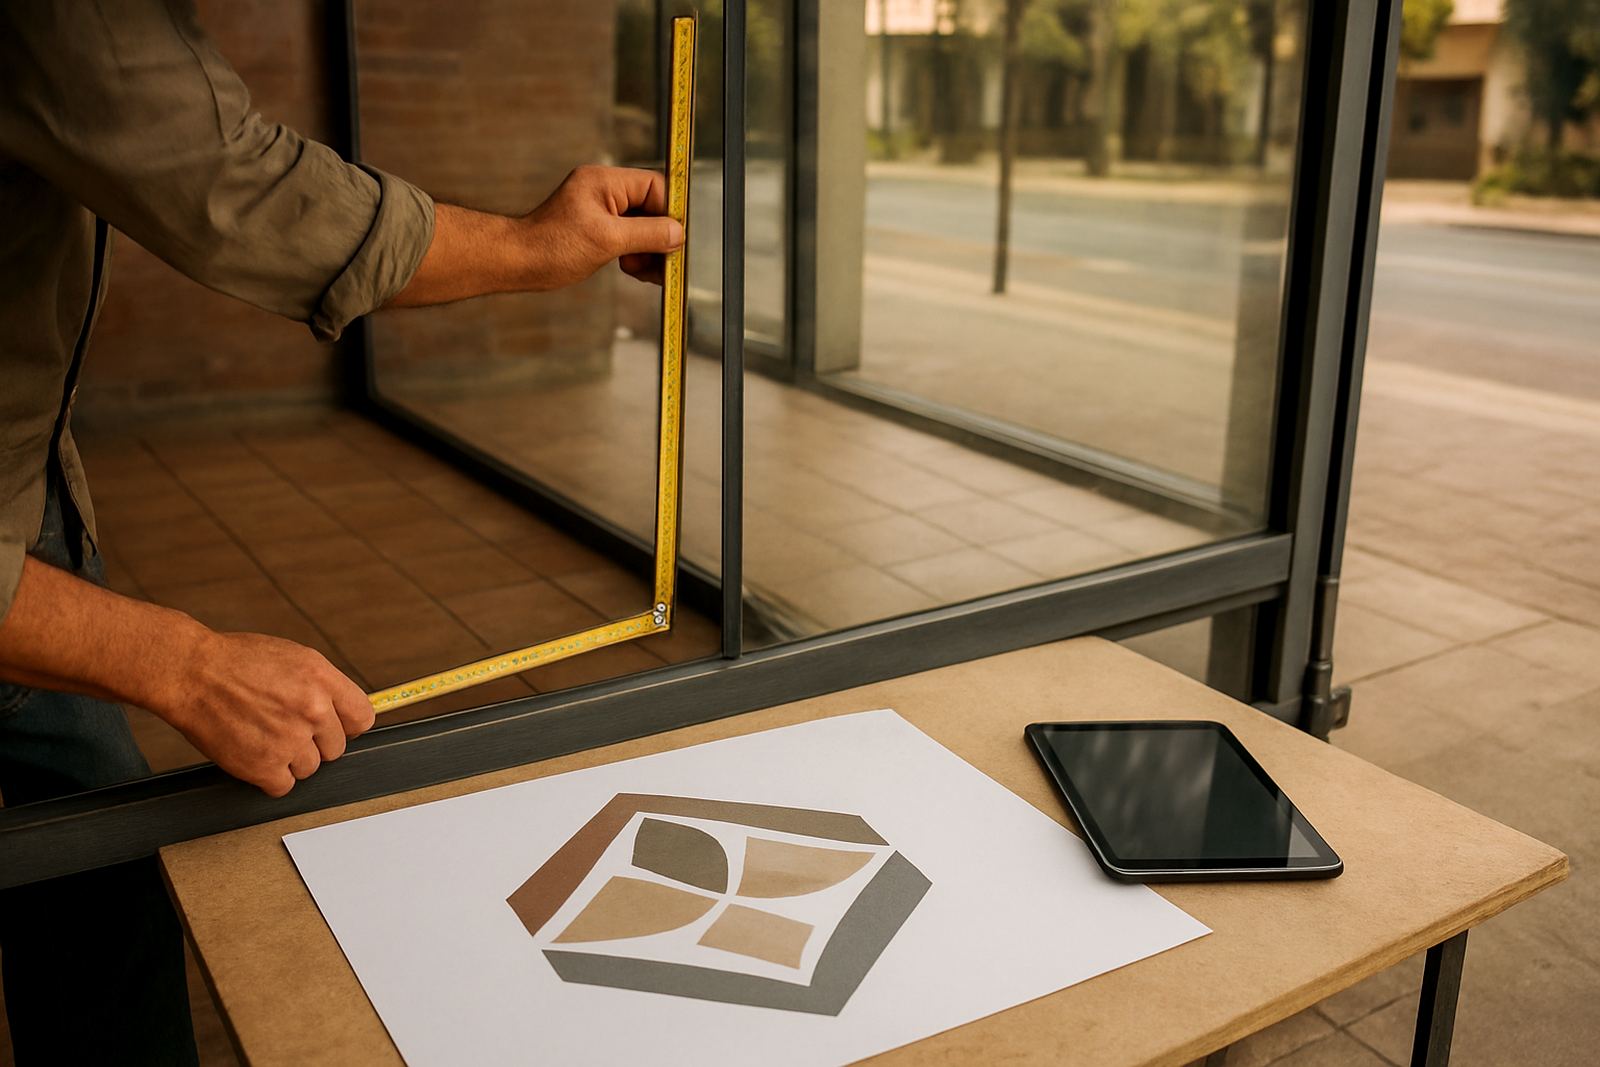
Another common issue is sending print artwork straight to cut without checking scale. If the file is resized after the cut path is made, the contour no longer matches the print. It sounds basic, but it happens often in busy shops where jobs move quickly between design, print and finishers.
- Do not leave stray points or invisible objects in the file
- Do not mix print and cut instructions on the same layer without clear separation
- Do not rely on low resolution artwork to create precise paths
- Do not skip a dry run when you change media or blade settings
A local example from a busy Randburg workflow
A sign shop in Randburg may receive a mixed order on Monday morning: window decals, a few vehicle stickers and a batch of short-run labels for a product launch. The team needs one file to print, one path to cut and a clean handover to the finisher. If the cut line is tidy, the operator can run the job without stopping to guess where the blade should go.
That same shop may also need to train new staff before month end. A clear cut-line process helps the whole team, from the designer setting the vector path to the cutter operator checking registration. Good habits reduce waste and make support calls shorter because the problem is easier to trace when something does go wrong.
A simple pre-flight check before you send the job
Before any cut-ready file leaves your screen, run through a short checklist. It only takes a few minutes and it can save an entire sheet of material. Whether you are in Durban, Gqeberha or Centurion, the same basics apply: clean paths, correct size, correct layers and the right cutter settings.
- Confirm the cut line is a single vector path
- Check that the artwork is at final size
- Verify colour coding and layer naming for the RIP
- Make sure registration marks are placed where the cutter can read them
- Run a small test before full production, especially on new media
Once those steps become routine, cut lines stop being a source of stress and become part of a dependable production flow. That is what good sign work needs, especially when deadlines are tight and the shop floor is already busy.