Start With Artwork That Gives the Vinyl Room to Move
Most weeding problems begin in the artwork, not at the cutter. Thin bridges, tiny islands and crowded lettering all make the vinyl harder to lift cleanly. If a job is going to be weeded by hand on a busy weekday, keep the shapes clear and give every element enough space to lift without tearing.
For cut vinyl text, simple letterforms usually weed better than decorative scripts. Tight joins inside letters like a, e, o and p need enough opening so the waste peels out in one clean motion. Where possible, avoid stacking too many fine details into a small logo. A logo that looks good on screen can become a time sink on the bench if the gaps are too narrow.
- Use bold line weights where the artwork allows it.
- Increase spacing between letters when the client will not notice the difference.
- Keep small detail for print, not for cut vinyl when the job calls for quick turnarounds.
- Separate layers clearly so the cutter does not chase tiny overlaps.
Choose Cut Settings That Match the Film, Not Just the Machine
Weeding is easier when the blade cuts through the face film but leaves the liner intact. If the blade is too deep, the liner gets marked and the waste grabs onto the cut edge. If the pressure is too light, you get partial cuts that break during weeding and force you to pick at every letter. Neither saves time.
Every roll behaves a bit differently. A glossy intermediate film may cut cleanly at one setting, while a thicker reflective job needs a slower pass and a slight pressure change. Always test a short sample before starting a full run, especially on a new roll or after blade replacement. On humid coastal jobs in Durban or Gqeberha, the liner and adhesive can feel different from the same material in a dry inland workshop, so it helps to test daily if the conditions have shifted.
- Use a small test cut before full production.
- Check blade depth before adjusting pressure.
- Slow the cutter down for fine text or dense artwork.
- Replace worn blades before they start dragging through the film.
Use Weed Boxes, Contour Gaps and Cut Paths That Save Time
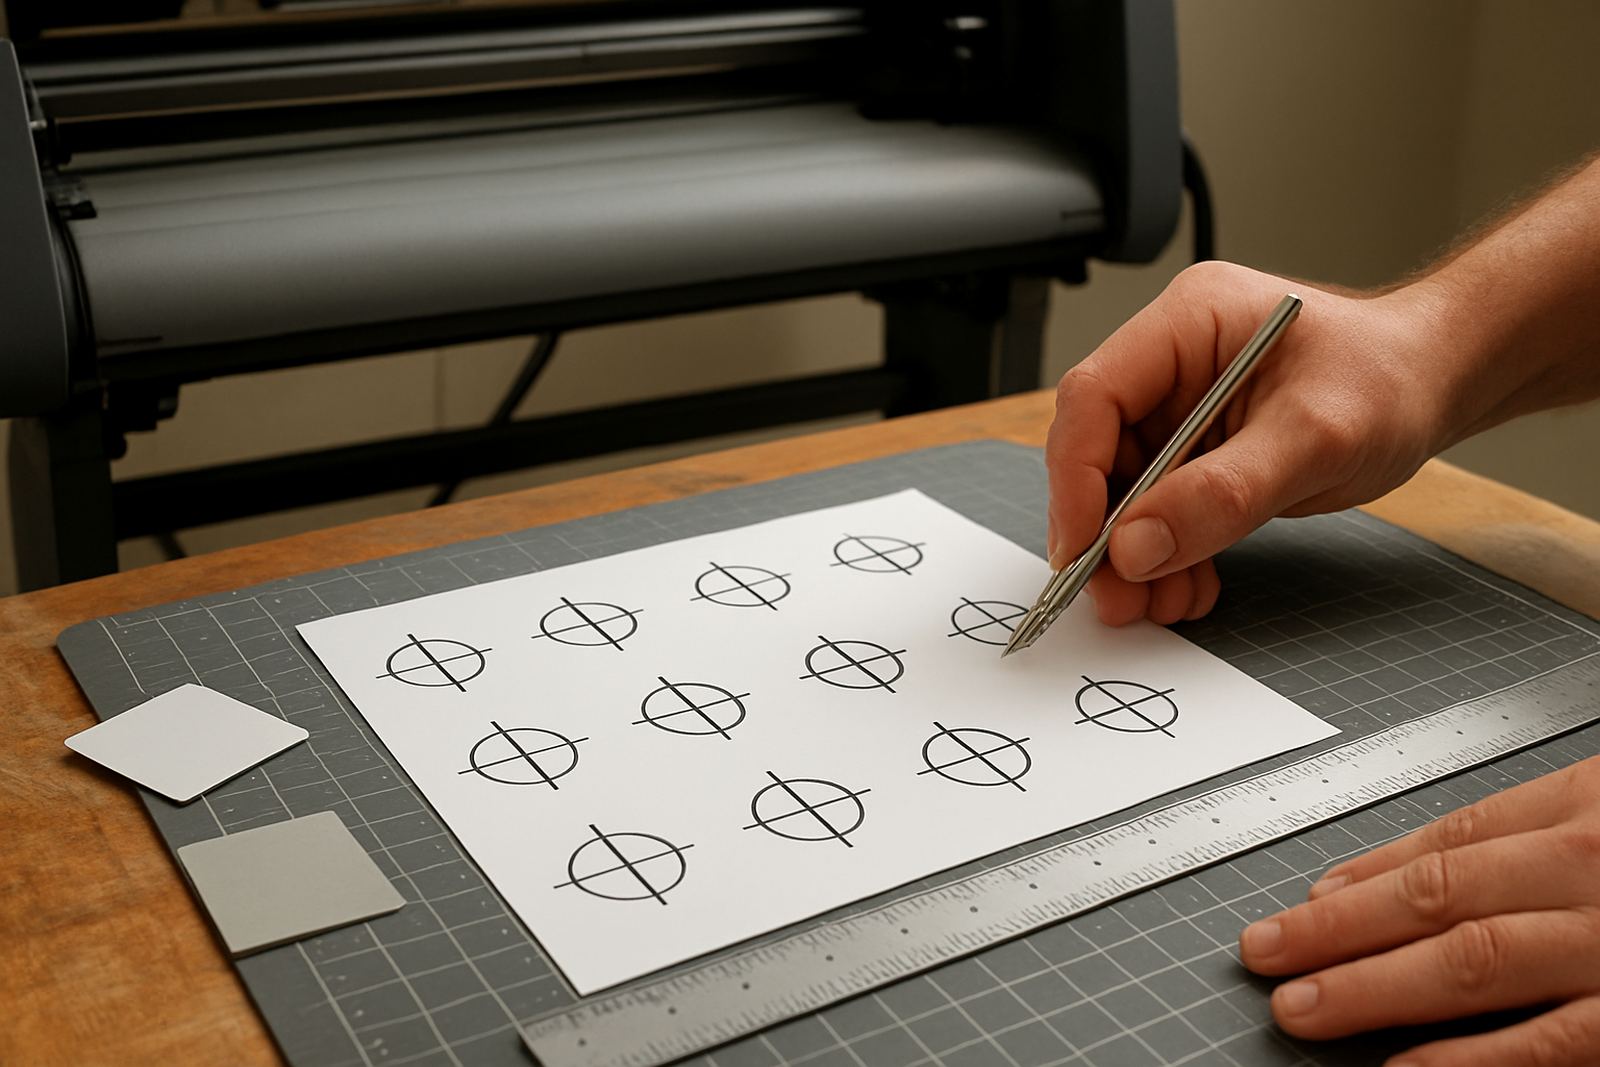
A good cut file should help the operator, not fight them. Weed boxes around repeated graphics make it much easier to lift excess vinyl in one go. For batch jobs, a sensible cut path can reduce the amount of fiddly work at the bench and keep pieces from lifting in the wrong order. This matters when a shop is pushing out menu boards, safety labels or a run of vehicle decals on the same day.
It also helps to think about where the knife starts and ends. If the start point is placed inside a hidden part of the shape, the cut line is less likely to leave a visible mark. On some jobs a small change to the cut order can make the difference between a clean peel and a messy patchwork of scraps.
- Place weed boxes around repeated pieces.
- Hide start points in less visible areas.
- Reduce unnecessary nodes that create tiny stutters in the cut.
- Keep separate colours and layers organised before sending to the cutter.
Mind the Bench Conditions: Heat, Dust and Static
Even a perfect cut can weeding badly if the workspace is working against you. In hot inland shops around Pretoria and Midrand, vinyl may soften a little and adhesive can tack up faster than expected. In dusty workshops, tiny particles cling to the face film and get in the way when you are trying to lift narrow sections. Load-shedding can also interrupt a job mid run, and a cold restart on the machine sometimes leaves the next pass slightly off if the cutter needs a quick check.
Keep the bench clean, use a steady light source and store rolls flat or upright in a dry place. If the room is very dry, static can make small cut pieces cling to the waste sheet. A light anti-static wipe or a simple change in handling can help. None of this replaces good settings, but it does make the finished job easier to work with.
Train the Team to Weed the Same Way Every Time
When different staff members handle the same job in different ways, the workshop loses time. One person pulls too fast, another picks at corners, and a third trims bits that should have come out in a single sheet. A clear method keeps the work tidy and helps new staff settle in faster.
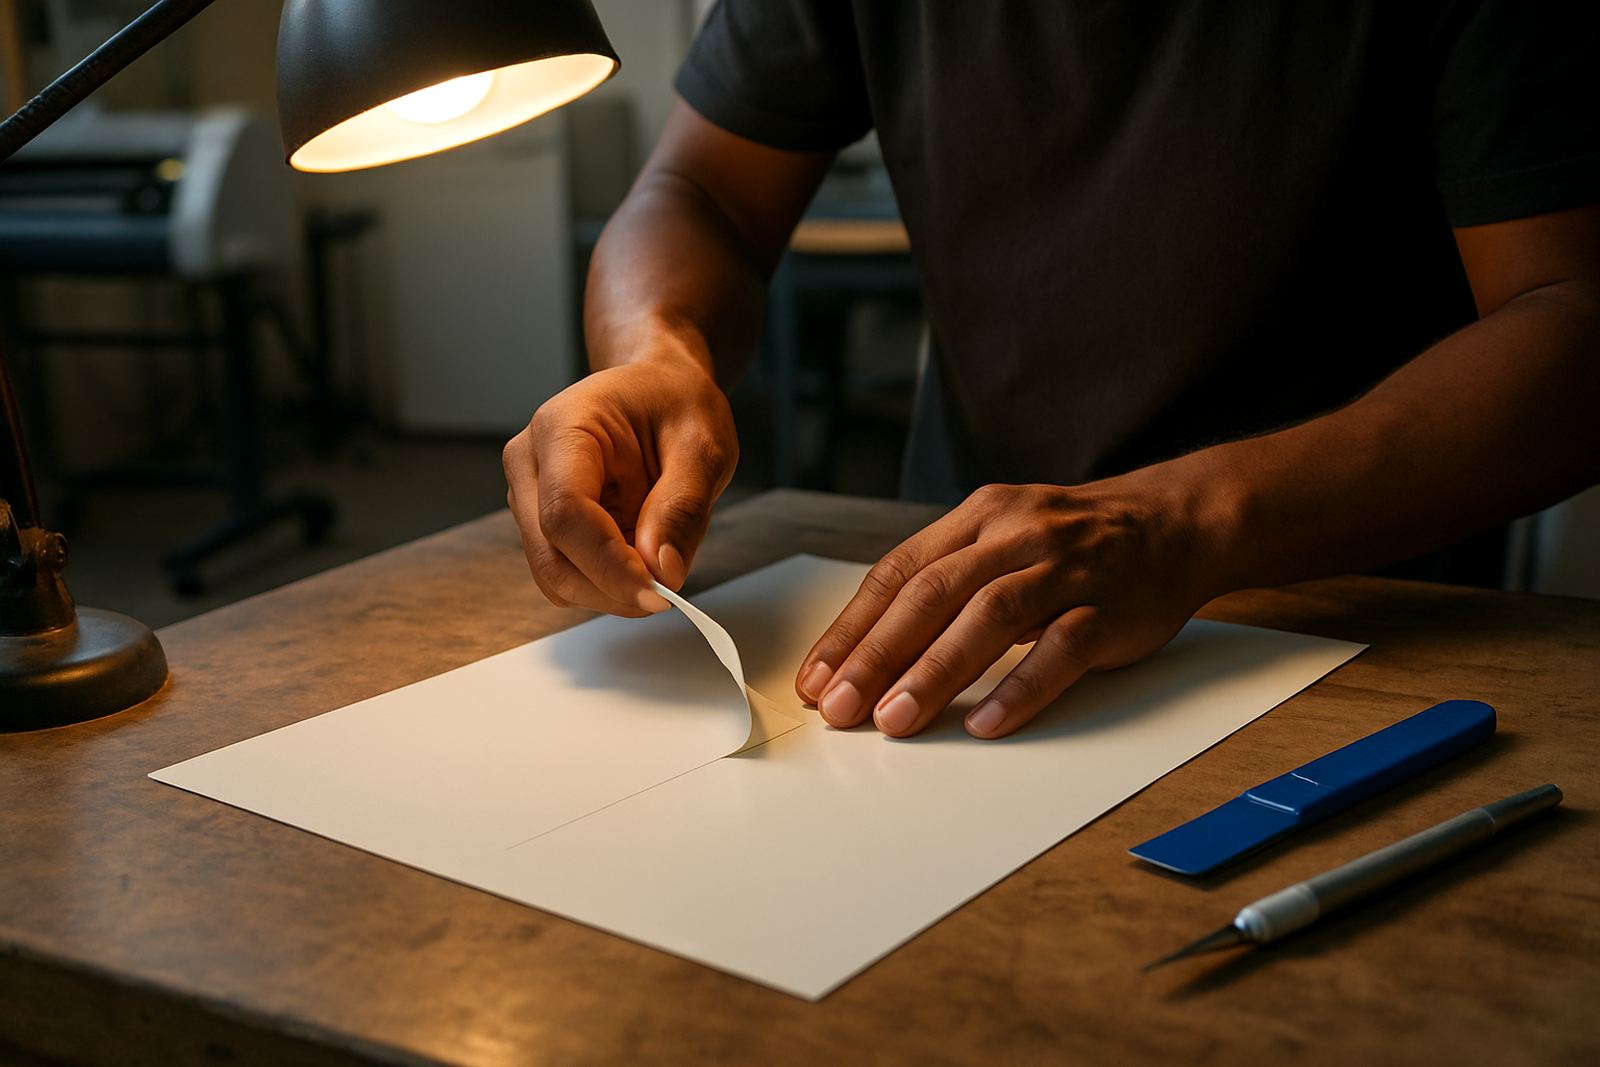
That is why a basic weed routine matters. Start at the right corner, peel at a steady angle, and stop to release tight islands before they tear. On larger jobs, cut the waste into manageable sections so the vinyl does not spring back on itself. With teams in Johannesburg, Centurion or Randburg, a short training session can save hours over the month. It also helps when the shop is running different media types and the operator needs to know which film is likely to be forgiving and which one needs a slower touch.
- Set one standard weed direction for the team.
- Show new staff how to release tight counters first.
- Use a consistent peel angle to avoid lifting letters.
- Keep a notes sheet for film types, preferred settings and problem jobs.
A Better Weed Means Better Output on the Floor
The point of easier weeding is not just less frustration. It is cleaner finished work, fewer ruined pieces and steadier production when orders stack up. A sign shop that can weed faster can turn jobs around sooner, use less scrap and keep more of the day focused on output instead of rework.
For a practical example, a small Randburg shop doing daily shopfront lettering for local contractors might cut the same style of film across several sizes. Once the artwork is simplified, the cut depth checked and the weed order standardised, that shop can move from one-off problem solving to repeatable production. The work becomes more predictable and the cutter stops being a bottleneck.
Better vinyl weeding is mostly about discipline. Keep the artwork clean, match the settings to the film, and do not ignore the workshop conditions around you. Small changes add up quickly when you are pushing through jobs every day.