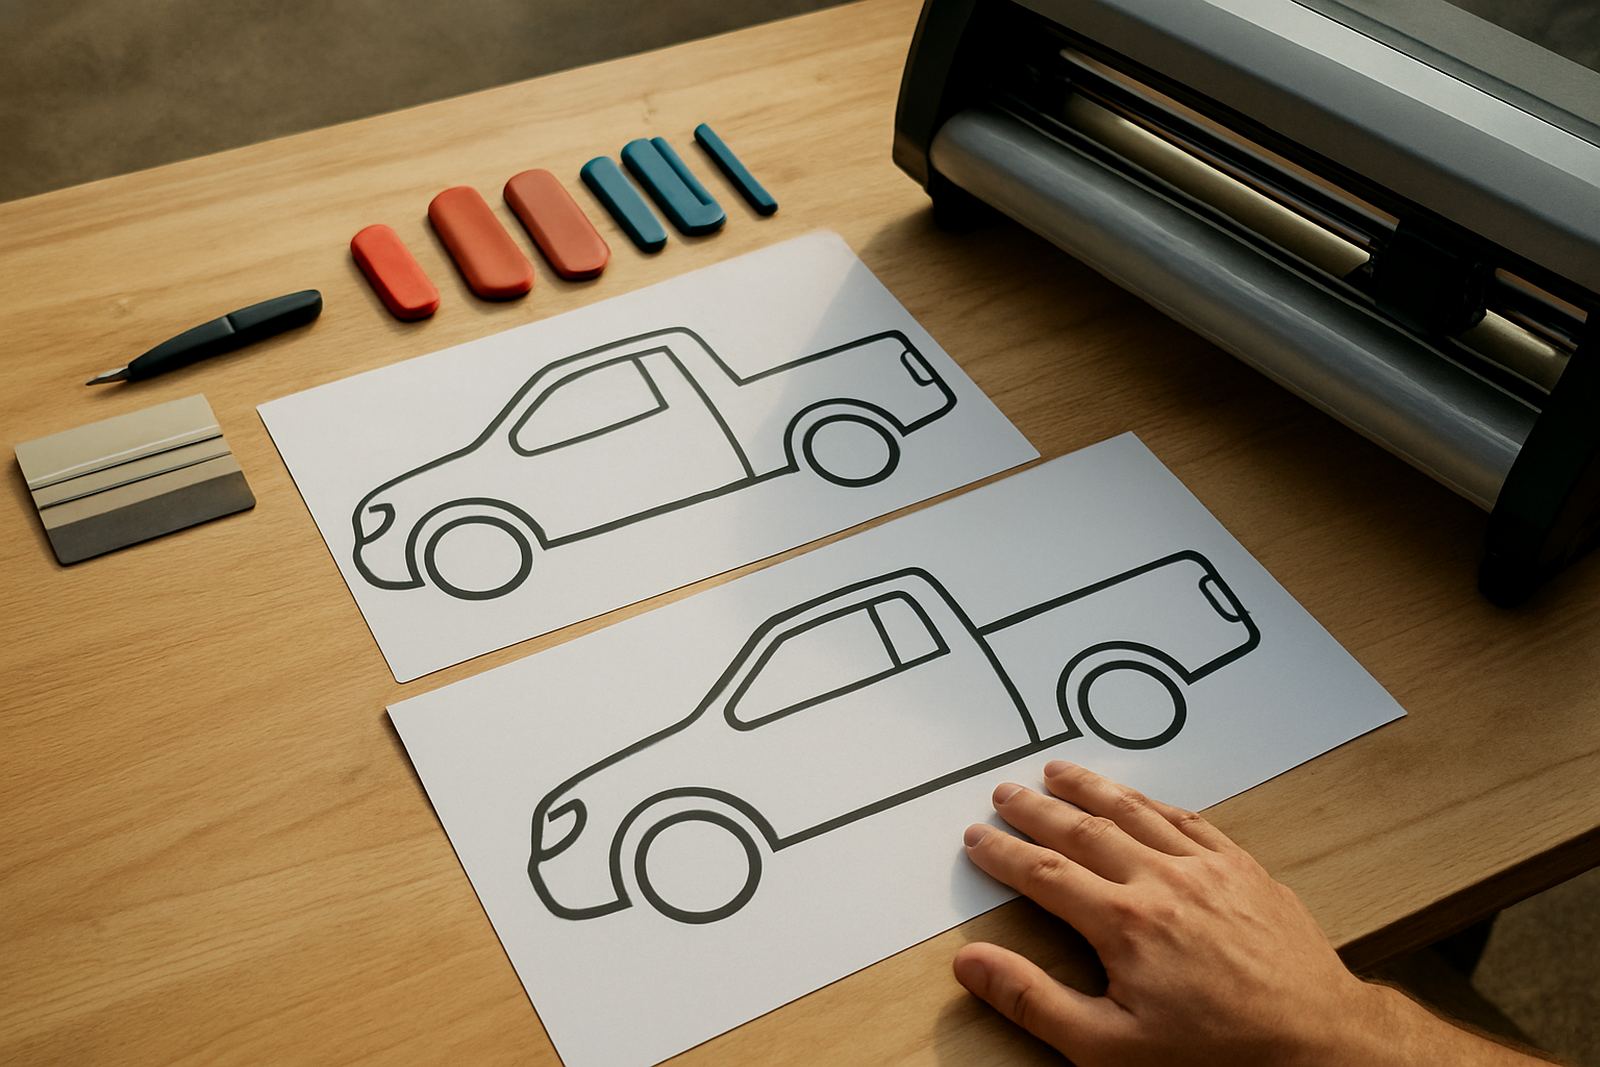
Start with the vehicle, not the artwork
Before you open a file, confirm the vehicle details. A passenger hatch, bakkie canopy, panel van or delivery truck all needs different panel breaks, door gaps and safe trim margins. Measure the body in metres and millimetres, then note handles, mouldings, aerials, curves and any existing branding that must stay in place.
Good software work starts with clean measurements and a clear layout plan. When the template is wrong by even a few millimetres, the fit on site becomes slower and waste increases. For fleets in Johannesburg or Durban where jobs often move quickly between branches, that extra waste can hit margins hard.
- Confirm vehicle make, model and year.
- Check if the vehicle has roof racks, bull bars or side steps.
- Mark panel joins, curves and door seams.
- Decide whether the job is full wrap, half wrap or simple striping.
Set up artwork for print and cut correctly
Vehicle graphics usually involve a mix of print, contour cutting and panel nesting. In your software, set the correct document size and work in the final scale from the start. Keep a consistent bleed around each panel, and make sure crop marks do not sit too close to the trim line. If you are producing reflective striping or cut vinyl fleet names, the cutter setup must match the media width and tracking settings.
For installers, it helps when files are named clearly, for example by vehicle registration or fleet unit number. That makes reprints faster when a bonnet panel is damaged or a door needs replacement after a repair. It also helps teams in different branches stay aligned when work moves between Randburg, Pretoria and Cape Town. Colour profiles should be checked before export, especially if the same design must look right on gloss vinyl and on laminated print media.
- Use one named layer for each panel or section.
- Build a bleed and safe zone for every print piece.
- Convert linked images and check resolution before export.
- Test cutter marks and registration marks on a small sample first.
Keep fleet colours consistent across jobs
Fleet branding lives or dies by colour consistency. A courier van in Pretoria and another in Gqeberha must look like the same fleet, even if the print runs happen weeks apart. That means managing profiles, monitor settings and RIP queues properly. If the office screen is too bright or the profile is wrong, the orange in a logo can shift toward red or brown, and the client notices immediately.
Set a standard workflow for every repeat client. Use the same profile for the same material, keep a record of ink limits and drying times, and make sure the RIP queue is set to the correct media. Coastal humidity in Durban and Gqeberha can affect drying and handling, so jobs may need a different curing window from inland work. For long fleet runs, it pays to proof one panel before releasing the full batch.
- Use one approved colour reference file for repeat work.
- Check profiles after software updates or workstation changes.
- Store notes on print media, laminate and install conditions.
- Proof critical brand colours before full production.
Plan for installation before the vehicle arrives
Software does not stop at the print stage. It should also help the team prepare for installation. A proper job file should show panel sequence, trim marks, overlap direction and any part that must be applied dry or wet. This reduces time on the floor and helps installers work cleaner when the vehicle is booked in for a short window, such as a municipal vehicle or a delivery fleet that cannot be off the road for long.
When a shop uses job notes well, the installer can check if the wrap needs edge sealing, extra stretch allowance or relief cuts around deep recesses. That is especially useful on curved tailgates and side panels. In Randburg and Midrand where many teams service commercial fleets, the difference between a tidy handover and a rework job is often the quality of the setup file.
- Include a fitting order for each panel.
- Note any areas that need extra stretch or heat control.
- Flag parts that must be removed before fitting.
- List post-install checks for lifting edges and trapped air.
Build a repeatable workflow for quotes and reprints
Vehicle graphics get easier when your team uses the same steps every time. Start with the enquiry, confirm the vehicle and the scope, then create the job file and lock the version before production. If a customer wants two more units later, you should be able to open the original artwork, check the notes and send it back to print without rebuilding everything from scratch. That saves time and avoids small changes that creep in unnoticed.
A good workflow also helps when staff change or when a new cutter or RIP workstation is added. New staff induction should cover file naming, queue handling, proof approval and where to find older jobs. If you are scaling from one van a month to a full fleet programme, a clear process keeps the quality steady and the costs predictable.
- Use one naming system for all jobs and revisions.
- Save approved proofs with the final production file.
- Keep notes on installation dates and vehicle numbers.
- Review recurring issues every quarter.
A quick pre-production checklist for sign teams
Before you send a vehicle graphics job to print or cut, run a final check. This short review can prevent expensive reprints, especially when a fleet is due for handover or the customer wants the vehicle on the road by Friday. It also helps if your team works across Johannesburg, Pretoria, Durban, Cape Town and Gqeberha, where jobs may be handled by different people at different stages.
Use this as a practical stop point before release:
- Vehicle details confirmed and measured.
- Artwork scaled correctly and checked for spelling.
- Bleeds, overlaps and safe areas added.
- Colour profile and media setting matched.
- Cutter and RIP settings tested for the chosen material.
- Installation notes added for the fitting team.
- Proof approved by the client, with no open changes.
For teams that want steadier output, better colour control and cleaner handovers, the right software setup makes a visible difference from the first panel to the last. It keeps the work moving, even when load-shedding, late approvals or coastal weather try to slow things down.