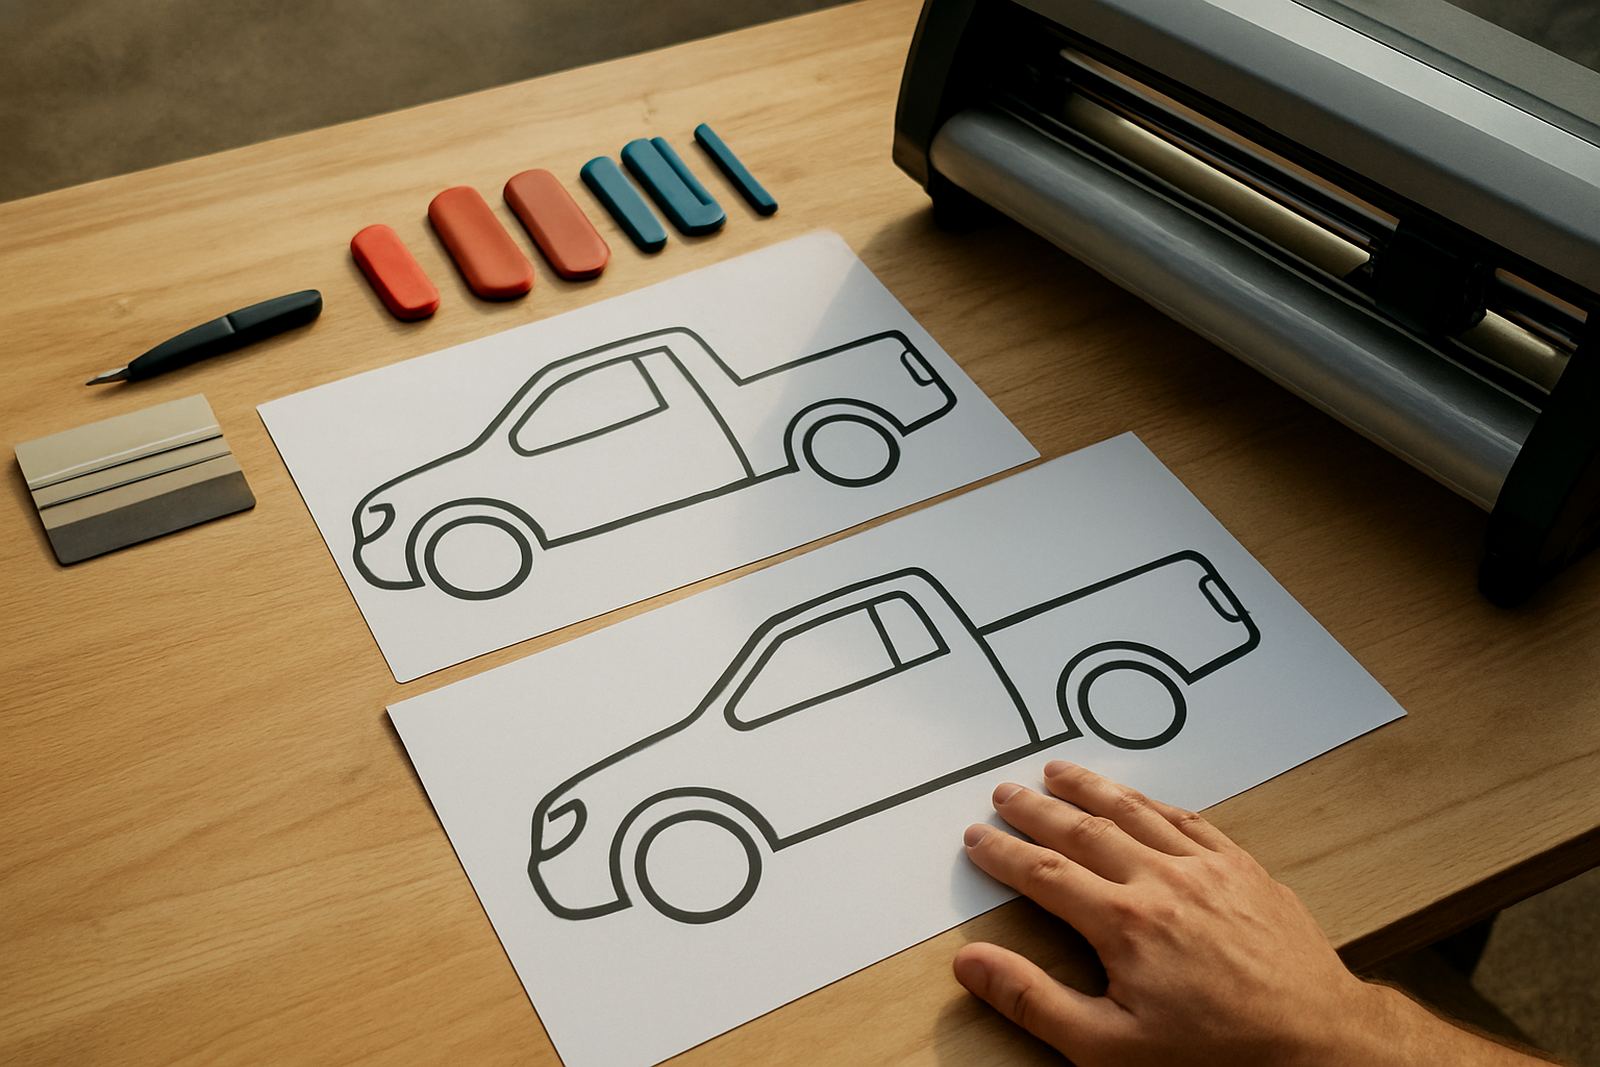
Start with the jobs your team must handle
Before any training starts, map the daily jobs that must be done well in your shop. That usually includes sending artwork to the RIP, setting cut paths, checking colour, nesting jobs, reprinting correctly and keeping queue times under control when the pressure is on.
For a small shop in Randburg, one person may do all of this. For a larger team in Johannesburg or Pretoria, the work is often split between design, production and finishing. The training plan should match the way your people actually work, not a general classroom outline.
- List the top 10 job types you run every week.
- Mark who creates artwork, who sets up the RIP and who loads the cutter.
- Note where mistakes happen most often, such as colour shifts or bad cut lines.
- Record which machines are used, including cutters, printers and laminators.
Separate training by role so no one sits through irrelevant work
Owners need to understand workflow, licence control and output quality so they can make informed decisions. Operators need hands on steps for production, while designers need file setup, colour handling and correct export settings. If everyone gets the same lesson, half the room switches off and the other half still leaves with gaps.
A practical plan often works best in short blocks across a few days. That helps teams keep production moving and gives people time to test what they learned on real jobs. It also helps with load-shedding schedules, because training can be arranged around power availability and backup systems.
- Owners: workflow, reporting, upgrade planning and support process.
- Operators: queue setup, device setup, cutter help and reprint control.
- Designers: file prep, colour management, nesting and proof checks.
- New staff: basic terms, shop process and supervised practice.
Build a 3 stage rollout that fits a real production week
Stage one should cover the basics: installation, activation, interface walk-through and where files must be saved. Stage two should focus on daily production tasks such as queue management, rip settings, cutter setup and common fixes. Stage three should be live job practice with your own files, not sample artwork that looks neat but does not reflect your day-to-day work.
For branches in Durban, Cape Town and Gqeberha, include a check for coastal humidity because it can affect media handling, drying time and cutter consistency. In Midrand and Centurion, the training may need to account for busy peak periods and shared equipment. Keep the plan close to your actual output volumes so the team learns under proper working conditions.
- Stage 1: installation and login basics.
- Stage 2: production workflow and setting checks.
- Stage 3: live job practice with supervision.
- Stage 4: sign-off and support handover.
Use a checklist before the trainer arrives
A smooth session starts with preparation. Gather your licence details, computer spec, cutter model information, printer settings and any current workflow notes. Make sure the team knows which jobs will be used for practice and that the right person is available to confirm business rules, especially if more than one branch is involved.
It also helps to clean up the working station first. Remove old shortcuts, archive unused files and check that the computer has enough storage for artwork, rip output and backups. A slow machine can waste more time than the training itself, so test it before the session begins.
- Confirm the software version and licence status.
- Check PC power, RAM, storage and network access.
- Prepare sample files in the correct formats.
- Have cutter and printer settings ready for review.
- List the exact problems the team wants solved.
Choose the right mix of onsite, remote and class training
Some lessons are easier in person, especially first time cutter setup, workflow changes and staff induction. Other topics can be handled remotely, such as licence activation, queue checks or helping a team correct a file issue during production. Class training in Randburg is useful when you want several staff members to learn the same process at once and compare notes.
For shops that serve clients across South Africa, a mixed plan usually gives the best value. Use onsite visits for setup and critical fixes, then follow up with remote support once the team starts applying the process on real work. That way the learning continues after the formal session is over.
- Onsite training for setup, workflow changes and machine alignment.
- Remote support for follow-up questions and file correction.
- Class training for team members who need the same foundation.
- Visits to Midrand or Centurion when hands-on checks are required.
Measure progress after training and keep improving
The training plan is not finished when the session ends. Give the team a simple follow-up list for the first two weeks and check whether jobs are moving through the RIP with fewer errors. Look at reprint rates, wasted media, colour consistency and how quickly a new operator can handle standard work without help.
After that, decide whether you need refresher training, upgrade planning or an annual support plan. If your shop grows, add new staff induction and a review of the current workflow. A good plan should change as your team changes and as your production load grows, especially when orders come in from more than one city.
- Track reprints, miscuts and file corrections.
- Review queue speed and output consistency each week.
- Update the team notes after every major job type.
- Schedule refresher sessions before busy seasons.