Start with the output device, not the artwork
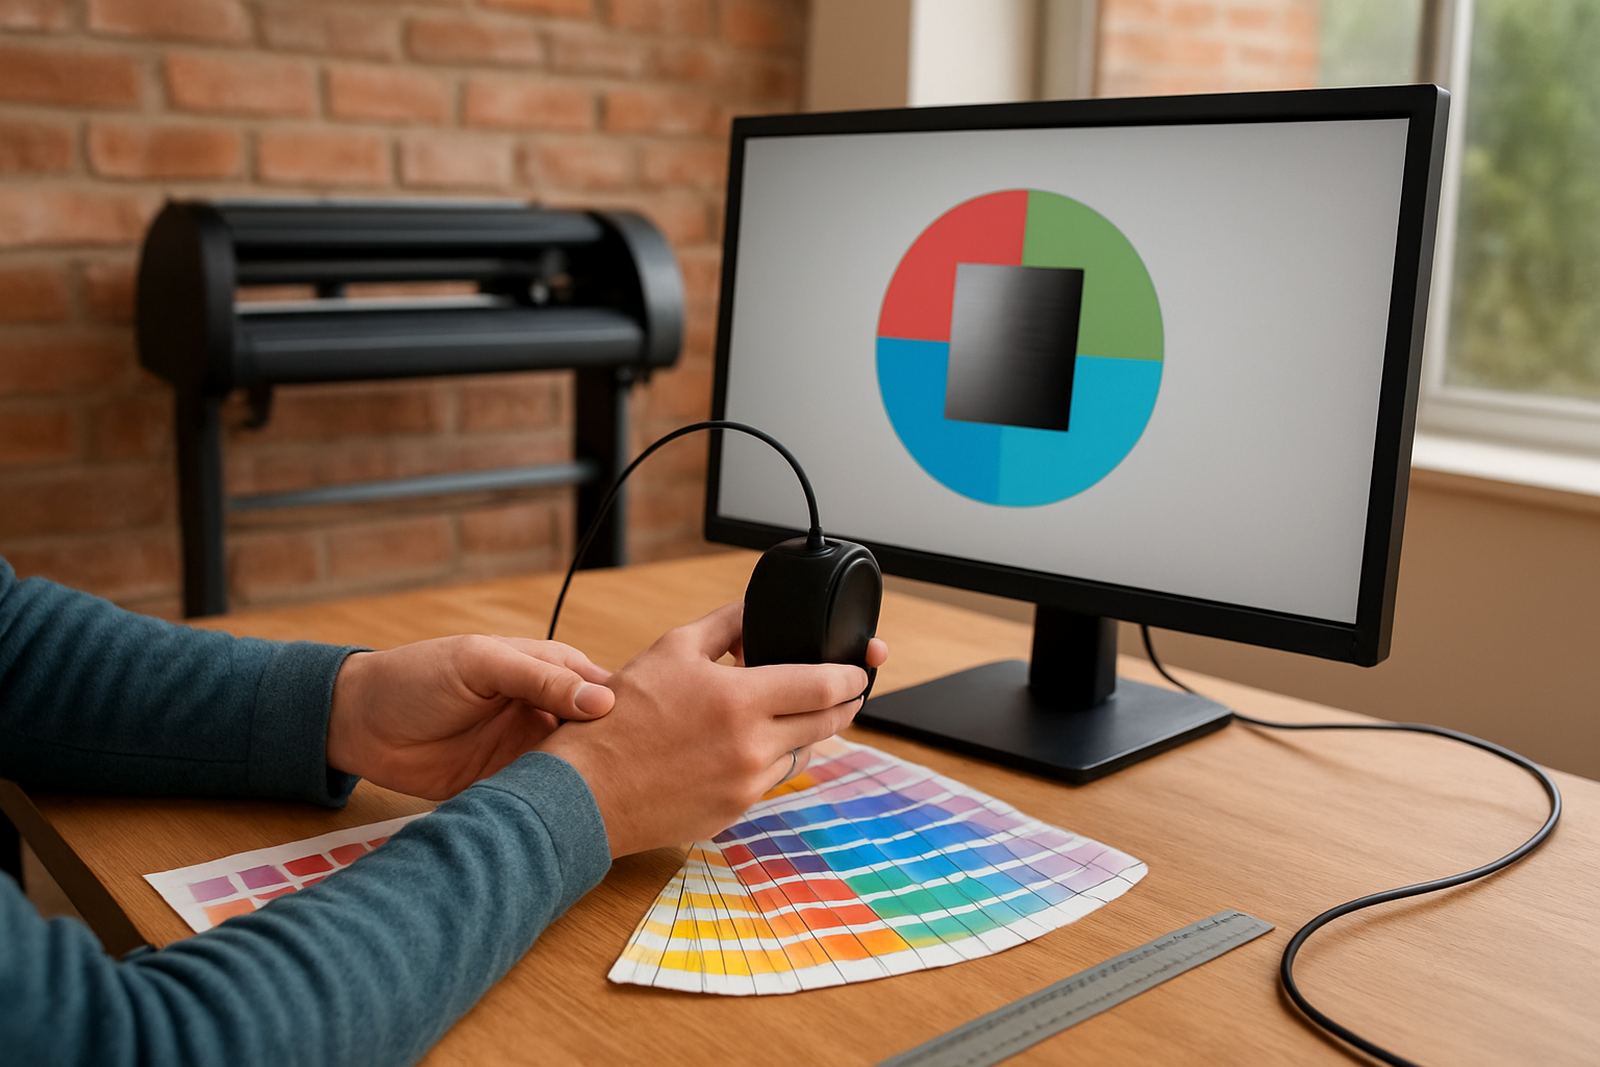
The most reliable colour workflow begins with the printer, cutter or production system you use every day. If the output device is not profiled properly, even a neat design file can shift in red, blue or grey once it hits production. That is where repeatable output starts, with the machine, the media and the ink set. In Randburg and Johannesburg we see this often after a new installation or a machine move, where the first few jobs are close but not consistent.
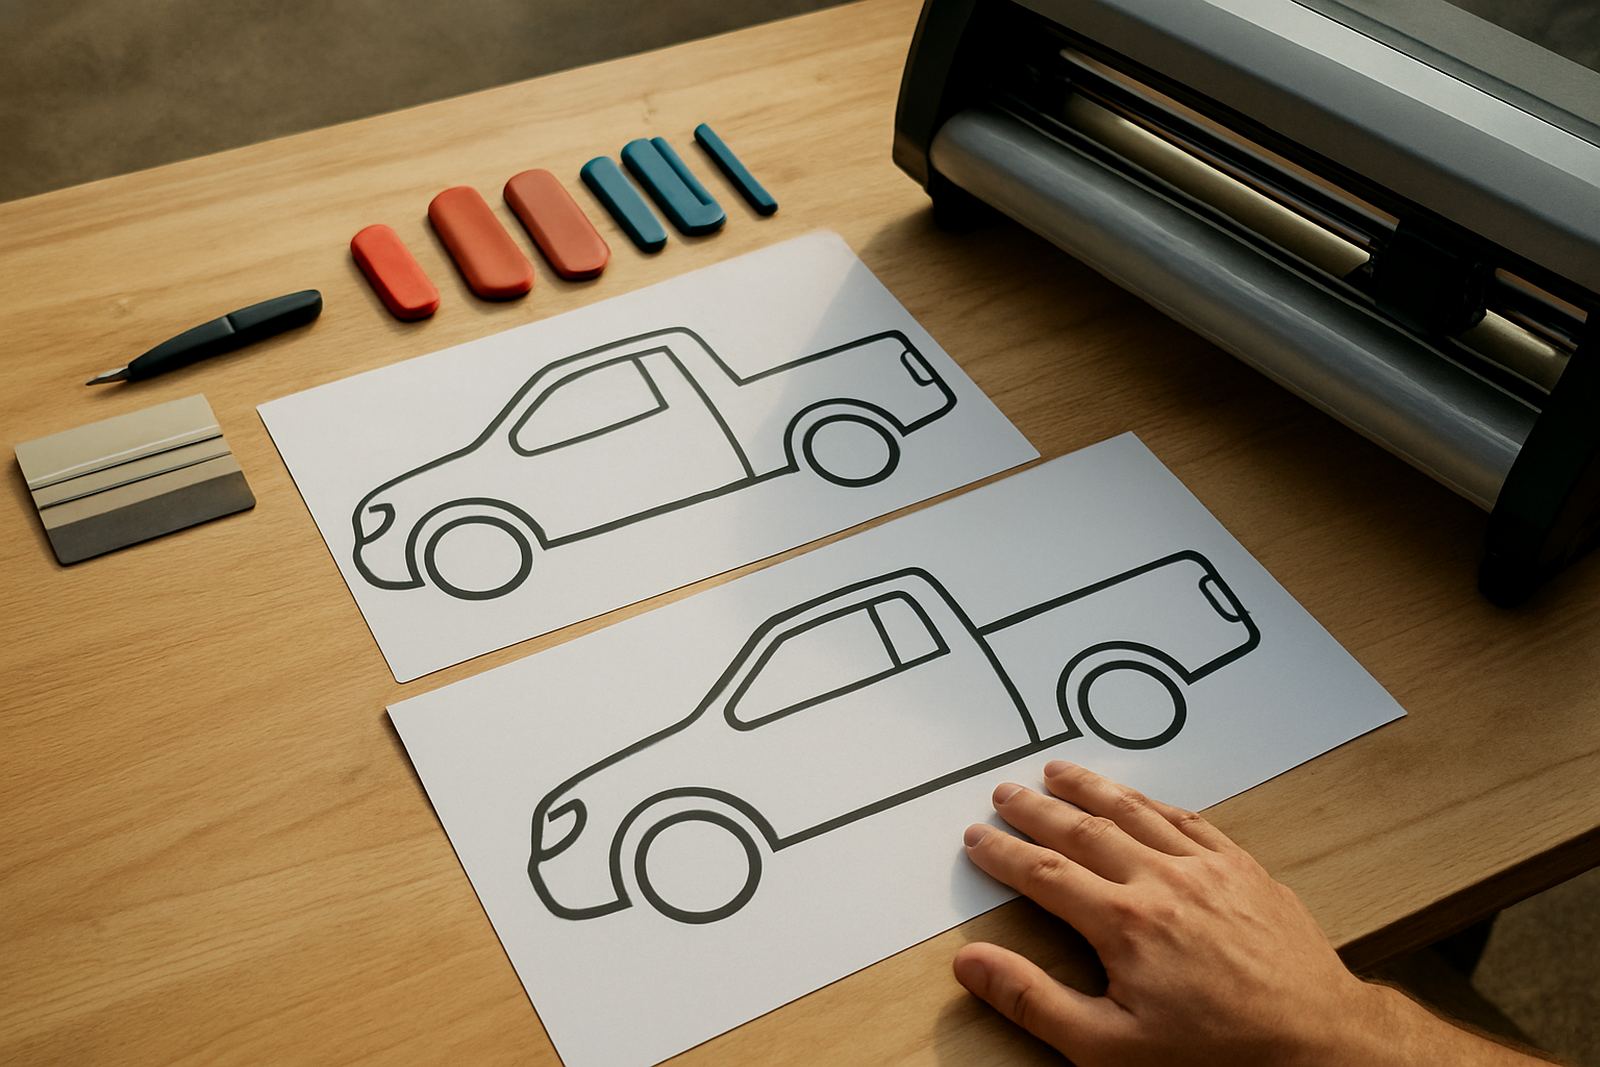
For sign shops working on vehicle graphics, shop fronts or indoor display work, the first step is to note the exact media type, coating and finish. Gloss vinyl, matte vinyl and coated banner material all react differently. Coastal humidity in Durban and Gqeberha can also change drying times and colour behaviour, so the same settings used inland may need adjustment.
- Record printer model, ink type and media used for each main job type
- Keep one approved setup for each common substrate
- Recheck settings after servicing, head replacement or a workshop move
Use profiles to keep colour predictable
Profiles translate what your design software sends into a result your production device can reproduce. Without a proper profile, a deep black may look washed out, skin tones can go flat, and greys may pick up a tint. A good profile should be matched to the actual machine, ink and media combination, not copied from a different shop and hoped for the best.
When setting profiles, test small panels before committing to a full production run. Print a controlled chart, allow it to dry fully, then compare it in daylight and under the usual work lights in your shop. If your team works with short turnaround jobs in Pretoria or Cape Town, this check can save a costly reprint later. It is also worth saving separate profiles for fast draft output and final colour-critical work.
- Use one profile per media and print mode where possible
- Label profiles clearly so staff do not choose the wrong one under pressure
- Check profile results after changes to ink, media or humidity conditions
Handle spot colours with a fixed process
Spot colours are important for logos, branded signage and repeat orders. A customer wants the same corporate blue in March and again in September, and the printer should be set up to get close without guesswork. The key is to build a fixed process for spot colours, instead of letting each operator make a new decision every time. That kind of inconsistency causes most of the complaints we handle during support calls.
Use a controlled spot colour library for your common brand colours and keep notes on the closest production matches. If a client gives you a Pantone reference, test that against your own output system and keep a sample for reference. For repeat jobs, store the approved file, the profile used and the output notes together. This saves time in busy shops where several staff members may handle the same account.
- Keep a master sample folder for common brand colours
- Save approved colour values with the job ticket or folder name
- Do not rely on screen colour alone for final approval
Build a repeatable proofing routine
Proofing gives your customer a fair view of what the final job should look like. It also gives your team a standard before full production begins. The aim is not perfect on-screen matching, but a practical approval process that works in real production conditions. If a client signs off a proof from the support office in Pretoria, the job should still match when it prints in Durban or Gqeberha.
A simple proofing routine works well for most South African print rooms. Print a small colour strip, a logo block and any critical text colours. Allow the proof to dry, then compare it with the approved reference under neutral light. If the proof is acceptable, save that version and use it as the standard for future repeat jobs. It also helps to write down who approved it and when, becuase that cuts down on disputes later.
- Print a proof on the same media or a close match where possible
- Let the proof dry fully before final approval
- Store the proof reference with the final job file
Set up your shop for clean colour workflow
Colour management is not only a software task. It also depends on how the shop is set up, how jobs move through production and how staff handle files. A tidy workflow keeps colour decisions from changing halfway through a job. That matters when a busy sign shop is handling cut vinyl, printed panels and installation work at the same time.
Good workflow setup should include named folders, clear file versions and one person responsible for final output settings. If your cutter operator and printer operator use different habits, the result can drift from one job to the next. Training new staff on the same process from the start helps prevent avoidable mistakes, especially when teams are under time pressure before a site install or month-end delivery.
- Keep a single colour standard for common jobs
- Limit who can change core output settings
- Train new staff on approved profiles and spot colour procedures
Troubleshoot shifts before they become reprints
When colour changes suddenly, do not start by changing every setting. Work through the job in a fixed order. Check the media, profile, ink condition, file settings and environment. Then confirm whether the change affects all jobs or only one file. That approach helps narrow the problem quickly and avoids more wasted material.
In South African conditions, the most common triggers are poor humidity control, expired media, a missed profile switch or a recent software update that reset a queue setting. If your output looks different after load-shedding or a power restart, check the device settings and print a small test strip before resuming production. A few minutes of checking is cheaper than a full reprint and missed install window.
- Test one controlled sample before repeating a full order
- Compare the current print with the last approved version
- Check whether the issue is device-wide or file-specific