Artwork preparation for studios that sell print-ready work
A graphic design studio often works between two very different needs. Clients want fast concepts and strong visuals, while the print or sign shop needs accurate sizes, correct colours and clean cut paths. When those two sides are not aligned, the result is wasted vinyl, misaligned contour cuts and jobs that have to be run again.
For studios in Johannesburg, Pretoria, Durban, Cape Town and Gqeberha, the pressure usually comes from same-day approvals, short lead times and mixed production methods. One job might be a vehicle decal, the next a shop fascia, then a set of window graphics for a client in a coastal area where humidity can affect materials and handling. Your setup must handle print files, cutters and production notes without confusion.
FlexiSIGN Studio supports design teams that prepare artwork for sign shops, in-house studios and print service providers. We help with software installation, licence activation, cutter setup help and workflow setup so artwork leaves the studio in a format that the production team can use straight away.
Typical studio equipment and where the bottlenecks start
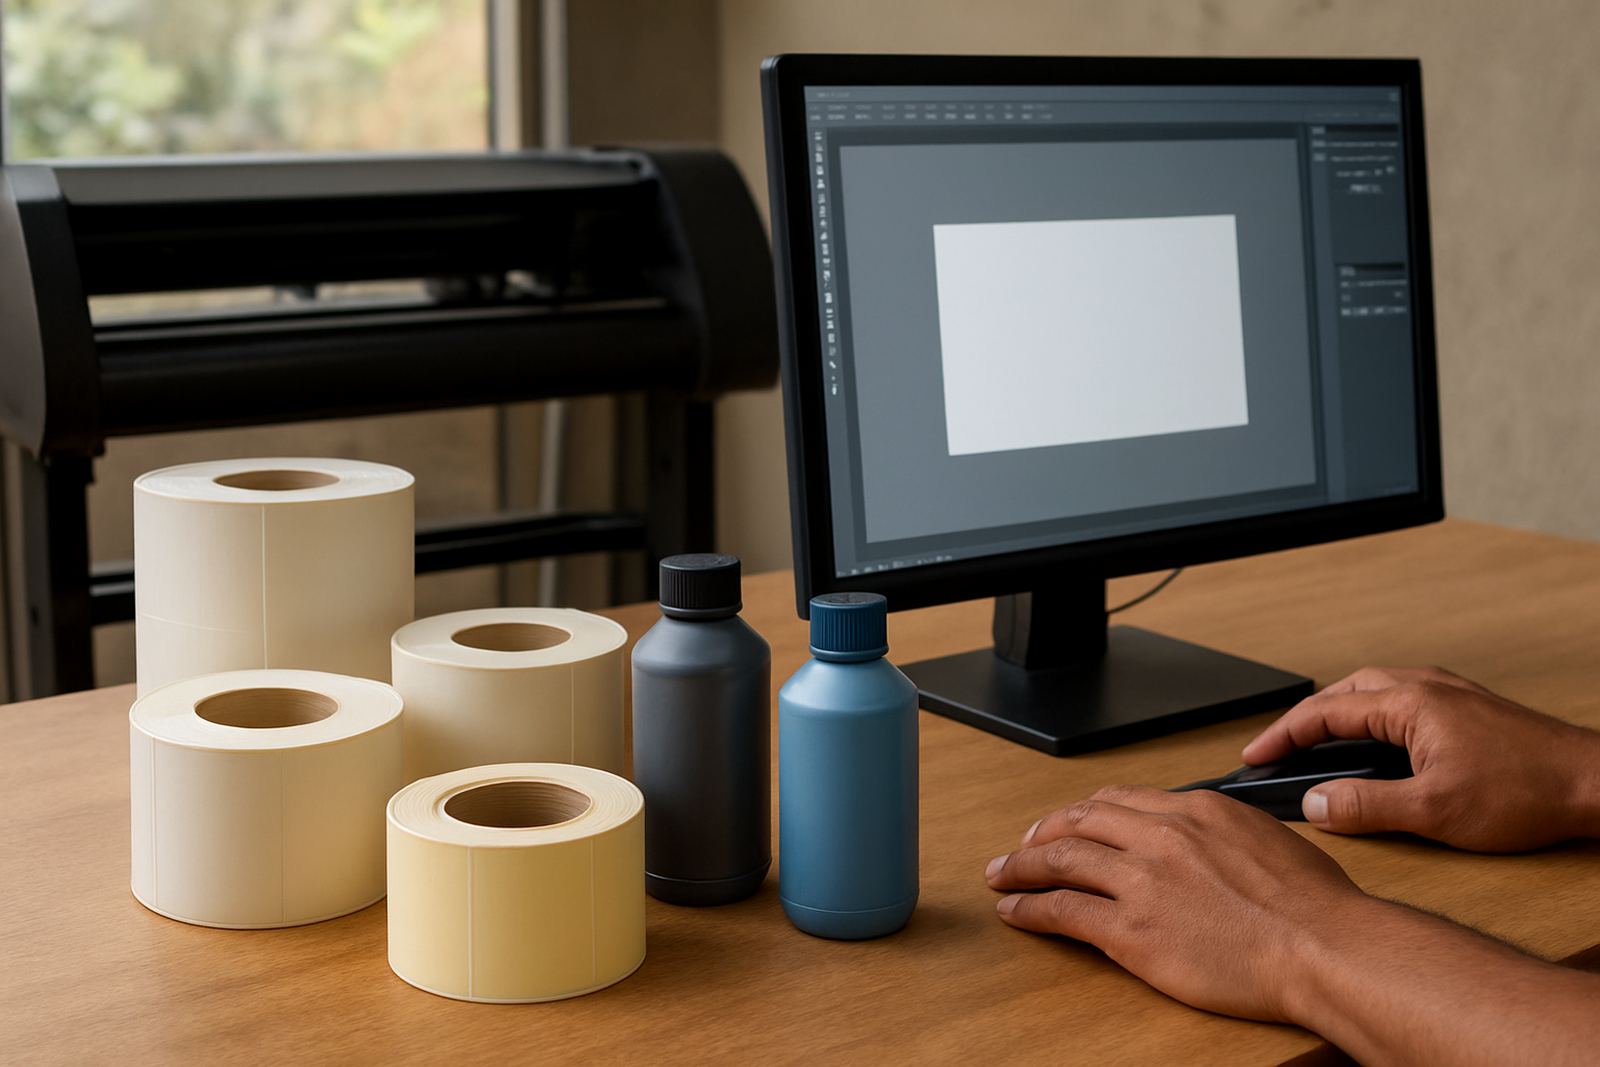
A working design studio normally has a mix of design PCs, a print queue station, one or more vinyl cutters and access to a large format printer or a production partner. Some studios also handle heat transfer work, labels or short-run branded media. The common bottleneck is not the machine, it is the handover between design and output.
- Design workstations with current graphic software and enough memory for layered files
- Windows-based RIP setup for print and cut workflows
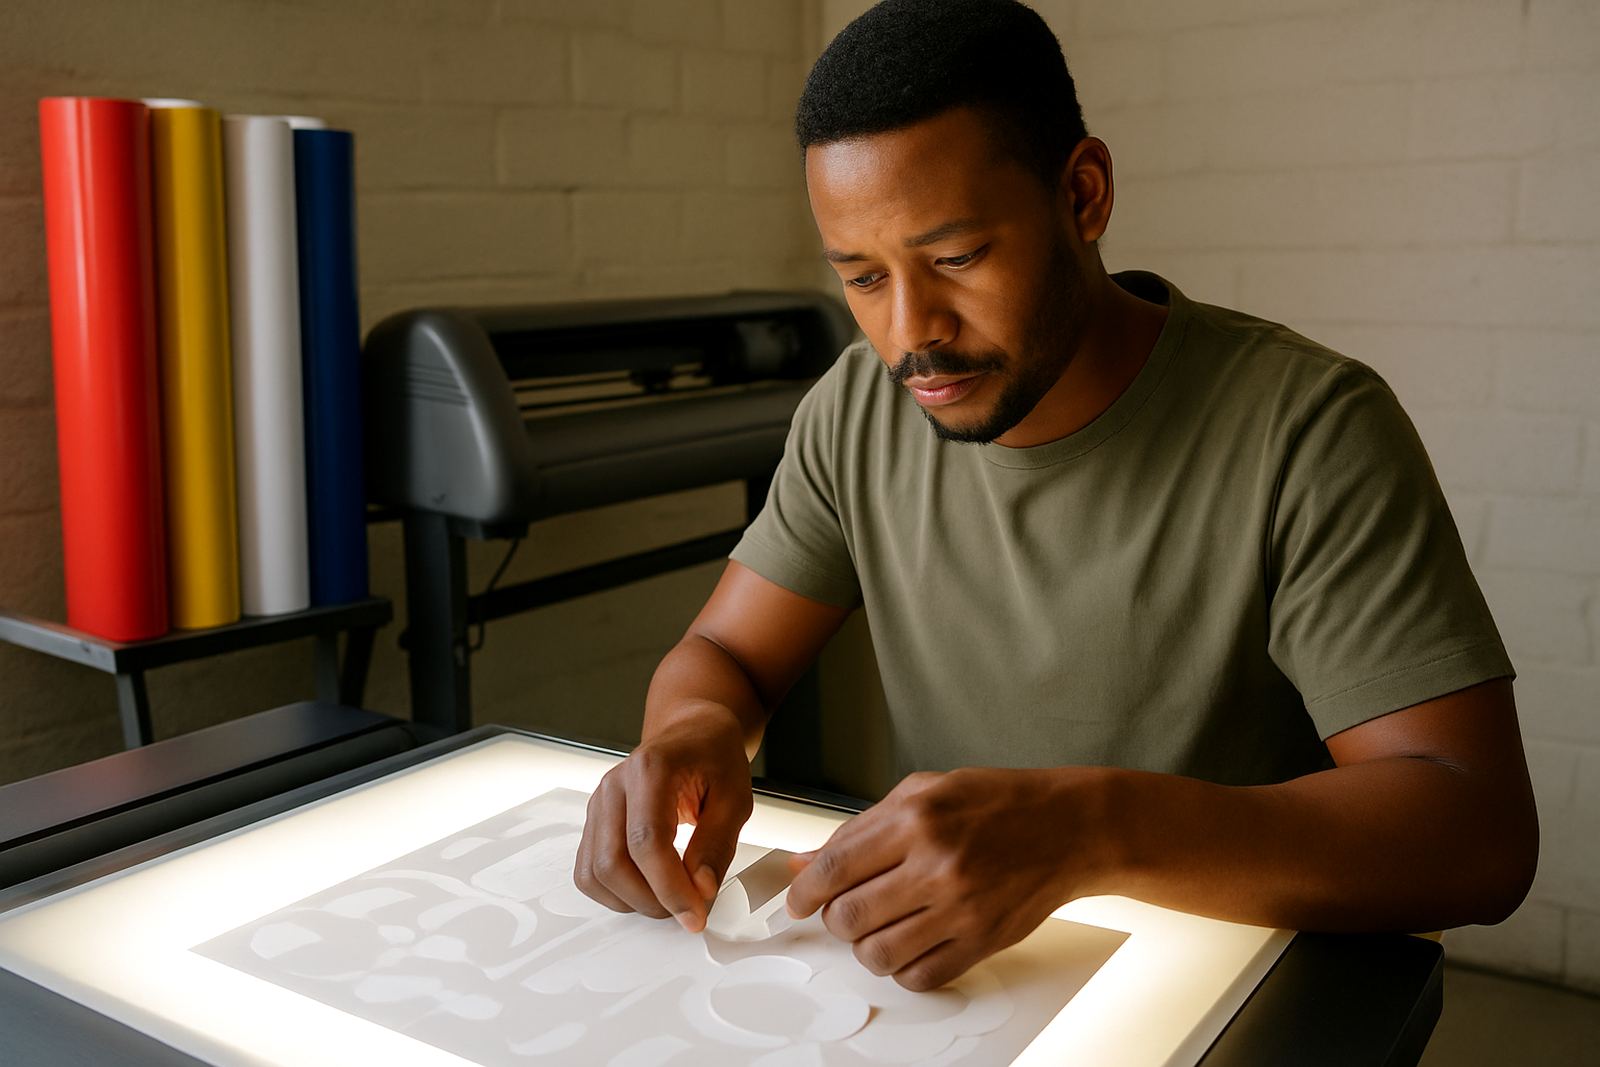
- Vinyl cutters for decals, labels and contour work
- Colour-managed proofing files for client approval
- Network or shared folders for production handover
If your studio is still moving files by memory stick or personal messaging apps, errors creep in fast. Missing cut lines, wrong outline thickness and flattened artwork are common problems. A proper setup makes it easier to keep job folders, proofs and final exports in one place, even when the team is working under load-shedding interruptions or after-hours approval requests.
Planning the layout so artwork and production stay in step
In a smaller Randburg studio, it is worth planning the room around the job flow, not just the furniture. The designer should be able to check proofs, send RIP jobs and confirm cutter settings without walking across the office ten times a day. Where possible, keep design, print review and production notes in one shared process.
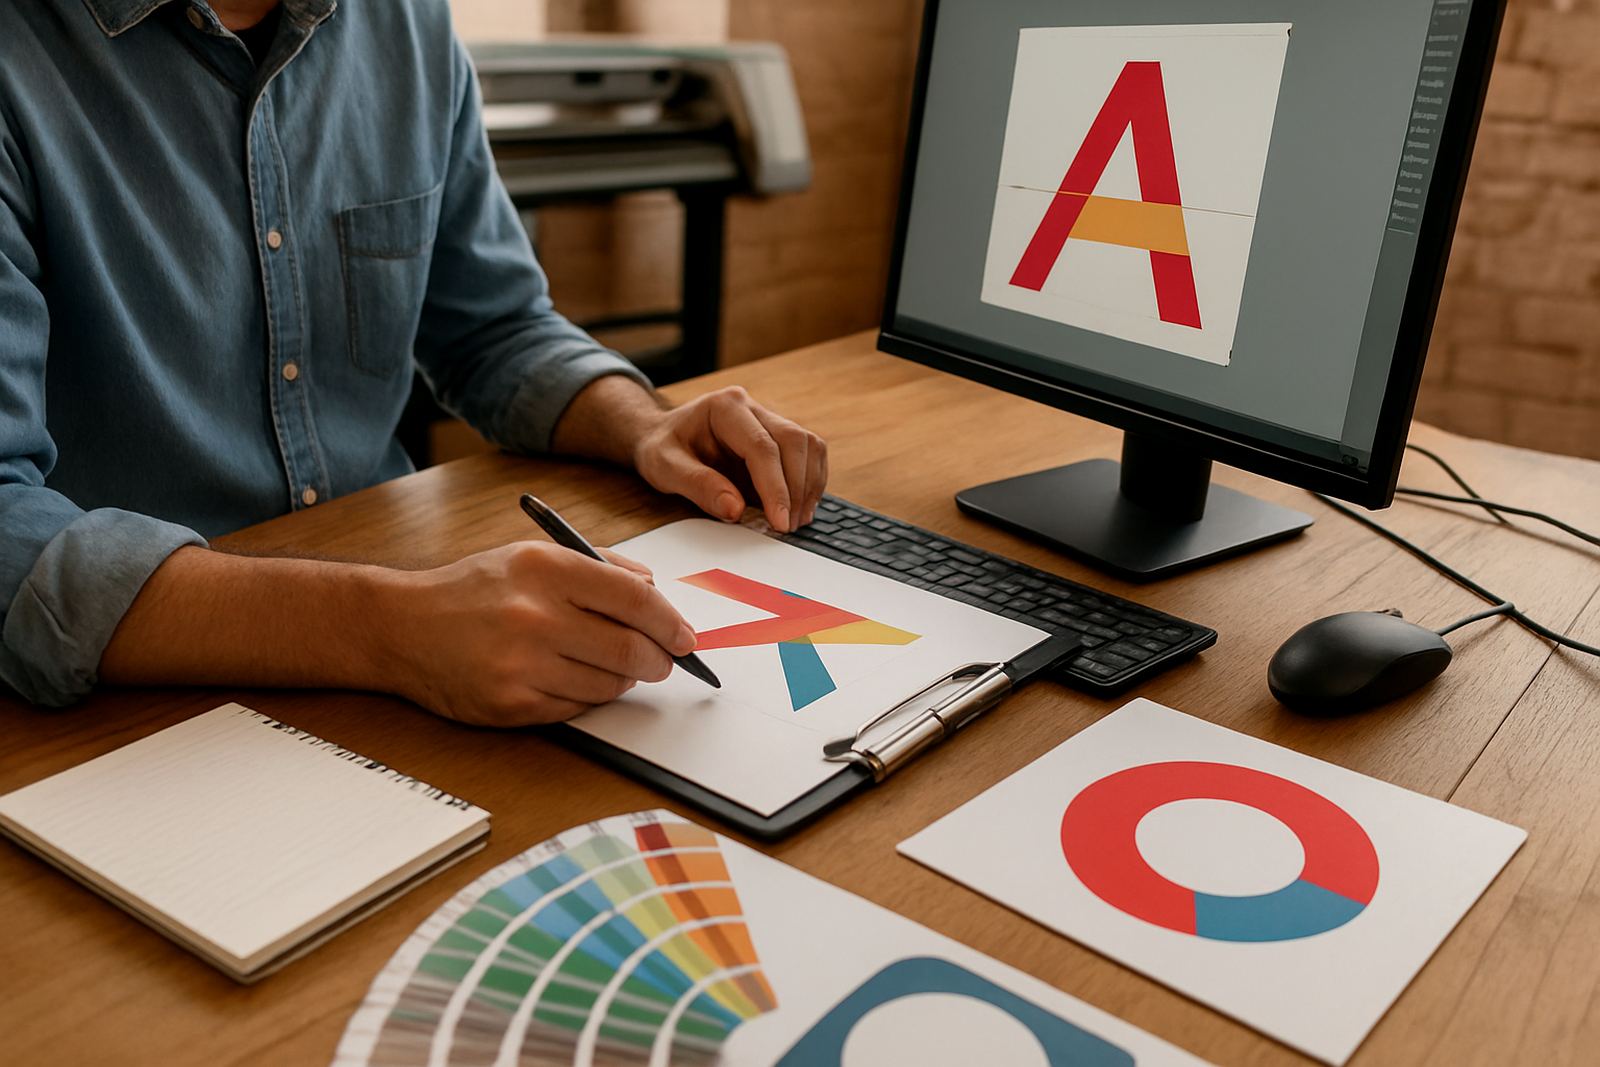
For studios with visiting clients, a clean review area helps when you need to show colour swatches, laminate samples or substrate options. In busy areas like Midrand and Centurion, where many teams do site work and office visits, a mobile-ready workflow matters too. Files should be saved in a way that makes it easy to open, revise and resend without hunting through old versions.
We often advise studios to separate concept work from production output. That means one folder structure for original artwork, one for client-approved files and one for RIP-ready output. This keeps your team from accidentally printing the wrong version or sending a cut job with the wrong scale.
- Keep master files and output files in separate folders
- Use clear naming for revisions, dates and client approvals
- Set standard sizes for common products like A4 stickers, A1 posters and shopfront lettering
- Build a repeatable export process for print and cut
Colour management that saves reprints and client arguments
Colour is where many studios lose time and money. A client sees a shade on screen, then the printed result looks different on vinyl, board or coated media. That gap leads to reprints, complaints and delays. Good colour management helps your studio set expectations early and keep output consistent across jobs.
For studios serving brand clients, property agents, schools and retail chains, this matters even more. A logo that changes from one job to the next can cause serious friction. FlexiSIGN Studio helps with colour management and RIP queue optimising so profiles, output settings and print order are easier to control. This is especially useful when you are running mixed jobs in one day and the print queue is full.
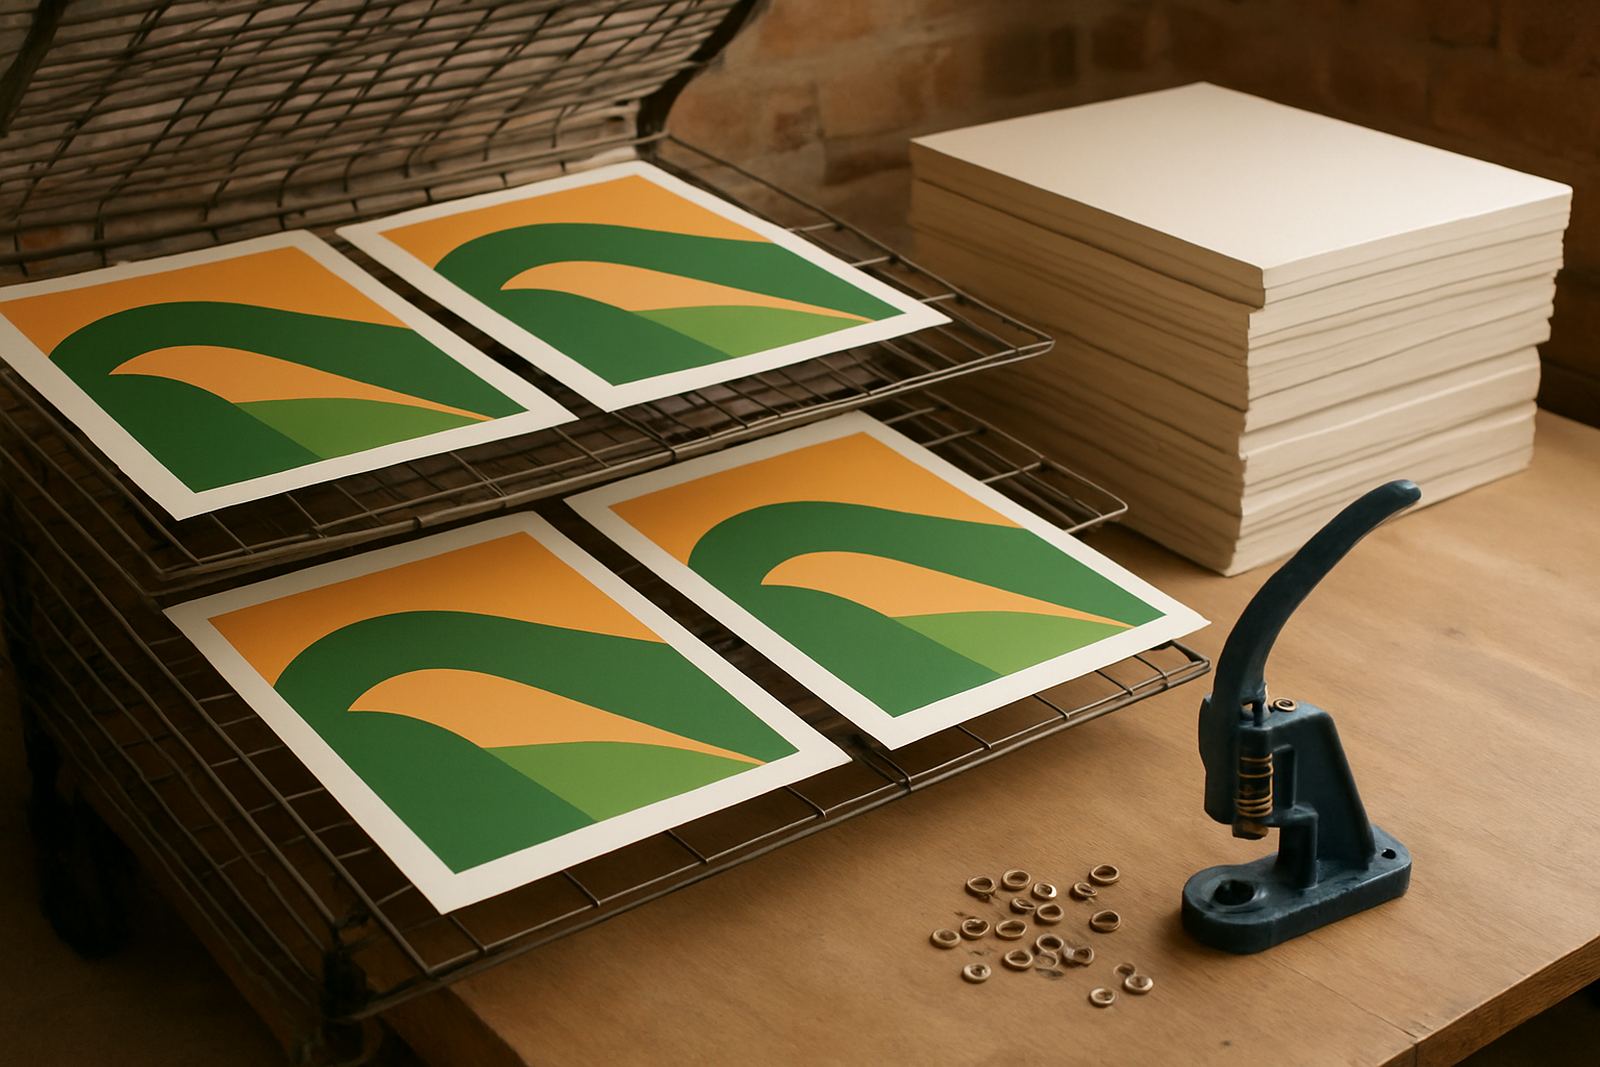
A practical rule is to test on the actual media before you commit to a full run. If you are working in Durban or Gqeberha, where moisture can affect handling and storage, let media and prints settle before final trimming or lamination. It sounds basic but it prevents a lot of avoidable redo work.
Common mistakes graphic design studios make with sign output
Studios that are strong on layout can still run into trouble once artwork becomes a production file. The most common issue is designing for appearance only, not for manufacture. Fine lines, tiny text, hidden effects and unconverted fonts can all create trouble at the RIP or cutter stage.
Another problem is not training new staff properly. When a junior designer is asked to prep a file for print and cut without induction, the studio ends up with inconsistent settings and rushed fixes. We support new staff induction, onsite training and Randburg class training so the team understands both the software and the workflow behind it.
- Sending raster artwork when vector cut paths are needed
- Using stroke lines that are too thin for cutting or printing
- Forgetting to outline fonts before handover
- Mixing RGB and CMYK without checking output intent
- Running outdated licences or unplanned upgrades during busy periods
If your studio is growing, it is also worth planning upgrades before the old setup slows production. Waiting until a cutter or RIP station fails during a busy week usually costs more than planned upgrade planning and support.
Budget ranges for studios in Rand and what affects the price
Budget depends on the number of workstations, the type of cutter setup, whether you need onsite training, and how much support you want after installation. A small design studio in Randburg may only need one or two licences and basic workflow setup, while a larger team serving multiple branches may need a more structured support plan.
As a working guide, licence and setup projects can start from around R3 500 for a simple single-user start point and move to R12 000 to R25 000 or more when you add multiple users, cutter integration, RIP queue setup and training. Annual support plans are often worth considering for busy studios that cannot afford downtime during peak weeks. Onsite training and visits for Johannesburg, Pretoria, Midrand or Centurion are usually priced according to travel and the time needed on site.
The most cost-effective approach is to match the software to the actual job mix. If your studio mainly produces stickers, decals and small signage, you do not need a complicated setup. If you are handling high-volume retail work, colour critical brand output or multiple cutter stations, then a more structured installation and support plan makes sense.
Support for studios across Gauteng and the coast
FlexiSIGN Studio is based in Randburg and supports studios across South Africa, including Johannesburg, Pretoria, Durban, Cape Town and Gqeberha. We also assist clients from Midrand and Centurion with visits, training and support where needed. Our team includes software sales, installation, training, support and colour workflow specialists, so the advice you get is practical and production focused.
Clients reach us through the enquiry form on our contact page when they need installation, licence activation, remote support, onsite training, colour workflow help or cutter setup help. Whether your studio is a one-person design shop or part of a larger print operation, the aim is the same: get the artwork prepared properly, keep the RIP queue under control and reduce waste on the production floor.
For studios that want fewer surprises and better handover between design and output, that kind of support makes day-to-day work much easier.