Start with the vehicle, not the artwork
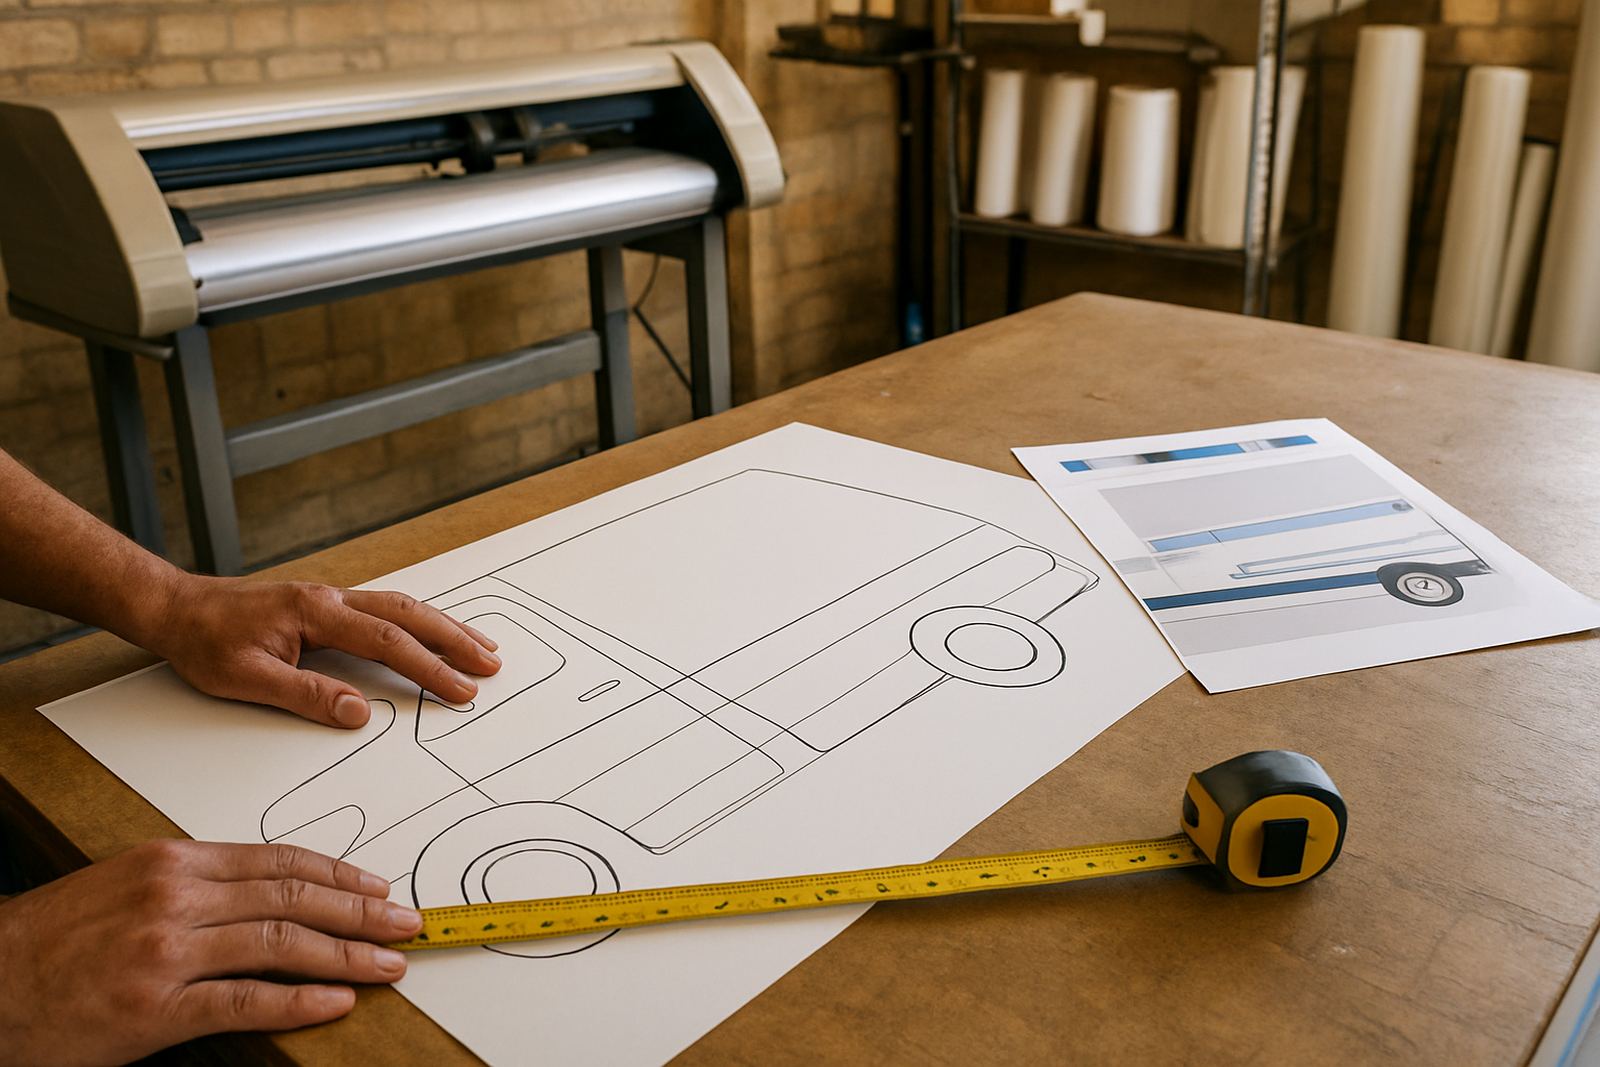
Before any wrap job is set up for print, get the vehicle details right. Measure the body carefully, note door handles, fuel caps, side rub strips, roof curves and any factory mouldings that will interrupt the panel layout. A panel plan for a bakkie in Randburg is not the same as one for a panel van in Durban, especially where heat, humidity and road dust affect how the film is handled and applied.
Take clear photographs from all sides in good light. Include close shots of badge positions, sensors, antennas and damaged paint. If the vehicle has aftermarket canopies, toolboxes or side steps, mark those clearly because they change the usable print area. One missed detail can shift a seam straight across a door handle or force a panel join into a bad spot.
Set the panel breaks where the installer can work cleanly
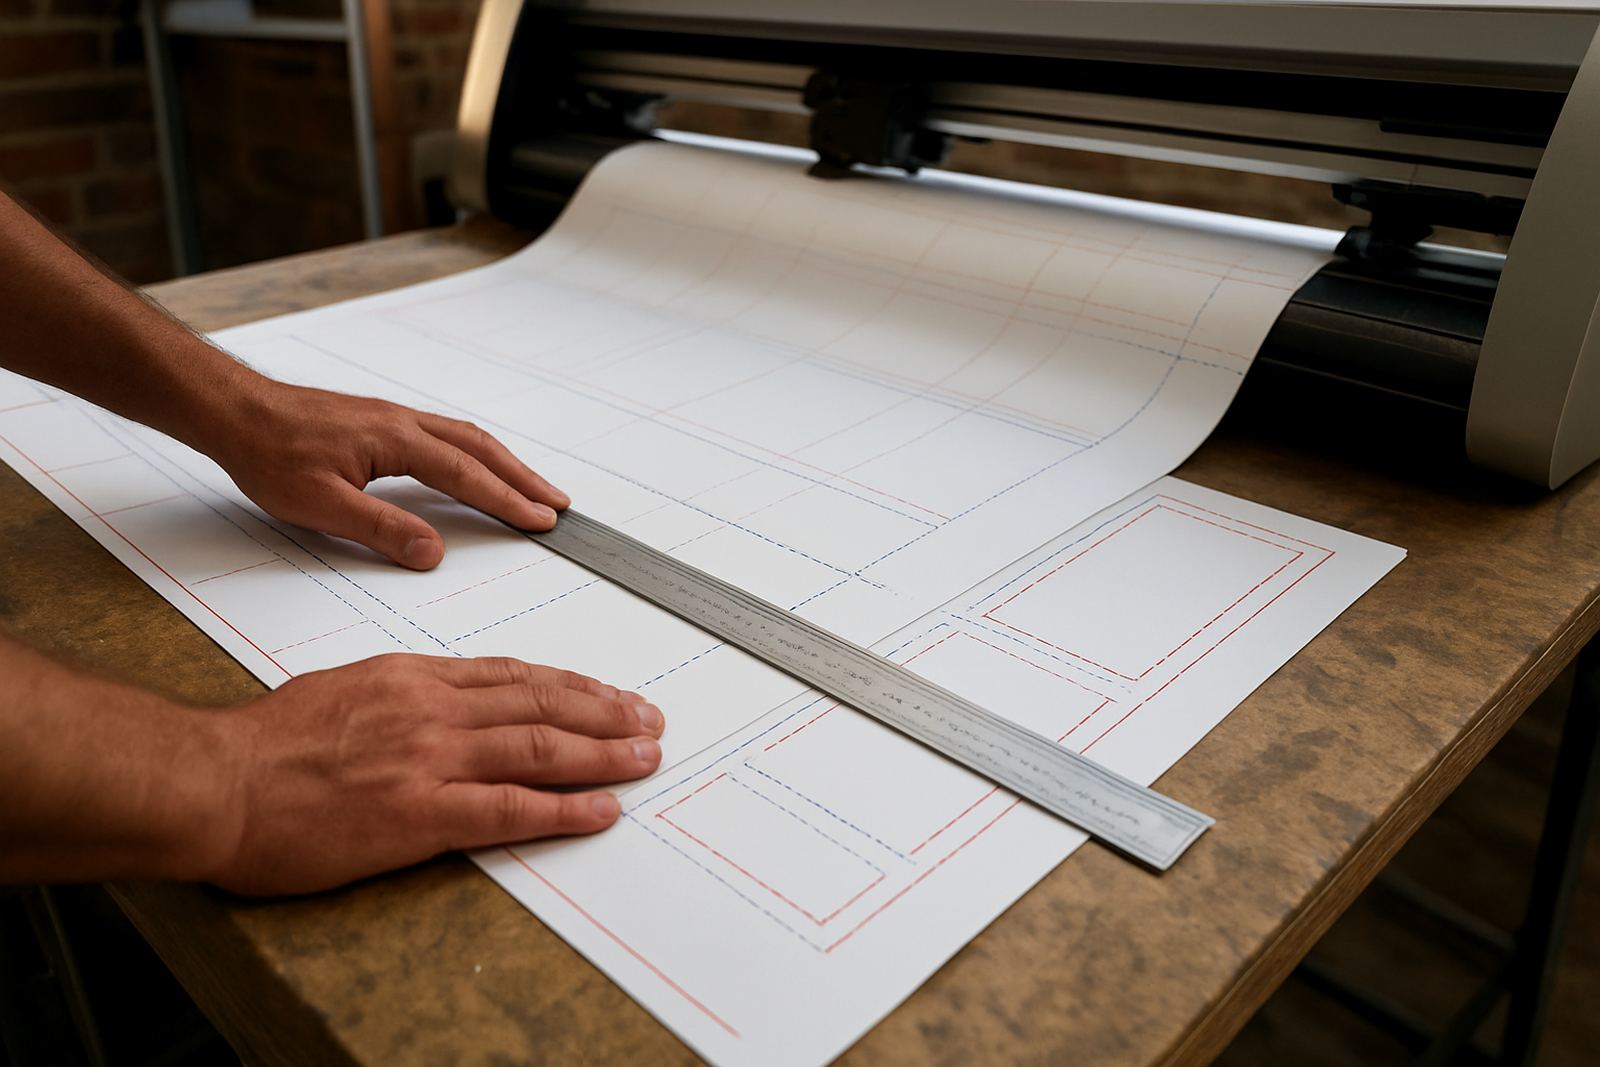
Panel planning should follow the body lines and the way the installer will stretch, squeegee and trim on site. Aim to place joins where there is a natural break, such as a door gap or pressed line, not across the middle of a flat visible section. On curved bumpers and deep recesses, smaller panels are often easier to fit and less likely to lift later.
For local fleets, time matters too. A courier van that must be back on the road by Monday morning cannot sit half finished because the artwork was split badly. Use a simple check before print:
- Are all joins on sensible body lines or edges?
- Can each panel be fitted without forcing the film too hard?
- Is there enough bleed for trimming and edge wrapping?
- Will door openings still line up after installation?
When the print file matches the vehicle properly, the installer spends less time fighting the material and more time finishing the job neatly.
Build in allowance for trimming, heat and movement
Vehicle graphics move with the body. Doors open, panels flex on rough roads and heat changes the way adhesive behaves. That means your artwork should never be cut to the exact visible size and nothing more. Allow for wrap margins, trimming around edges and any overlap needed for complex curves. In summer, a van parked in the sun can get hot enough to change how the film lays on the panel by the afternoon.
Include a small buffer around critical text and logos so nothing important lands too close to a door edge or bonnet crease. Keep registration numbers, company names and contact details away from seams if possible. A bit of extra space in the layout can prevent distorted lettering and make the branding easier to read from the street.
- Leave extra material for tucked edges and return flanges
- Keep fine text away from sharp curves
- Check the print size against the actual vehicle, not a guess
- Use material suitable for the expected weather and washing routine
Check colour and proofing before the cutter runs
A strong panel plan still fails if the colour proof is not checked properly. Colours can shift between screen, printer and finished vinyl, especially on jobs that need a corporate red, a deep blue or a white that must sit cleanly on tinted glass. Before print, compare the proof against the intended finish and confirm whether the job is going onto a white film, a clear window graphic or a coloured substrate.
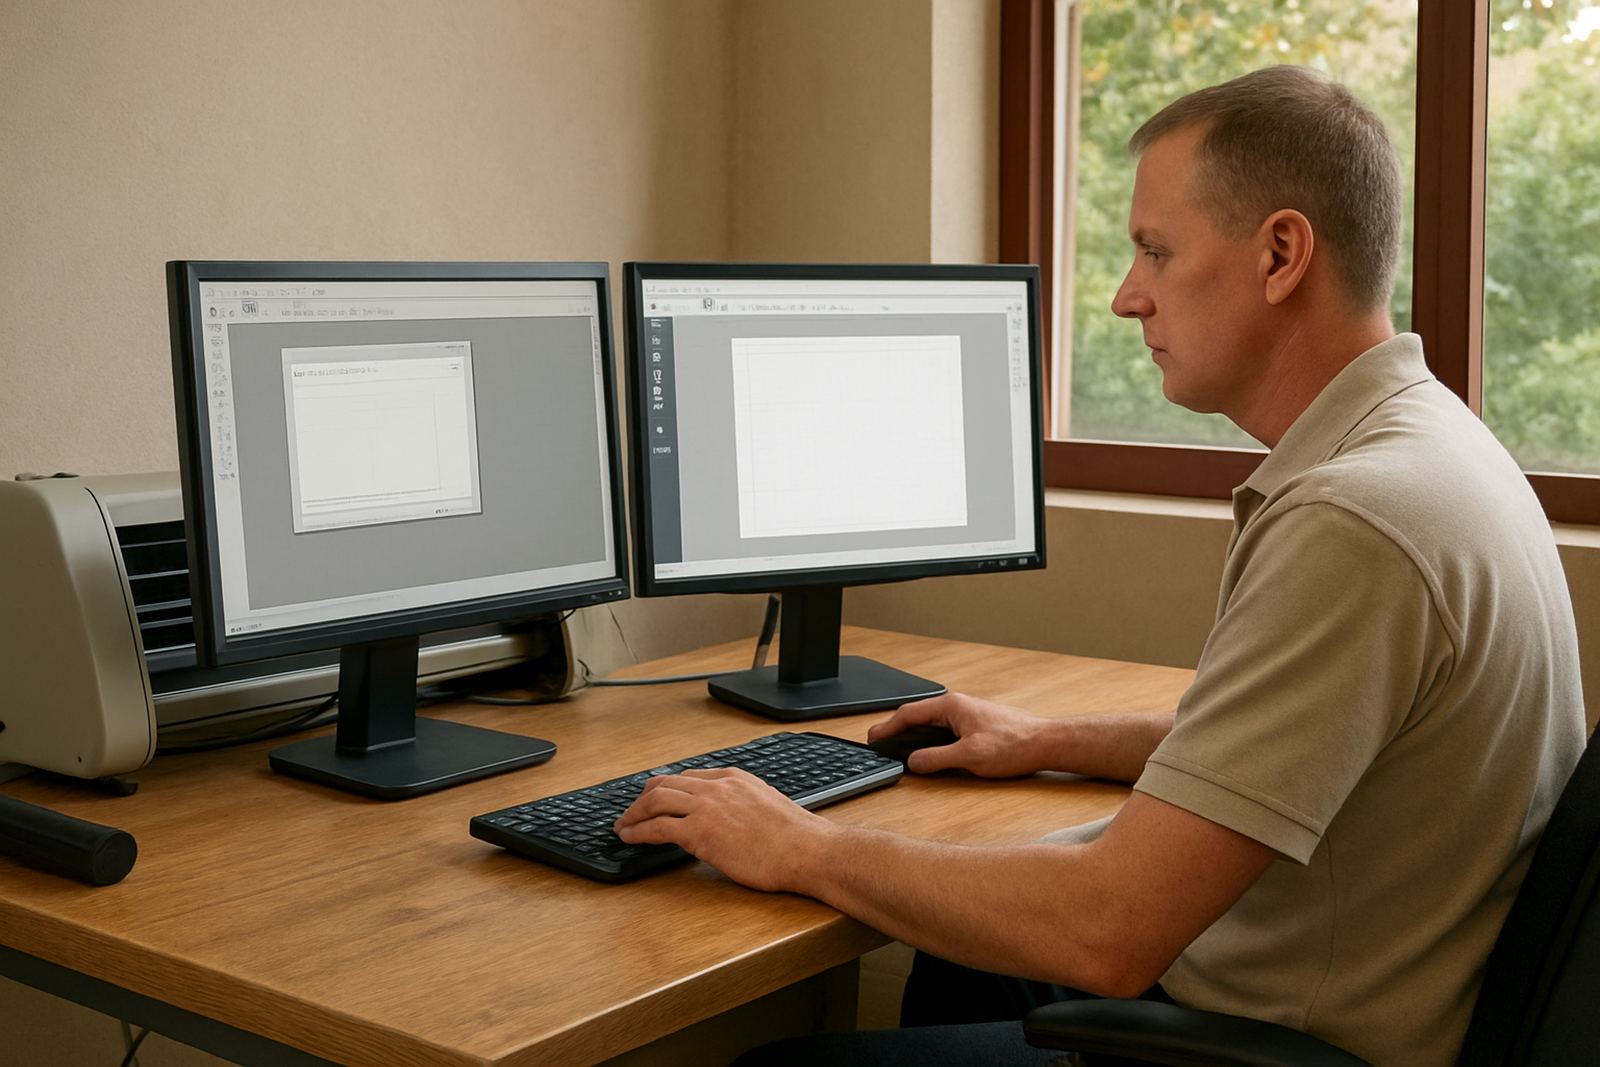
If the job is for a fleet across Johannesburg, Pretoria and Midrand, keep the colour workflow consistent from start to finish. That helps avoid a van in one branch looking slightly different from the next. Test small items such as panel labels, cut lines and overprint settings before sending a full vehicle job through the RIP. It is cheaper to catch a layout error on the monitor than after two metres of vinyl have already been cut.
Match the file setup to the print and cut process
Vehicle branding work often needs both print and cut accuracy. The design file should be set up with proper bleed, clear cut paths and a clean separation between print areas and contour cut lines. If the cutter registration is off by even a few millimetres, a badge outline or shape cut can end up looking rough on the finished vehicle.
Use a workflow that keeps the panel names, sizes and print order clear for the production team. That matters when more than one operator touches the job. A sign shop in Cape Town may print one day and fit the next, while another team in Gqeberha handles the installation. Good file notes stop confusion, especially when jobs are moving between branches or stored for later fitting.
- Name each panel clearly, for example left door, right door, rear quarter
- Keep an export copy with bleed and a clean production copy
- Confirm cutter offsets before running a full batch
- Store proof approval notes with the job for future reprints
Use a local example to spot the costly mistakes early
Picture a delivery bakkie going out from a supplier in Pretoria to service stores in Centurion and Johannesburg. The client wants the branding on by Friday, the vehicle has a canopy and the rear doors curve more than expected. If the panel plan was done from a rough template, the rear logo might fall across a seam and the phone number could land too close to the handle. That means extra trimming, possible redraws and a longer install day.
With proper prep, the artwork is checked against measurements, the canopy is separated from the body panels, and the joins are set where the installer can finish them cleanly. The result is a tidier fit, less waste and fewer return visits. For South African sign makers working under load-shedding, busy schedules and tight turnaround times, that kind of planning is not a luxury, it is part of keeping the job profitable.