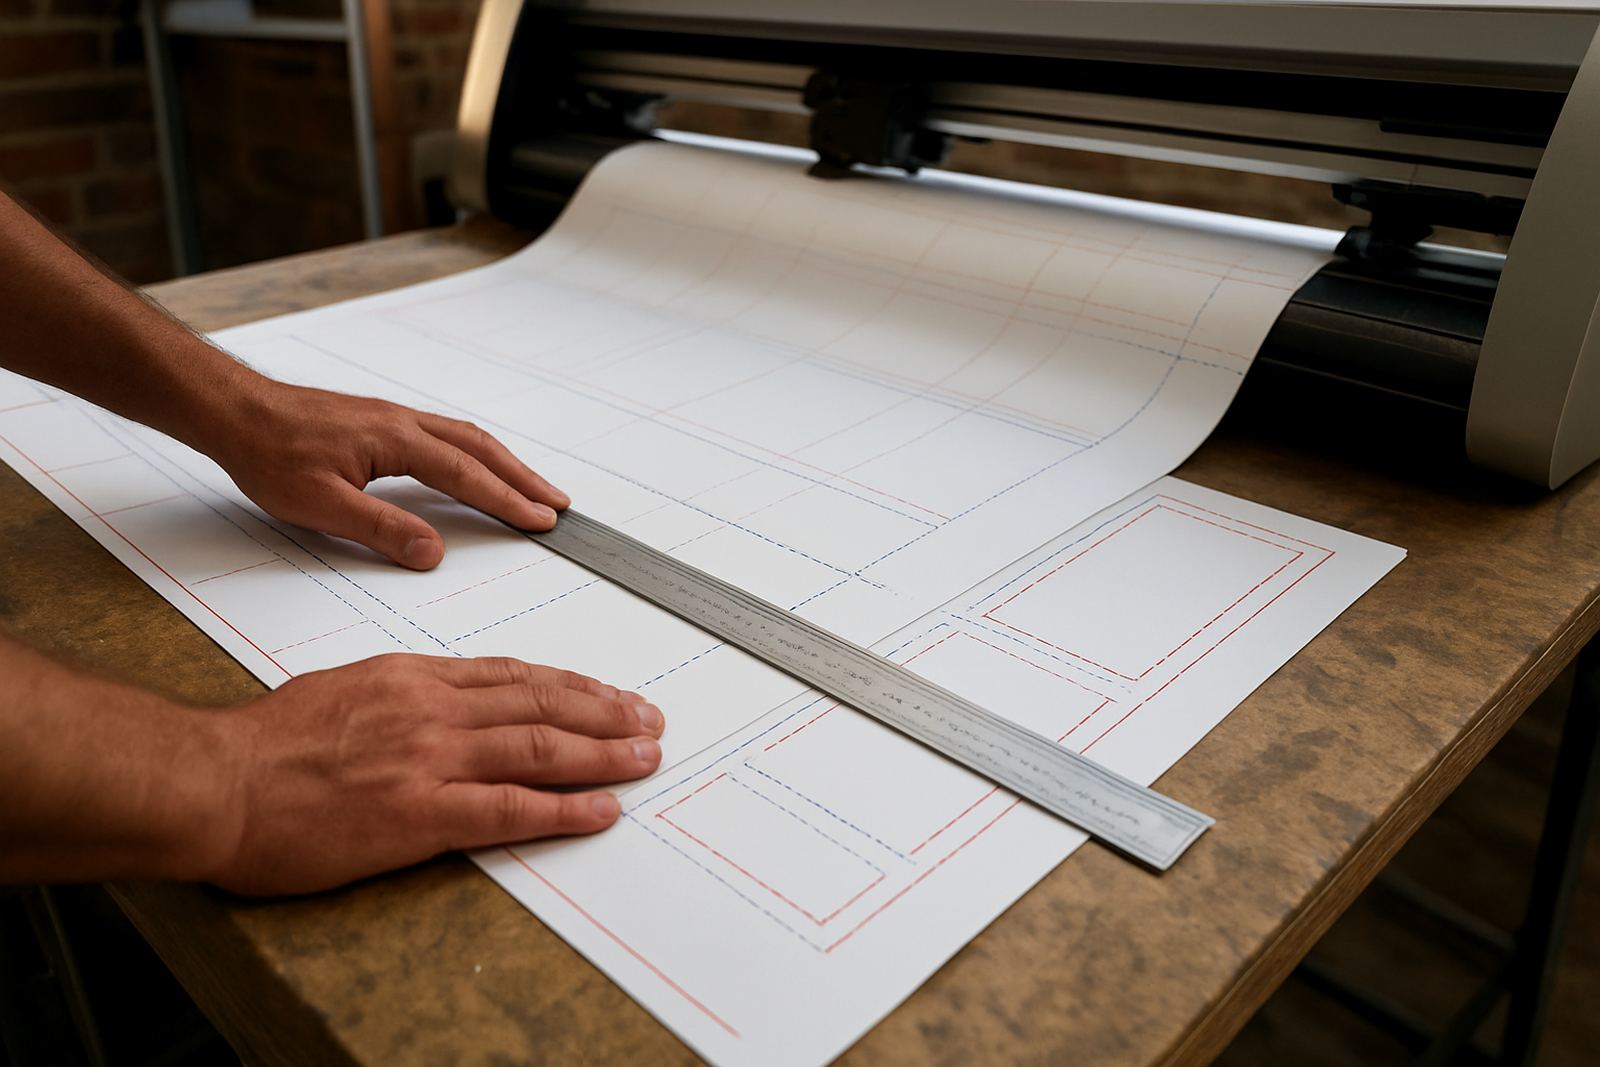
Why margin control matters before the cutter even starts
When a decal sheet is laid out properly, every label has room to print, dry, trim and cut without crowding the next one. That matters whether you are running short vinyl sticker jobs in Randburg or pushing a full day of production for a print shop in Durban with coastal humidity slowing down drying times.
Margin control is not just about neatness. It protects the print edge, gives the cutter a reliable path and keeps your operator from fighting tiny errors on every sheet. A good layout makes the job easier on flatbeds, benchtop cutters and wide-format cutter tables alike.
- Bleed gives the artwork a small safety area beyond the trim line.
- Spacing between decals stops blades from clipping into the next item.
- Cut offset helps the knife return to the correct line after every corner.
- Outer sheet margins keep pinch rollers clear of printed edges and registration marks.
Bleed is the safety net for print and trim
Bleed is the extra image area that extends past the finished size of the decal. If a cutter drifts by 0.5 mm, or if the laminate shifts during handling, the customer still sees colour right to the edge. Without bleed, even a small error leaves a white line that shows immediately on dark backgrounds.
For most decal work, 2 mm to 3 mm of bleed is a practical starting point. For larger outdoor stickers, or sheets that will be handled a lot before installation, give yourself a bit more breathing room. On municipal and fleet work where visibility matters, that little bit of extra margin often saves a reprint.
- Use bleed on any artwork with solid colour to the edge.
- Keep bleed consistent across the whole sheet, not just one row.
- Do not place fine text or key logos inside the bleed area.
- Check that crop marks sit outside the printable artwork zone.
Spacing between decals keeps weeding clean and fast
Spacing, sometimes called gutter or gap, is the blank area between individual decals on the sheet. This space lets the cutter travel safely between items and gives the operator room to weed the vinyl without pulling up a neighbour. If the gap is too tight, a small overcut can tear into the next design and slow the whole run.
In a busy shop, especially when handling urgent jobs for signage installers in Pretoria or print resellers in Cape Town, a few extra millimetres between items can make a real difference. It is easier to trim a sheet that has breathing room than to rescue a sheet that was packed too tightly.
- Keep identical items evenly spaced so the cutter pattern stays predictable.
- Allow extra room for rounded corners and complex shapes.
- Increase spacing when using thicker vinyl or laminate.
- Leave enough gap for a hand to lift weeds without touching adjacent pieces.
Cut offsets are tiny, but they decide the edge quality
Cut offset is the small correction that tells the cutter how to handle corners and direction changes. If the offset is wrong, you get points that overshoot, corners that look soft, or a cut line that does not meet itself properly. On decal sheets, that can turn into lifted edges and awkward peeling for the end user.
The right offset depends on blade type, holder setup, vinyl thickness and speed. A fresh blade may behave differently from a worn one, so it is worth checking offset after any cutter change or service. Many shops only notice the problem when a batch of labels starts coming off with rough corners and the scrap pile grows fast.
- Test offset on a small shape before running a full sheet.
- Adjust speed and pressure together, not one setting at a time.
- Check corners, small circles and fine lettering for overcut or undercut.
- Revisit offset after blade replacement, media change or machine relocation.
How to plan a decal sheet for South African production conditions
South African shops deal with load-shedding, mixed humidity and production stops that can interrupt a job half way through. That is why sheet planning matters. If your layout is generous with margins, you can pause a run, restart later and still keep the sheet usable. Tight layouts are less forgiving when power returns and the machine needs a fresh check.
A practical sheet for a Johannesburg sign maker might include wider outer margins for registration, moderate spacing between decal rows and a clear label area for batch notes. In coastal areas, add a little extra drying time before cutting so the print and laminate stay stable. If the sheet will be shipped to another town, think about how it will be stacked, handled and trimmed on arrival.
- Build in margin for refeeding after a power interruption.
- Use larger outer borders on laminated work.
- Allow for sheet movement when humidity changes during the day.
- Keep batch labels outside the finished artwork zone.
A local example from a Randburg production floor
A mid-sized sign shop in Randburg was producing a mixed sheet of promotional decals for a retail group with branches in Johannesburg and Gqeberha. The artwork looked fine on screen, but the first print run showed white edges on a few dark decals and several corners were lifting during weeding. The issue was not the artwork, it was the layout. Bleed was too tight, spacing was inconsistent and the cut offset had not been checked after a blade swap.
After adjusting the sheet with 3 mm bleed, slightly wider gaps and a fresh offset test, the second run cut cleaner and the weeds lifted in one piece. The operator saved time on every sheet, and the client got a cleaner finish with less scrap. That is the real value of margin control, it reduces small losses that add up across a whole month.
For shops that handle both decals and larger signage, a stable sheet setup also helps with staff training. New team members can follow the same layout rules every time, which means fewer mistakes when the pressure is on and the queue is growing.
What to check before you send a decal sheet to production
Before you start the print or cutter queue, run one quick checklist. It takes less time than fixing a batch later and it helps keep production steady when orders are piling up. If a sheet is going to be repeated, saved as a template and reused with fresh artwork, this step becomes even more valuable.
- Confirm bleed is present on every edge that needs trimming.
- Measure the gap between decals and keep it consistent.
- Test the cut offset with a small sample shape.
- Check that registration marks, notes and sheet labels are outside the finish area.
- Make sure the layout still works if the job stops and restarts after load-shedding.
Clean decal sheets are built on simple habits. The shops that get this right waste less vinyl, waste less time and spend less energy redoing jobs that should have cut correctly the first time.