Start with the job queue before anyone opens a file
Before the first artwork is sent through, open the RIP queue and clear out yesterday’s unfinished jobs, paused tasks, and failed outputs. This is the quickest way to spot a bad setup from the day before, especially if the team worked through a load-shedding changeover or a late-night rush job.
Check that the right printer profile, media size, and output device are selected for each live job. A job that looks fine in the artwork folder can still fail if the queue is pointed at the wrong cutter, the wrong print unit, or an old queue preset. In many South African shops the damage starts here, not at the printer.
- Remove cancelled jobs from the queue
- Confirm the correct printer or cutter is active
- Check that page size and scaling match the production sheet
- Look for warning icons or paused status lines
Check colour settings before the first print
Colour problems are easier to fix at 8 am than after ten metres of vinyl have already been printed. Open your colour management settings and confirm the profile for the current media, ink set, and output mode. If the work is going to a gloss vinyl, blockout banner, or self-adhesive film, the settings should match that material exactly.
In coastal areas like Durban and Gqeberha, humidity can affect drying time and finish, so a morning colour check is worth the effort. In Gauteng, dry winter air and dust can change how media feeds and how ink lays down. If the room temperature has shifted overnight, test a small swatch first and compare it to the approved reference.
- Match the correct media profile to the job
- Print a small colour bar or test strip
- Check for banding, dull blacks, or shifted skin tones
- Compare the proof to the last approved sample
Inspect cutter setup and registration marks
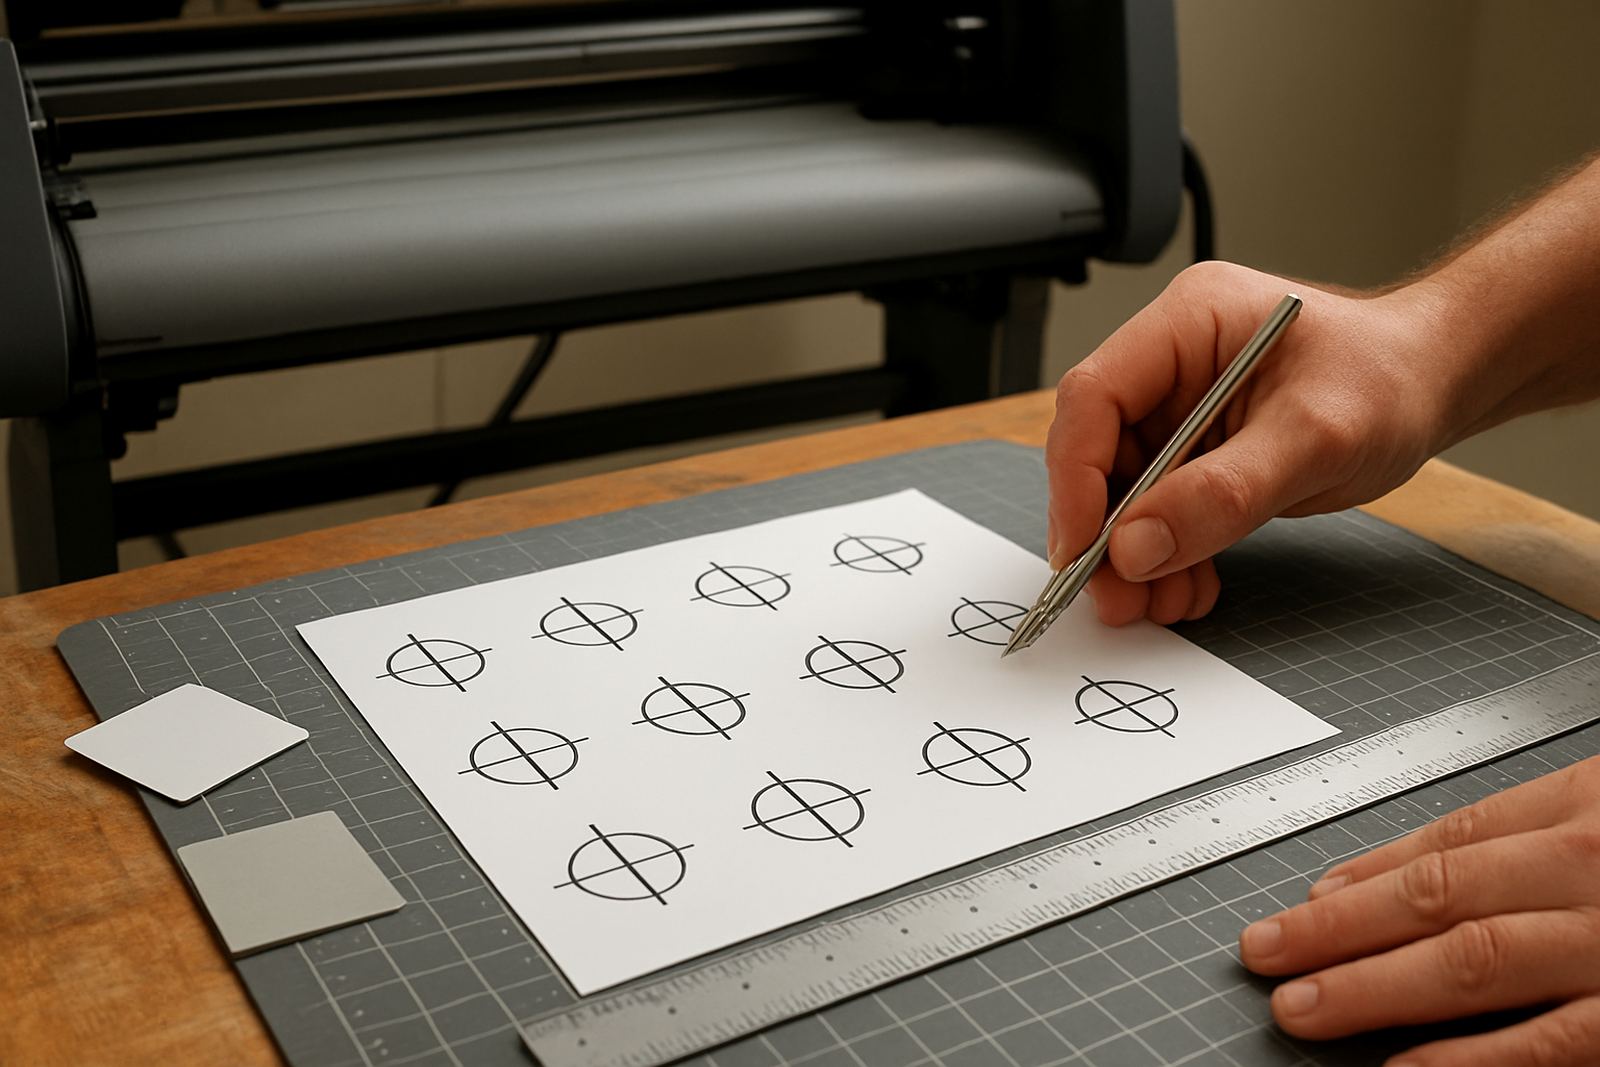
If your shop runs print and cut work, the cutter should be checked every day, not only when it starts giving trouble. Make sure the blade depth is right, the pinch rollers are clean, and the cutting strip is not worn through in the same spot. A small setup fault can throw off kiss cuts on labels, decals, and contour jobs.
Run a quick test cut before production begins. If the corners lift, the blade may be too deep or the media path may be uneven. If registration marks are being missed, check the sensor position, lighting around the cutter, and whether the print was trimmed too close to the marks. This simple step saves vinyl, time and a lot of frustration.
- Wipe dust from rollers and sensors
- Confirm blade pressure and offset
- Check pinch roller placement across the width
- Run one test cut on the actual material in use
Look for file issues that only show up during output
Artwork can look perfect on screen and still fail in production. Before the day gets busy, open one or two new files and check for missing fonts, low resolution images, overprint errors, and stray vector lines. Jobs that were saved on a different computer often carry surprises that only appear during RIP processing.
It is also worth checking whether the file has the right bleed and nesting layout. A 3 mm error may not sound like much, but on a set of decals or a vehicle graphic it can mean extra trimming, wasted media, or a bad fit. If the file came in from a client and was exported in a hurry, slow down and inspect it before it enters the queue.
- Open recent files and zoom in on fine detail
- Check links to images and fonts
- Confirm bleed, scaling, and cut line placement
- Look for hidden layers or unwanted effects
Make sure the workstation and licence are ready
Nothing slows a production morning like a licence prompt or a machine that has not restarted cleanly after a power cut. Confirm that the RIP software opens without errors, the licence is active, and the workstation has enough storage space for the day’s jobs. Temporary files can build up quickly when large banner files and multi-panel prints are processed.
Also check the network connection to shared folders, especially if the artwork station and RIP station are not on the same machine. If the shop uses remote support or cloud-based backups, verify that sync has completed before production starts. A missing file at 9 am can still hold up a driver van by lunchtime.
- Open the software and confirm licence status
- Check storage space for spool files and proofs
- Verify access to shared artwork folders
- Restart after load-shedding if needed, then test one small job
Use a one-page checklist for the whole team
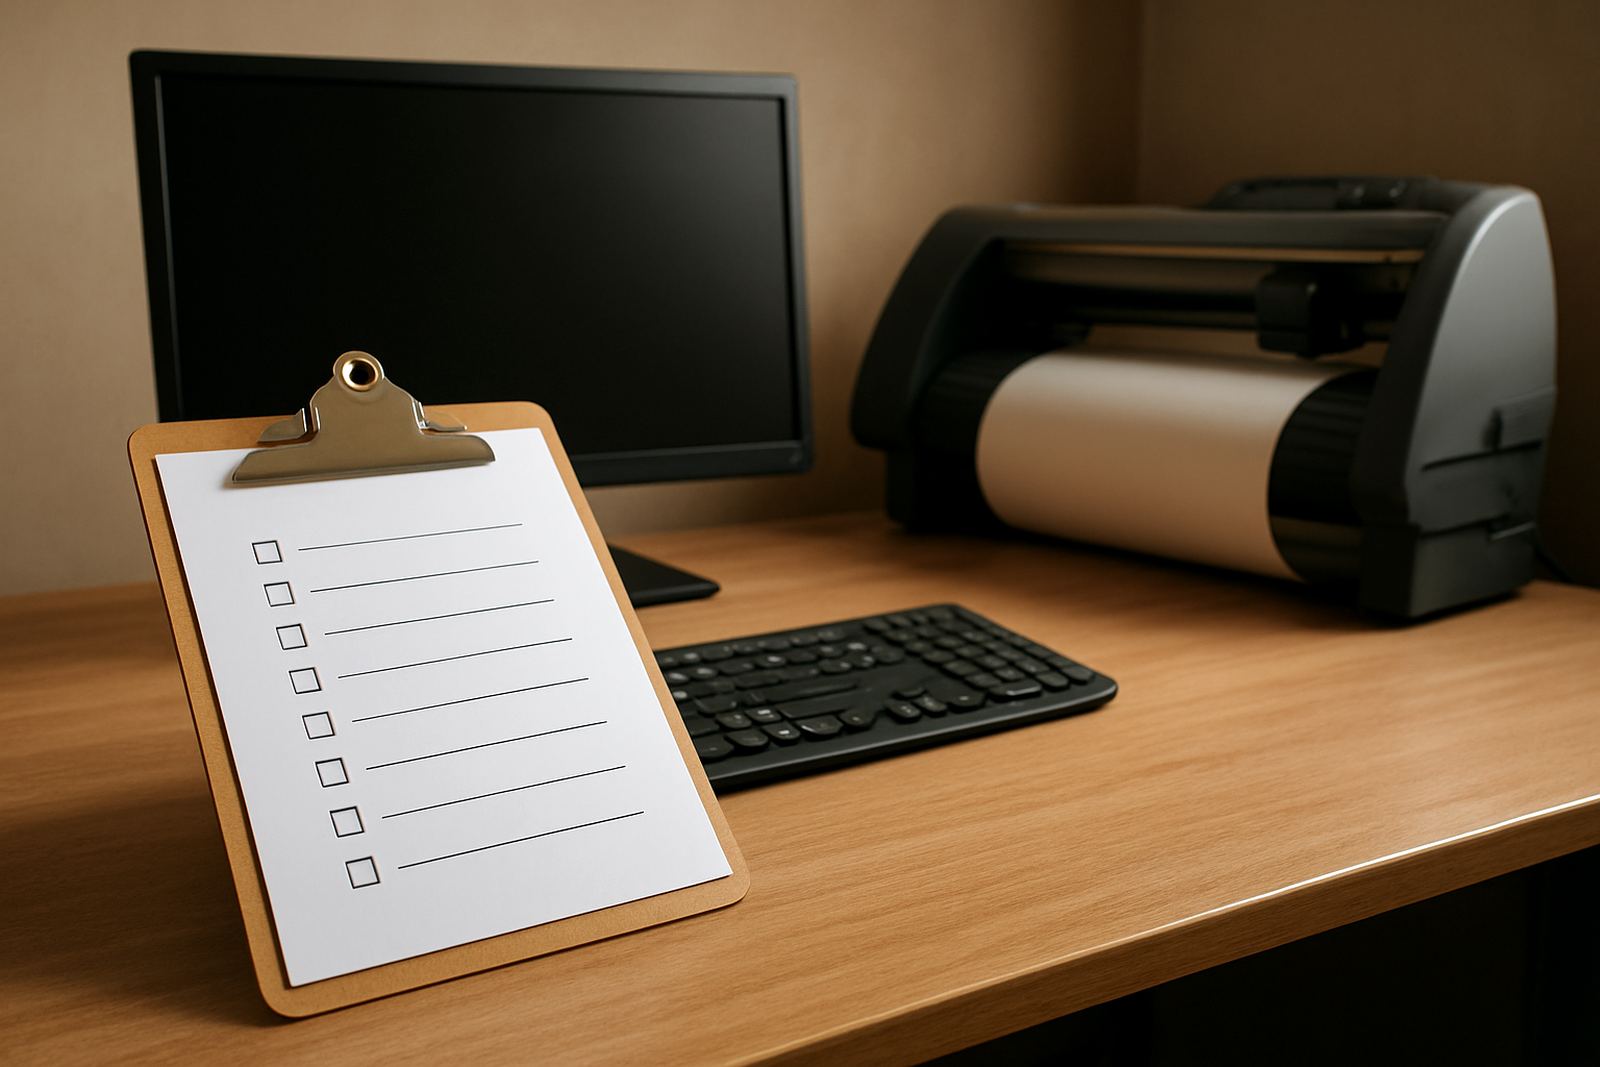
The best daily routine is the one everybody uses. Keep a printed or digital checklist at the RIP station so the operator on duty can run through it in the same order each morning. This helps when staff rotate between shifts, or when a new technician joins the team and needs a clear process from day one.
A good checklist also supports training. In Randburg, Johannesburg, Pretoria, Durban, Cape Town and Gqeberha, we see the same pattern: the shops that use a repeatable morning routine spend less time chasing faults and more time finishing jobs on schedule. When the team knows what to look for, small problems get caught before they become expensive reprints.
- Queue cleared and correct device selected
- Colour profile confirmed for the media in use
- Cutter ready, tested and aligned
- Files checked for font, image and cut line issues
- Software, licence and storage checked before production
Why this matters in a South African print room
South African sign shops work under pressure that changes from town to town. One morning the issue is a municipal power interruption, the next it is a rush order from a client in Midrand or Centurion who needs the job by noon. A daily RIP checklist creates a calm start to the day, even when conditions are not calm at all.
It is not about making the workflow complicated. It is about reducing avoidable mistakes. A five minute routine can prevent wasted media, missed deadlines, and colour complaints. For shops that rely on vinyl cutters, print and cut systems, and tight production schedules, that small habit keeps the whole line moving better.