Start with the glass, not the artwork
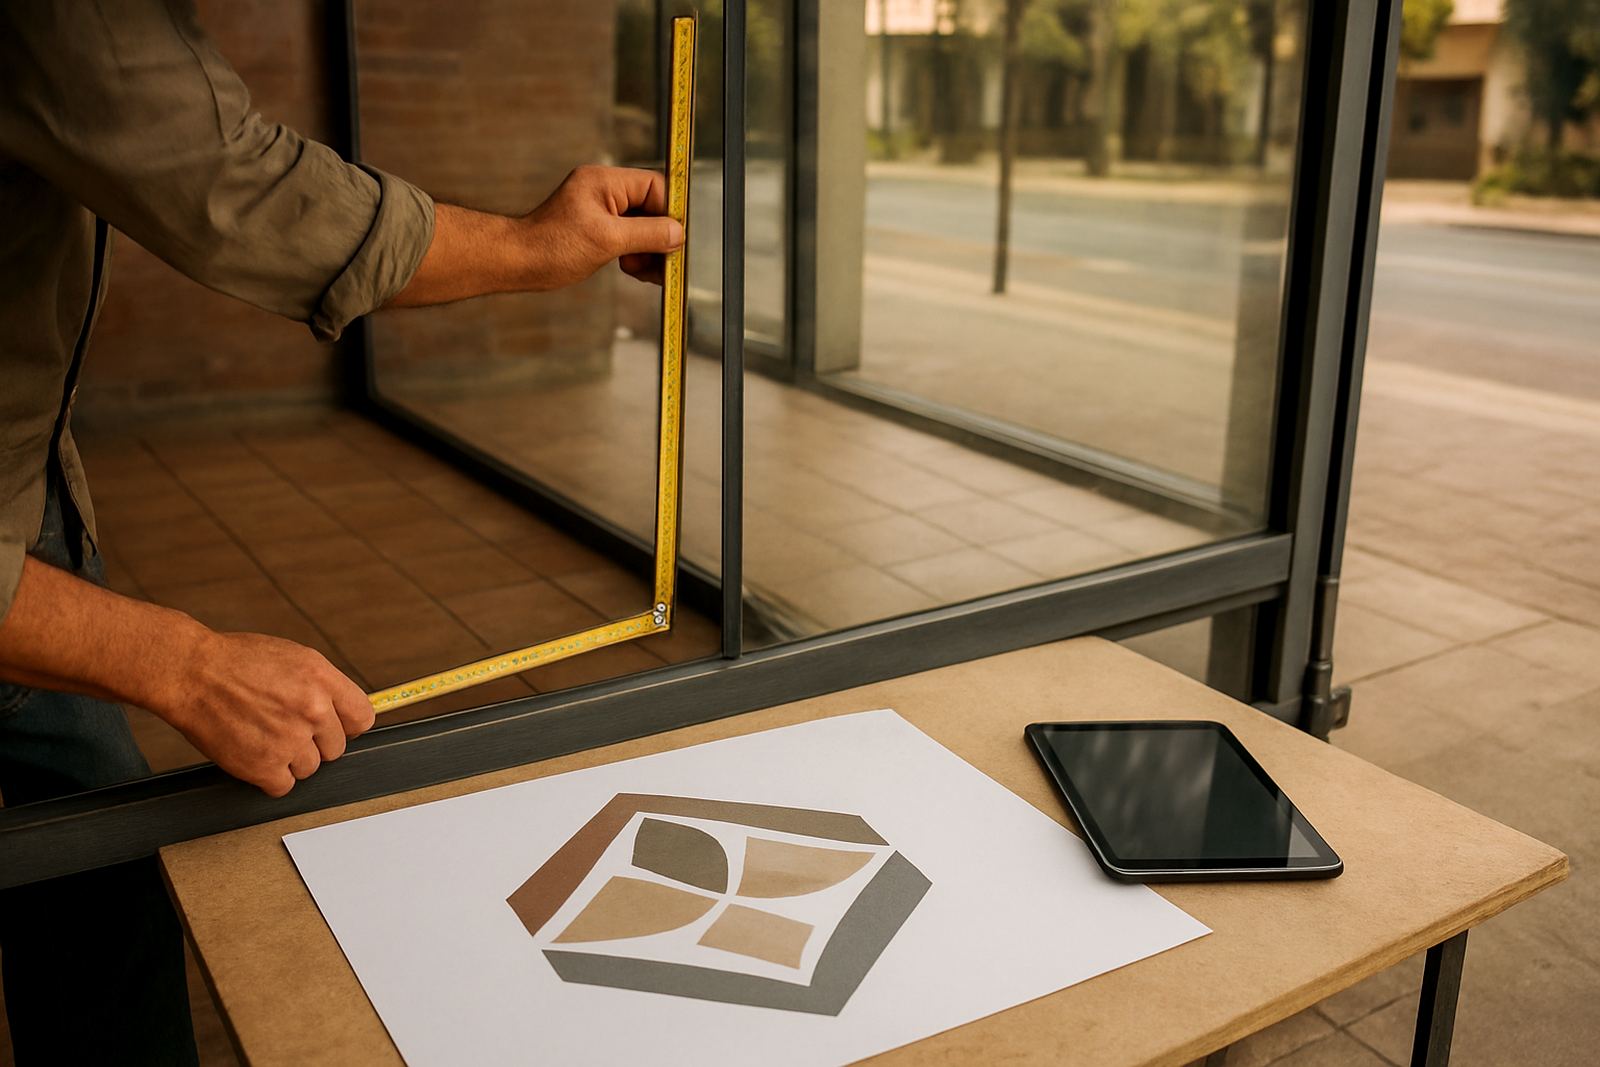
When a shopfront has to carry promotions, opening hours or privacy film, the glass itself sets the rules. A window in Randburg with aluminium frames, security bars and a door handle cut-out needs a different plan from a full frontage in Durban where coastal humidity can affect curing and edge lift. Before you send artwork to print or cut, measure every visible panel separately and note fixed fittings, tint film, safety stickers and any cracks or silicone lines that must stay clear.
A proper plan saves time on site. It also reduces waste, which matters when a sign shop is working to tight margins and trying to keep the cutter busy without redoing jobs. If the client wants a clean retail look, you need to know whether the vinyl should sit flush to the edge, stop short of the frame or allow for a small wrap. Those few millimetres make the difference between a neat finish and a rushed patch-up.
- Measure glass width and height in millimetres, then record each pane separately.
- Check for trims, locks, handles, beadings and uneven frame gaps.
- Confirm whether the client wants full coverage, frosted privacy or simple lettering.
- Ask where sunlight hits the shopfront during the day, especially for reflective windows.
Mock-up the frontage before you touch the cutter
A mock-up helps everyone agree on the look before output starts. It shows how a logo will sit on the glass, whether text can be read from the pavement and if the hours panel is too small to see from the street. For a branch in Pretoria or Centurion, where customers often approach from a parking area, the viewing distance may be different from a narrow pavement frontage in Gqeberha. That changes the size of the lettering and the amount of empty space around it.
In practice, the mock-up should show the actual window layout, the colour of the frame and the proposed vinyl placement. If the shopfront has a door panel, make sure the design does not land across the hinge line. If the client wants a sale message, confirm the dates and wording in writing before output. One wrong number on a promotion can create a costly reprint and an awkward conversation with the store manager.
- Use a scaled front elevation or a simple photo overlay.
- Check logo placement from both close-up and street distance.
- Leave space for statutory notices, trading hours and safety markings.
- Confirm which panels are permanent and which are short-term campaign graphics.
Check the file before output, not after fitting
Output checks are where many jobs are won or lost. A sign maker can have the best vinyl cutter in the workshop, but if the file has thin strokes, missing outlines or the wrong colour mode the final result can disappoint. Before you send a shopfront job to print or cut, inspect the artwork for joins, overprints and tiny details that may lift on install. Small text can disappear on frosted film and fine lines can break when weeded.
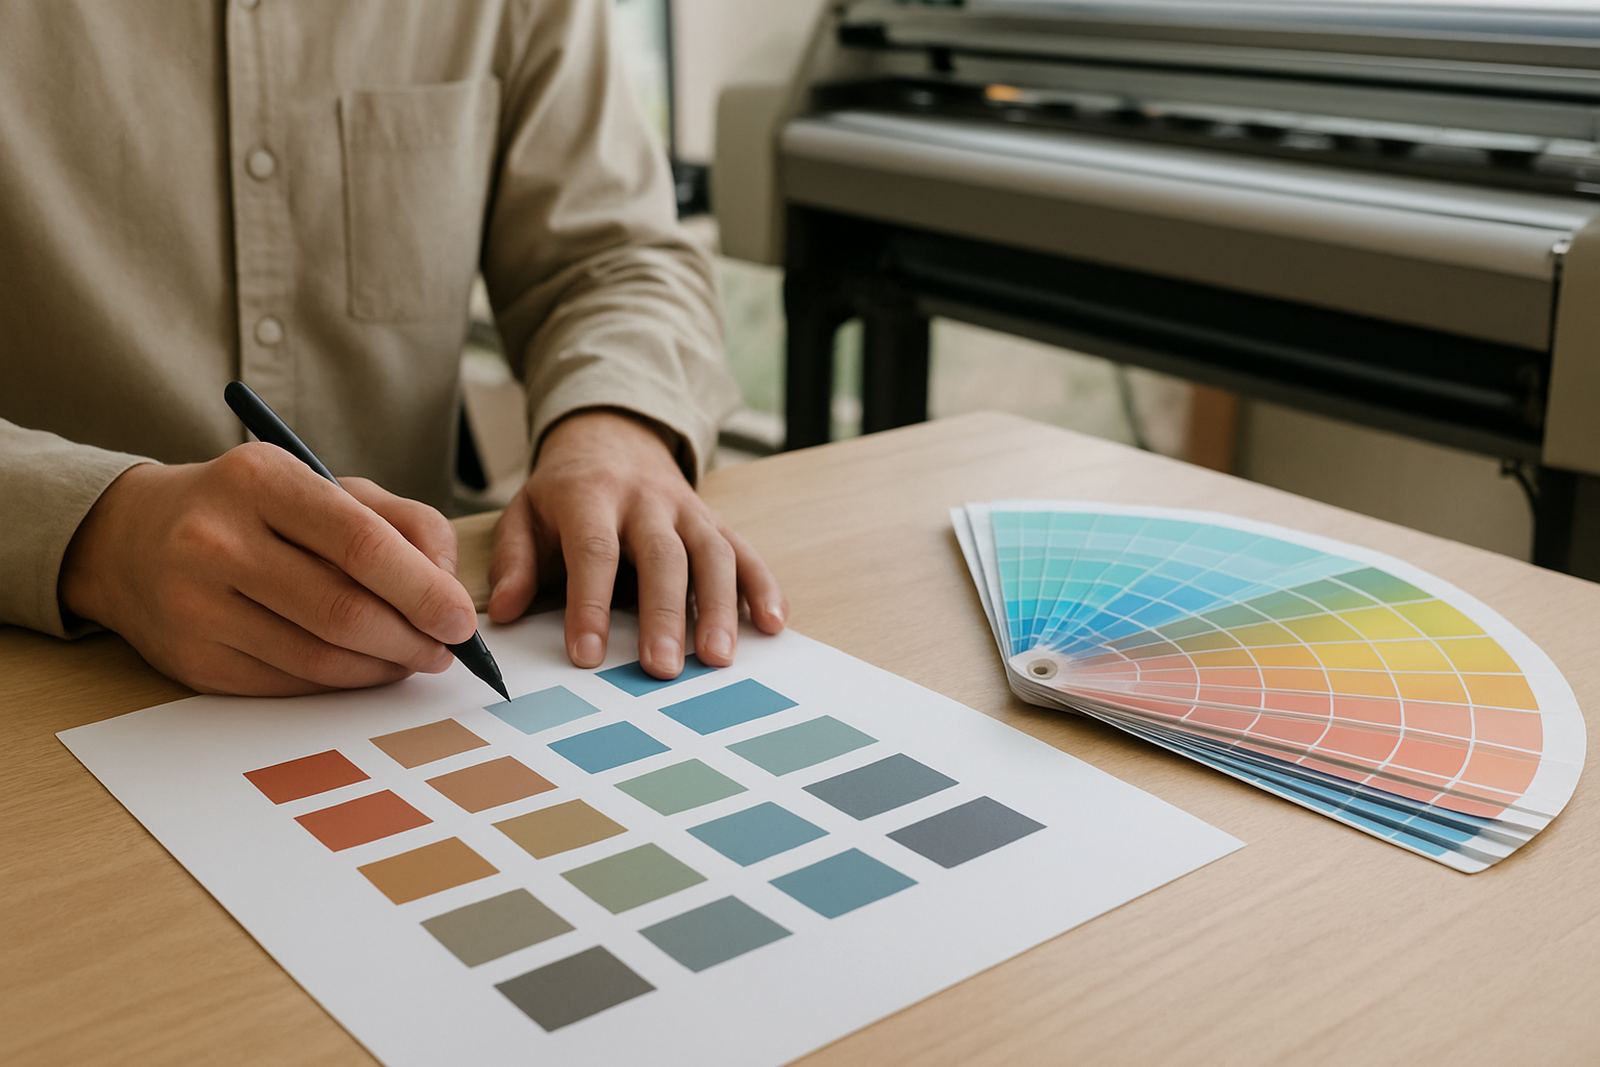
For print jobs, colour management matters. A black that looks deep on screen may print as a soft grey if the profile is wrong. For cut vinyl, weed test a sample of the smallest letters and check that the liner releases cleanly. This is where RIP software, cutter setup help and queue optimisation are worth their weight because they keep the workflow predictable on busy production days. In a shop that is also handling vehicle graphics, labels and POS work, a late file check can throw the whole day off.
- Preflight the file for missing fonts, low-resolution images and unintended transparency.
- Confirm cut lines, registration marks and the correct media size.
- Test small text and sharp corners before starting full production.
- Match print and cut settings to the exact material in use.
Choose materials that suit South African conditions
Shopfront graphics are not all the same. A front-facing retail window in Cape Town with sun, salt air and strong afternoon glare needs materials that stay stable. A shaded mall entrance in Johannesburg may need less UV resistance but more attention to clean removal when the campaign ends. For busy stores, you may need a film that can be applied quickly and still hold its edge through load-shedding related power dips and after-hours installation.
The best choice depends on the job brief, budget and expected lifespan. Temporary specials can use economy film, while a long-term brand panel may need higher-grade material and a cleaner adhesive system. For privacy, frosted or etched-effect film works well on consultation rooms, salons and medical spaces. For product branding, clear film with printed colour blocks can allow light through while still carrying a strong message.
- Match the vinyl type to sun exposure, humidity and expected life span.
- Use a cleaner adhesive on glass that may need future removal.
- Keep spare blades, squeegees and cleaning materials ready for onsite work.
- Allow for dust, weather and municipal access rules when scheduling installation.
Plan the fit for the installer, not only the designer
Many shopfront problems start when the artwork ignores the practical side of fitting. A beautiful layout can still fail if the installer has no room to position the panel or if the transfer tape sticks around a door closer. Good planning means thinking like the person on the ladder. Where does the seam land? Can the panel be handled by one person? Is there enough clearance to align the graphic square to the frame?
For multi-branch rollouts, it helps to create a simple fitting note for every site. Include window numbers, orientation, expected install time and any special access needs. If the client has branches in Midrand, Durban and Gqeberha, the conditions may be different enough to affect timing and handling. Training new staff on this process reduces call-backs and keeps the whole team working from the same method.
- Mark the top edge, panel number and install order on every output file.
- Note any doors, locks or obstructions that affect placement.
- Keep a fitting checklist for tools, cleaning spray and spare blades.
- Allow time for surface prep especially on older glass with residue or dust.
A local example from a Randburg shopfront refresh
A clothing store near Randburg asked for a refreshed window display before month-end trading. The frontage had three large panes, a narrow door panel and a tinted upper section. The owner wanted sale lettering that could be read from the parking area, plus a frosted strip for privacy at eye level. The first idea looked good on screen but the mock-up showed that one word would sit behind a door handle, so the layout was adjusted before output.
We measured each pane, checked the angles from the entrance path and separated the file into cut vinyl and printed panels. The colour workflow was checked against the existing brand colours and the RIP queue was set to keep the print pass stable. On site, the installer had a clear fitting note and the job went up cleanly without trimming around hardware. The owner got a neat front view, the staff got privacy and the next campaign can be swapped with far less effort.
How FlexiSIGN Studio supports the planning stage
At FlexiSIGN Studio, shopfront graphics planning is part of the production process, not a side task. Our team supports sign makers, print service providers and designers with software installation, licence activation, remote support and onsite training. If your branch in Johannesburg needs support with queue settings, or your Cape Town team wants better colour control for repeat work, we help set the workflow before the next job lands on the cutter.
We also assist with new staff induction, upgrade planning and annual support plans so your team can measure, mock-up and output with fewer mistakes. Whether you are running a single shop in Randburg or coordinating work across Pretoria, Durban and Gqeberha, a clear process keeps shopfront graphics accurate and profitable. The rule is simple: measure twice, check the mock-up and only then cut the vinyl.