Set one banner template for the jobs you repeat most
Most sign shops do not lose time on the first banner. They lose time on the second, third and tenth one because each order is treated like a fresh start. A proper banner template changes that. Build one layout for common sizes such as 1.2 m by 3 m, 1.5 m by 5 m and 0.9 m by 2.4 m, then save the margin, bleed, hem line and eyelet spacing as a standard job setup.
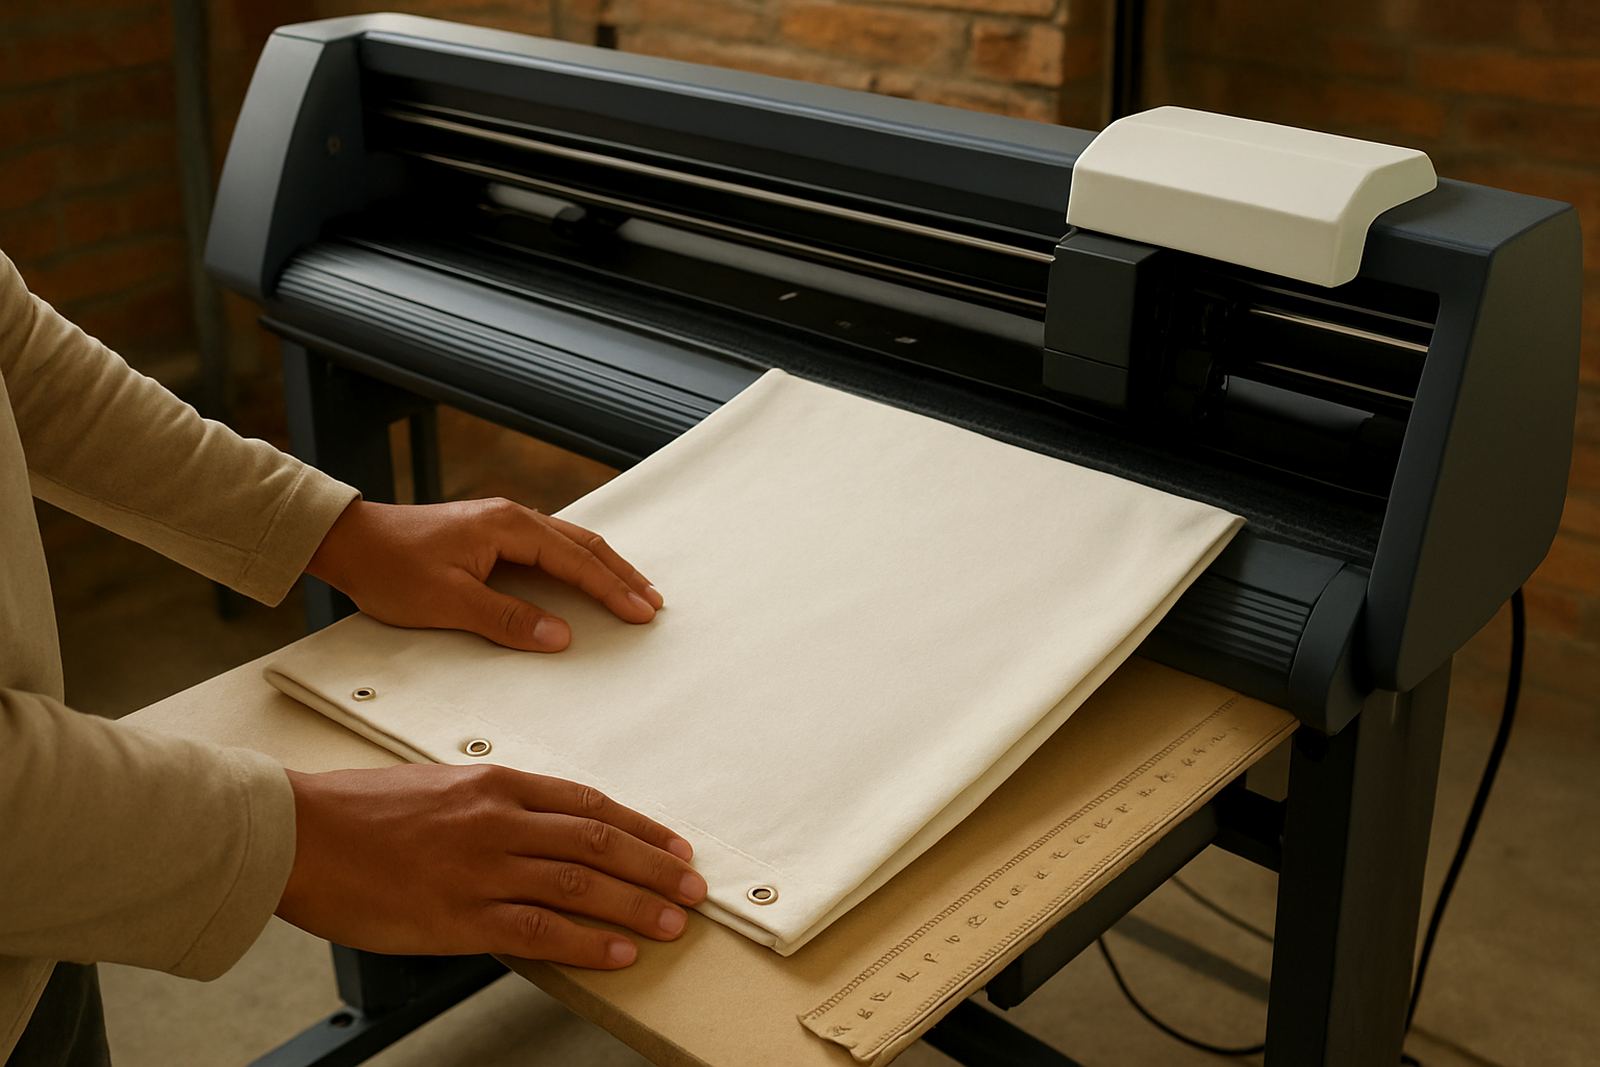
For repeat work, keep the print area, trim area and safe area locked in place. That way the artwork can change while the structure stays the same. If your team keeps rechecking where the eyelets go, the file is not doing enough work for you. A good setup should tell the operator where to cut, where to fold and where to leave space for rope or cable ties.
- Save banner sizes used every week as named presets
- Use one eyelet pattern for each size class
- Keep a standard 25 mm or 50 mm hem allowance, depending on the substrate and finish
- Store notes for corner reinforcement, pole pockets and double hems
When a school in Randburg orders a set of four same-size banners for sports day and a second run two weeks later, the difference between a neat template and a hand-built file is real time. Less guessing means quicker approval and fewer mistakes on the cutter and printer.
Build cutter and RIP settings around the finish, not the artwork
Banner production slows down when the print file looks right but the cutter and RIP setup are not matched to the finishing method. If the banner will be hemmed and eyeleted, the layout must allow clean trim lines and consistent marks. If the edge will be folded over and stitched, the print should not push important text too close to the border. That sounds basic, yet many shops still lose minutes on every job because the settings were left on the last order.
Keep separate output presets for common banner finishes. A plain hanging banner, a scaffold banner and a gazebo side panel do not need the same feed, cut path or nesting behaviour. If you also run vinyl cutters for decals and short-run graphics, separating those queues from banner jobs keeps the RIP cleaner and helps avoid mixed settings. When the queue is tidy, the machine operator is not second guessing each file.
- Separate presets for hemmed banners, pole pockets and eyeleted banners
- Store cutter offset and blade depth values for each material type
- Keep registration marks consistent across repeat jobs
- Use job names that include size, finish and client reference
This matters even more when power interruptions happen. In South Africa, load-shedding can break the rhythm of a print run, so a repeatable setup helps the operator pick up where the last job left off without rebuilding the file from scratch. That saves material and keeps the team calmer when the queue is full.
Use colour checks that match the material and the weather
Banner layouts are not only about size. Colour management also affects repeat jobs, especially when the same client wants a reprint months later. A blue that looked fine in winter can shift on a humid Durban morning or on a dusty site in Pretoria. If the artwork is not set up with a stable workflow, the reprint may come out looking different enough for the client to notice.
For repeat banner work, keep a simple colour routine. Check the file on the same output profile, use the same substrate where possible, and store the approved print sample with the job record. That gives the team a reference when the banner must be remade fast. It also helps when the client wants matching sets across branches in Johannesburg, Cape Town and Gqeberha.
- Keep one approved sample for each recurring client
- Note the material, print mode and ink limit used
- Record any colour shifts after a head clean or profile change
- Use a common naming system for saved files and reprints
In coastal areas, humidity can affect drying and handling, so it helps to keep the workflow consistent from print to finish. A banner that is handled too soon can mark up or stretch at the hem, which means more waste and more time on rework.
Plan the finish before the file goes to print
Good banner work starts before the print button is pressed. The operator should already know how the banner will be finished, how it will be packed and where it will be installed. A roadside banner for Midrand visits may need stronger edge treatment than a short indoor promotion. A banner for a school fence in Centurion may need extra eyelets for wind load. If those details are left until after printing, the job slows down.
Use a simple checklist before output. This is especially useful when new staff join the shop and need clear habits rather than verbal instructions that get forgotten during a busy day.
- Confirm final size, bleed and trim allowance
- Check hem width and fold direction
- Confirm eyelet count and spacing
- Check if the banner needs corner patches or pole pockets
- Verify hanging method, site height and wind exposure
When the finishing plan is set early, the layout becomes quicker to repeat. That means fewer calls back to the artwork room and fewer delays at the cutter. It also makes quoting easier because the price can reflect the real finish rather than a rough guess.
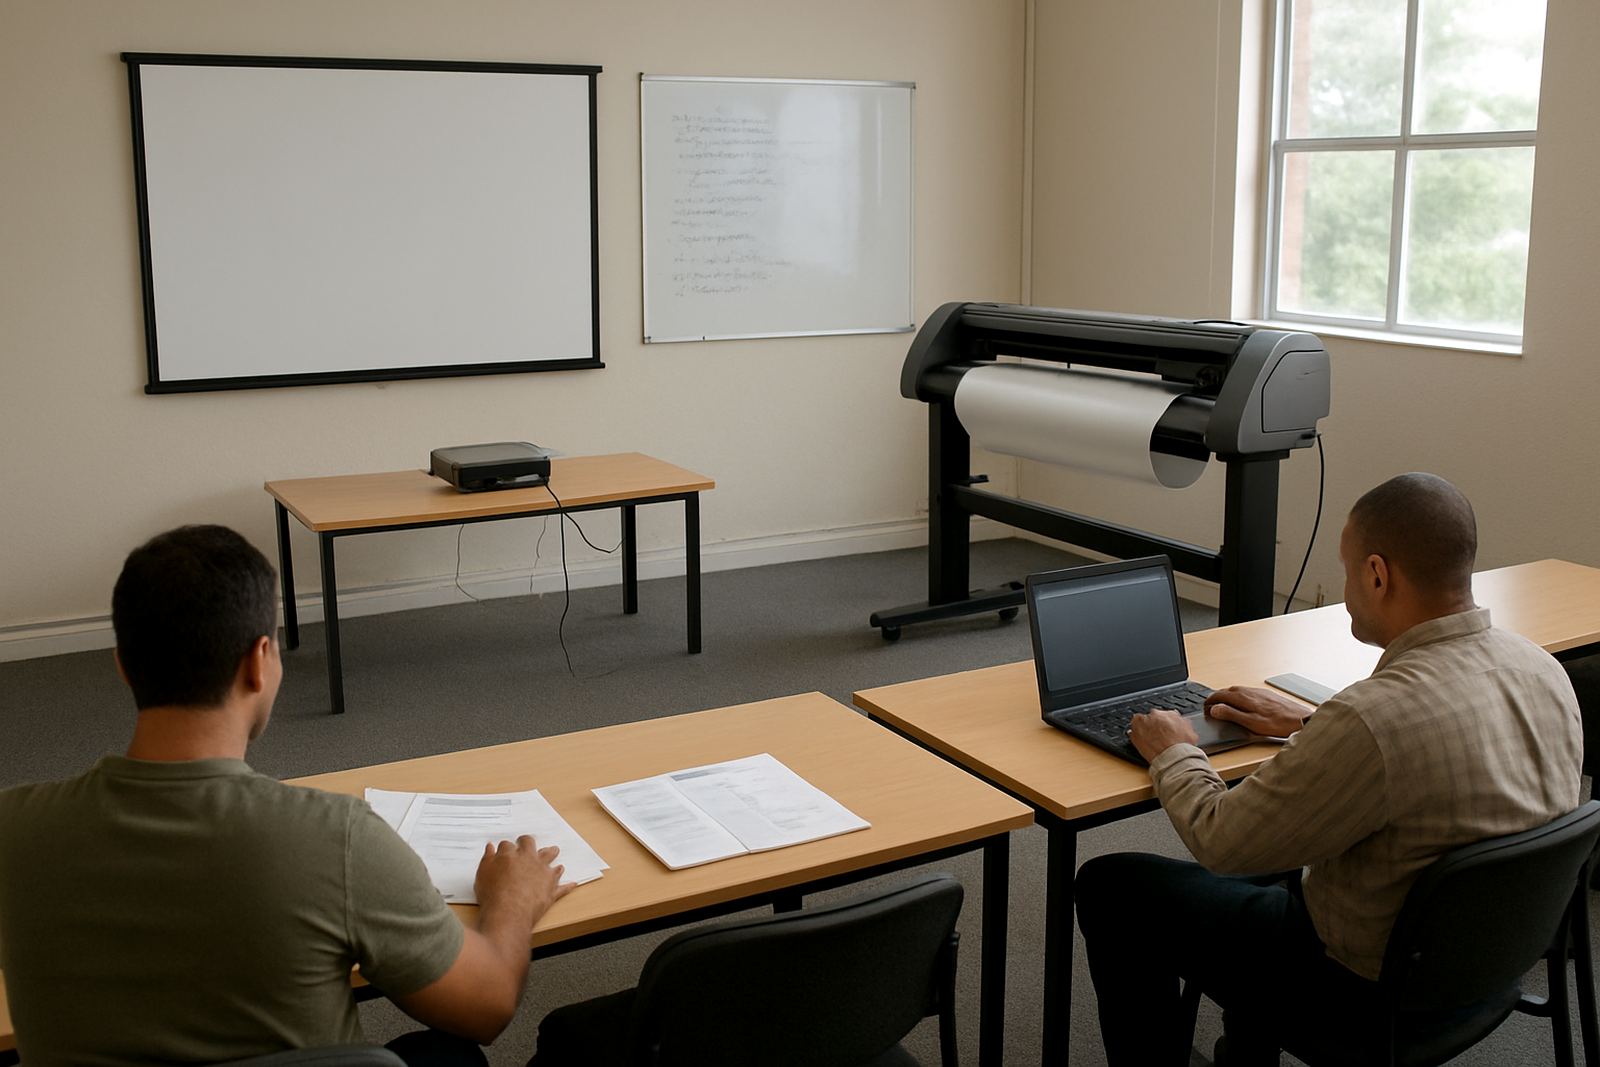
Train the team on one repeatable banner workflow
Speed comes from a habit that everyone follows, not from one skilled operator carrying the whole shop. If one person knows the banner setup and no one else does, the business slows down when that person is out on a site visit or in training. A repeatable workflow makes the job easier for the whole team, from file prep to final pack-out.
At FlexiSIGN Studio, we see the same issue across sign shops and print service providers from Randburg to Durban. The strongest shops keep a simple system for banner jobs, then train new staff on the same steps every time. That reduces errors on repeat orders and makes handovers much cleaner.
- Use one standard file naming rule for all banner jobs
- Keep a shared list of repeat banner sizes and finishes
- Train staff on bleed, safe area and eyelet spacing
- Teach one approval process for reprints and amendments
With the right setup, the team can move from design to output without stopping to ask where the hem line sits or whether the eyelets were meant to be 300 mm apart. That is where faster banner layouts begin, with a clear method that anyone in the shop can follow.
A simple Johannesburg example shows the time saved
Think of a shop in Johannesburg that prints banner sets for estate agents, church events and school sports days. In a busy week, the same customer may order three sizes, all needing hems and eyelets. If each one is built from scratch, the staff spend too long checking margins and finishing notes. If the shop keeps a preset layout, the turnaround becomes much easier to control.
One good setup can cover the layout, the cutter, the RIP queue and the finishing notes. That means less time making tiny decisions and more time getting material out the door. It also helps when a client needs an urgent repeat after rain, wind damage or a delayed event handover. The file is already there, the settings are already known and the team can focus on finishing properly.
For South African sign makers, that kind of routine is what keeps banner work profitable. It is not about rushing. It is about removing the small delays that build up across the day, especially when the machine room is busy and the weather, power and delivery schedule all have a say.