Start with the final sheet size and cutter width
Before you place a single artwork, confirm the usable width of the print media and the cutting table or vinyl cutter width. A layout that fits neatly on paper can still waste time if it exceeds the cutter's tracking comfort zone or leaves awkward offcuts. For sign shops in Randburg, Johannesburg or Pretoria working under load-shedding, saving a second pass through the cutter can make a real difference to output for the day.
Set the job around the smallest practical number of sheet changes. If the client wants multiple sticker sizes, group them by height and width where possible. That helps with registration, keeps the contour lines predictable and reduces the chance of small pieces lifting on glossy stock or in coastal humidity in Durban and Gqeberha.
- Measure the usable media width, not the label width on the roll.
- Allow space for pinch rollers, marks and trim margins.
- Keep the cutter's maximum reliable length in mind for long runs.
- Leave enough room between jobs for safe handling and trimming.
Build clean contour lines before you think about colour
Contour lines should be simple, closed and clearly separated from print artwork. A clean cut path reduces blade chatter and keeps corners from snagging on laminated stickers. If a shape has tiny points, gaps or double outlines, fix that before sending it into production. It is quicker to tidy the path once than to correct a stack of bad sheets later.
Use a single line for the cut path and avoid overlaps between the printed image and the contour. When the line sits too close to text or fine detail, the cut can look sloppy even if the print is perfect. For new staff, this is one of the first habits to build during induction because it saves material and cuts down on wasted vinyl.
- Close every path so the cutter reads one clean outline.
- Remove hidden nodes and extra points in curves.
- Keep small internal cutouts large enough to weed safely.
- Check that the contour sits outside the printed edge by a sensible margin.
Arrange sheets to use the material you already paid for
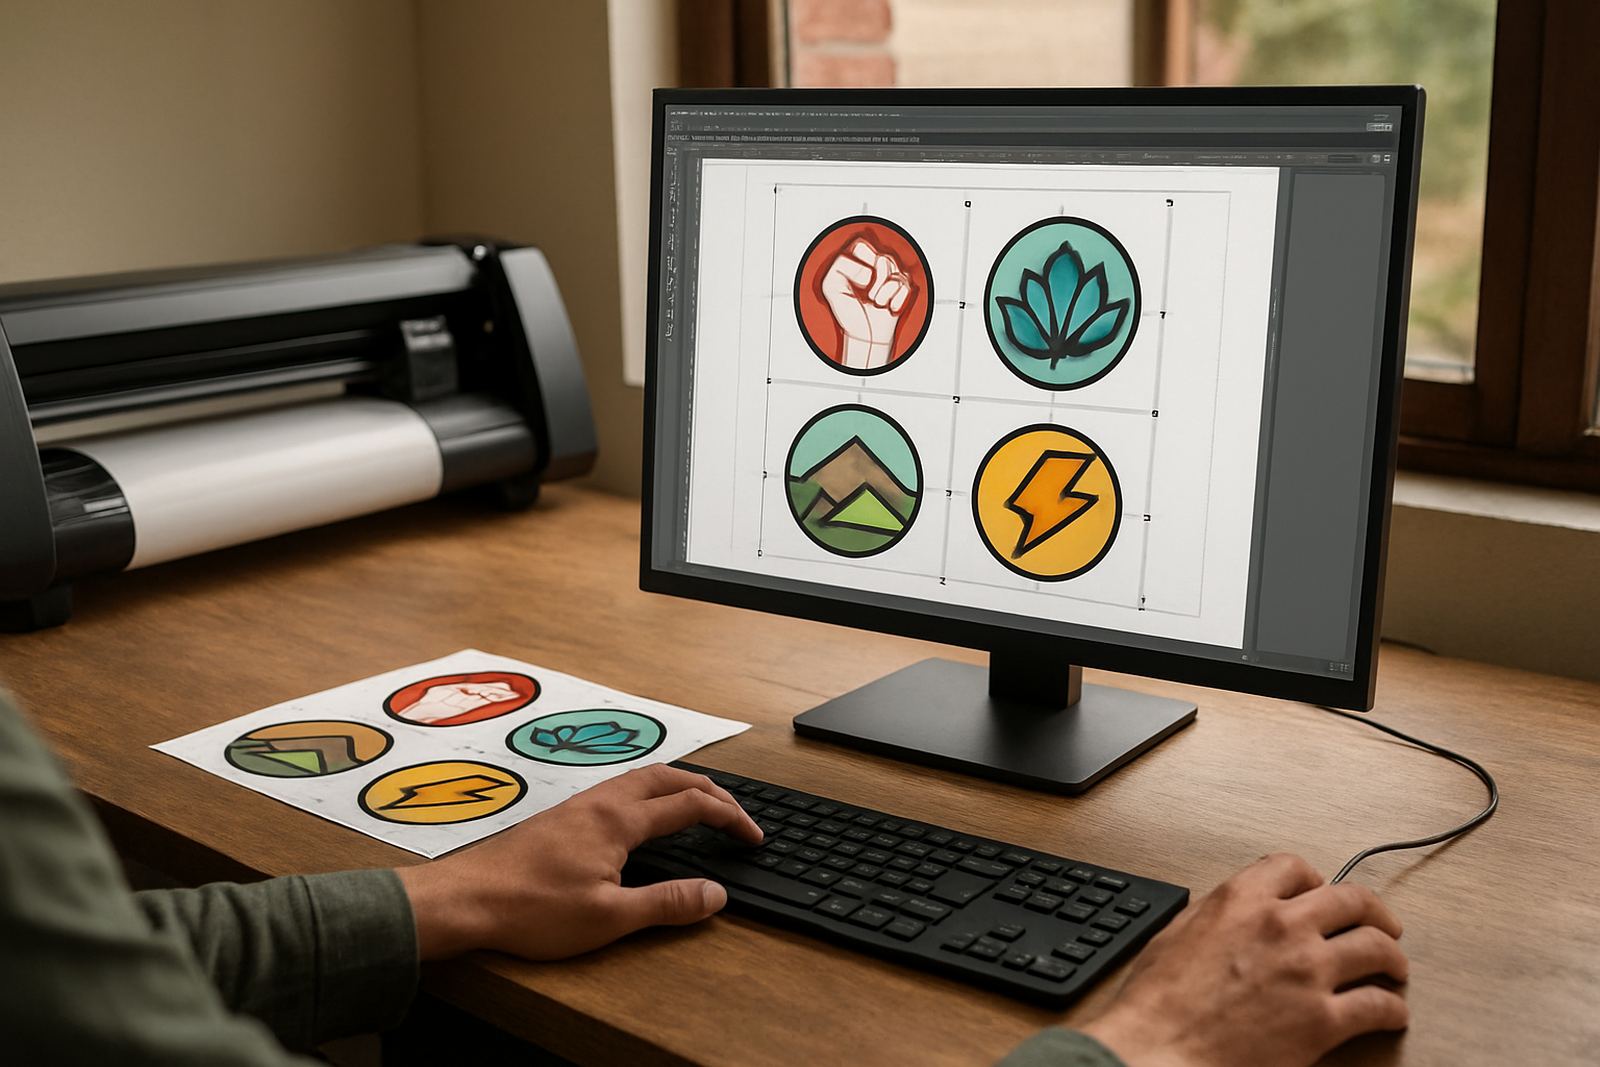
Efficient sheet output is not only about fitting more items onto one page. It is about placing jobs so the cutter can move with fewer stops and the operator can weed without tearing delicate edges. On short runs, this is where a good layout pays back fastest. A clean nesting pattern can turn a partial sheet into a useful one instead of a scrap offcut.
Keep similar jobs together where the artwork style allows it. Round stickers, small retail labels and larger warning decals should not all be mixed on the same layout unless the cut plan is simple. For print service providers handling daily walk in work, a fixed layout method also helps with quoting because you can estimate yield more accurately.
- Rotate shapes to use the gaps between larger items.
- Group repeat items in rows for faster cutting and weeding.
- Leave handling space around very small decals.
- Plan the layout so the first cut does not compromise the rest of the sheet.
Set colour and print settings for real shop conditions
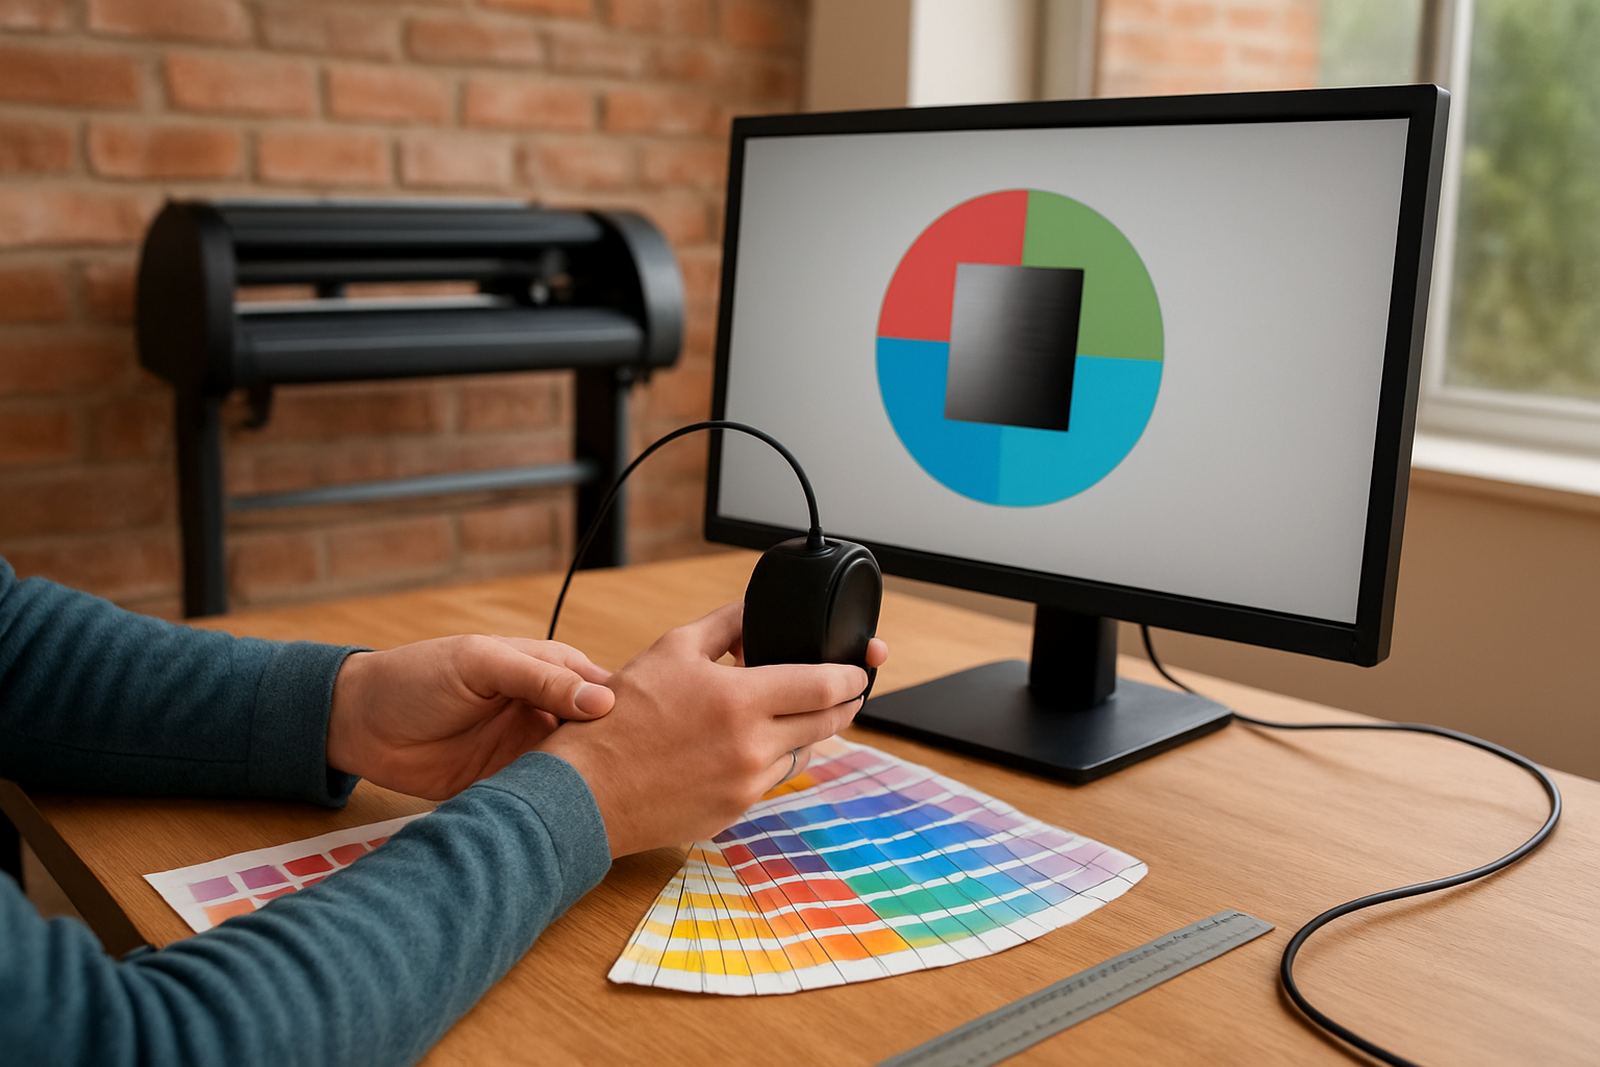
Sticker production changes with the room, the media and the printer condition. A setting that works on a cool morning in Midrand may shift by late afternoon if the shop heats up. That is why colour management and workflow setup matter. Keep your print profile, ink limit and drying time consistent so the printed sheet stays stable before cutting.
If the colour shifts from sheet to sheet, the client notices it first on logos and solid fills. For shops near the coast, humidity can slow drying and affect stacking. In those cases, leave a longer cure time before lamination or cutting. The goal is not just accurate colour, but repeatable colour across the whole batch.
- Check ink limits before starting a full run.
- Allow proper drying time before lamination or contour cutting.
- Keep file names and versions consistent for reprints.
- Use the same workflow settings across similar media types.
Prepare the cutter so the artwork comes off cleanly
The cutter should be ready before the first sheet reaches it. Check blade depth, pinch roller pressure and alignment, then run a small test cut. If the test is too deep it can lift corners and mark the backing. If it is too shallow the cutter will drag and leave jagged lines. This setup stage is where cutter setup help usually saves the most time.
For longer jobs, inspect the first few stickers after cutting and before final packing. If the blade starts to wander, stop and correct it rather than pushing through a bad run. On a busy Friday or during power interruptions, that one early check can prevent an entire batch of scrap.
- Run a test cut on the actual media before production.
- Confirm the cutter is tracking straight over the full width.
- Watch for lifting corners on small shapes.
- Recheck blade and pressure if the cut quality changes mid job.
Use a simple handover checklist before the job leaves the shop
Once the stickers are printed, cut and weeded, do a final check against the order details. Confirm quantities, size, finish and orientation. If the job includes multiple SKUs, separate them clearly so the client does not mix up sizes on installation or resale. A short checklist also helps when you train new staff or bring in extra help during busy periods.
Keep a record of what settings worked for the job. That makes repeat orders faster and supports better upgrade planning when your shop grows. Whether the work is for a vinyl cutter in Centurion, a sign shop in Cape Town or a print house in Gqeberha, consistent notes are what keep production predictable.
- Count the finished stickers against the order.
- Check cut quality on corners, circles and small text.
- Confirm the labels are packed in the correct order.
- Save the working settings for the next repeat run.